Ga door naar hoofdinhoud

Google Pixel XL Charging Assembly Replacement

Gearchiveerde handleiding
Deze handleiding wordt enkel nog bijgehouden voor historische doeleinden. Gebruik de laatste versie van deze gids om uw reparatie uit te voeren.

Wat je nodig hebt

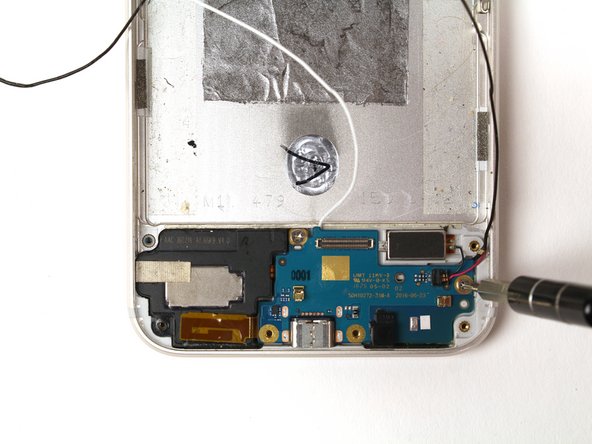
  1. Google Pixel XL Charging Assembly Replacement, Charging Assembly: stap 1, afbeelding 1 van 2 Google Pixel XL Charging Assembly Replacement, Charging Assembly: stap 1, afbeelding 2 van 2
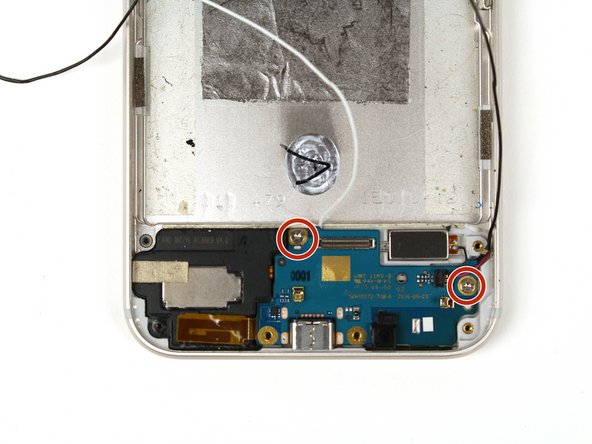
    • Using a T5 Torx screwdriver, unscrew the two 3 mm screws from the daughterboard.

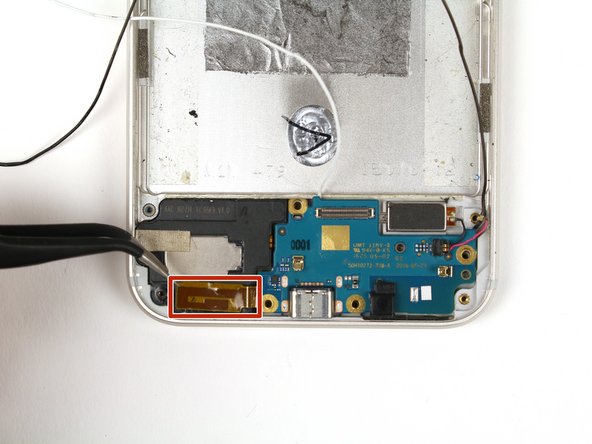
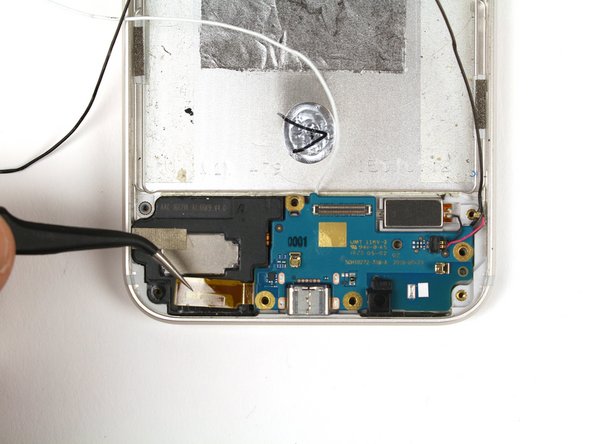
  2. Google Pixel XL Charging Assembly Replacement: stap 2, afbeelding 1 van 2 Google Pixel XL Charging Assembly Replacement: stap 2, afbeelding 2 van 2
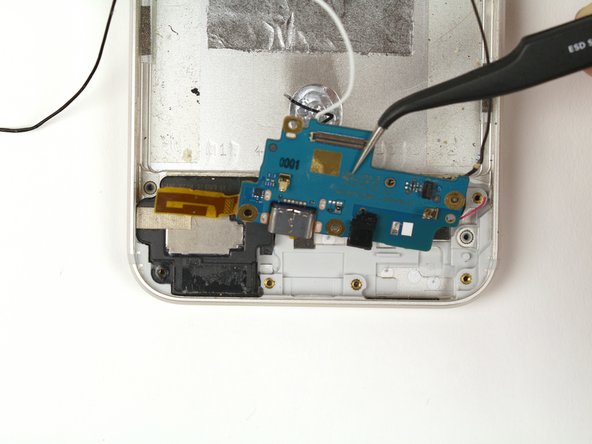
    • Using a pair of precision tweezers, carefully peel the orange tape from the frame.

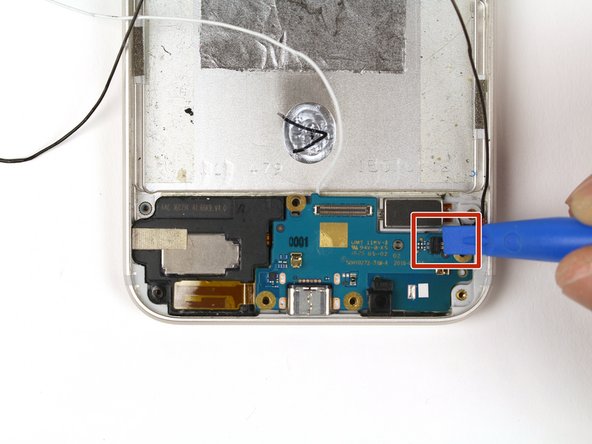
  3. Google Pixel XL Charging Assembly Replacement: stap 3, afbeelding 1 van 2 Google Pixel XL Charging Assembly Replacement: stap 3, afbeelding 2 van 2
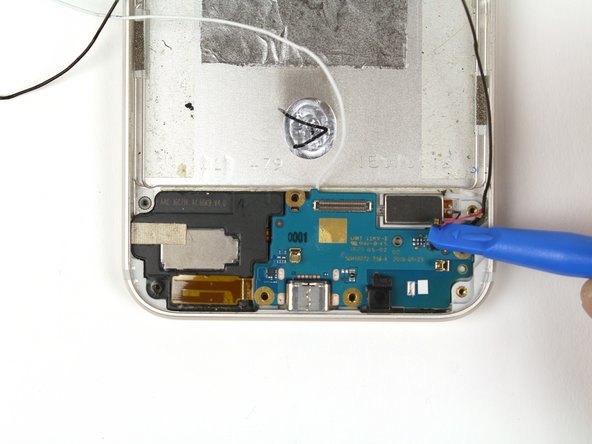
    • Using a blue plastic opening tool, detach the connector by gently pulling to the right.

    • Applying too much force may result in damaging the black connector and/or the cable.

  4. Google Pixel XL Charging Assembly Replacement: stap 4, afbeelding 1 van 1
    • Gently lift the daughterboard out of the device.

    • To replace the charging assembly, you will need to replace the entire daughterboard.

Conclusie

To reassemble your device, follow these instructions in reverse order.
Julia List

Lid sinds: 04/21/15

5.604 Reputatie

7 handleidingen geschreven

0 opmerkingen

Voeg opmerking toe

Weergavestatistieken:

Afgelopen 24 uren: 0

Afgelopen 7 dagen: 0

Afgelopen 30 dagen: 2

Altijd: 33