Ga door naar hoofdinhoud

Google Pixel 3a XL Midframe Replacement

Alleen vereisten
Deze handleiding is alleen bedoeld als vereiste voor andere handleidingen. Het staat niet op zichzelf.

Wat je nodig hebt

  1. Google Pixel 3a XL Midframe Replacement, Midframe: stap 1, afbeelding 1 van 1
    Gereedschap gebruikt in deze stap:
    Magnetic Project Mat
    $19.95
    Koop
    • Remove the following 4.3mm screws:

    • 14 silver T3 Torx screws

    • 2 black T3 Torx screws

    • Due to manufacturing tolerances, a T4 Torx driver may fit better into these T3 screws.

    • Throughout this repair, keep track of each screw and make sure it goes back exactly where it came from.

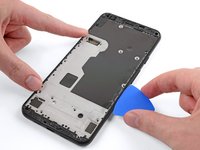
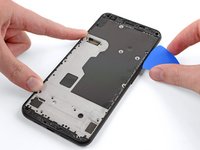
  2. Google Pixel 3a XL Midframe Replacement: stap 2, afbeelding 1 van 3 Google Pixel 3a XL Midframe Replacement: stap 2, afbeelding 2 van 3 Google Pixel 3a XL Midframe Replacement: stap 2, afbeelding 3 van 3
    • The midframe is still held in place by plastic clips.

    • Insert an opening pick into the seam along the bottom of the phone.

    • Slide the pick along the seam to release the clips holding the midframe to the rest of the phone.

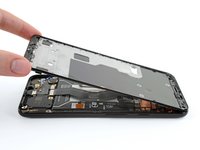
  3. Google Pixel 3a XL Midframe Replacement: stap 3, afbeelding 1 van 3 Google Pixel 3a XL Midframe Replacement: stap 3, afbeelding 2 van 3 Google Pixel 3a XL Midframe Replacement: stap 3, afbeelding 3 van 3
    • Slide the opening pick along the left and right edges of the phone to release the midframe clips there.

    • Once the clips along the bottom of the phone are separated, the flat edge of the opening pick should be enough to separate the rest of the clips.

    • Lift up the bottom edge of the midframe but don’t completely remove it yet. The midframe is still connected to the phone by a fragile cable.

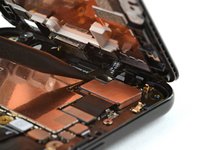
  4. Google Pixel 3a XL Midframe Replacement: stap 4, afbeelding 1 van 2 Google Pixel 3a XL Midframe Replacement: stap 4, afbeelding 2 van 2
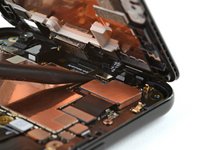
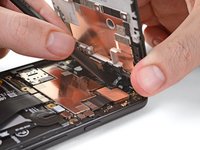
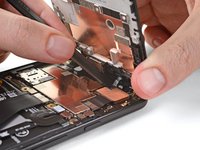
    • Use a spudger to pry up and detach the proximity sensor cable from the motherboard.

  5. Google Pixel 3a XL Midframe Replacement: stap 5, afbeelding 1 van 1
    • Remove the midframe from the phone.

  6. Google Pixel 3a XL Midframe Replacement: stap 6, afbeelding 1 van 2 Google Pixel 3a XL Midframe Replacement: stap 6, afbeelding 2 van 2
    • During reassembly, align the top edge of the midframe with the top of the phone, then use a spudger to carefully press the proximity sensor cable connector onto its socket.

    • This takes a bit of patience and finesse. Once you have the connector aligned, you can also use a finger to gently press the connector onto the socket.

Conclusie

To reassemble your device, follow these instructions in reverse order.

Taylor Dixon

Lid sinds: 06/26/18

67.033 Reputatie

94 handleidingen geschreven

0 opmerkingen

Voeg opmerking toe

Weergavestatistieken:

Afgelopen 24 uren: 0

Afgelopen 7 dagen: 0

Afgelopen 30 dagen: 0

Altijd: 59