Ga door naar hoofdinhoud

Google Pixel 2 Display Replacement

Gearchiveerde handleiding
Deze handleiding wordt enkel nog bijgehouden voor historische doeleinden. Gebruik de laatste versie van deze gids om uw reparatie uit te voeren.

Wat je nodig hebt

  1. Google Pixel 2 Display Replacement, Display: stap 1, afbeelding 1 van 2 Google Pixel 2 Display Replacement, Display: stap 1, afbeelding 2 van 2
    • Heat up the iOpener in the microwave for 30 seconds.

    • Place the iOpener clear-side down on each edge of the phone for approximately 30 seconds.

    • Place the iOpener on top of the screen for an additional 30 seconds.

    • Be careful with the iOpener as it will get extremely hot.

  2. Google Pixel 2 Display Replacement: stap 2, afbeelding 1 van 3 Google Pixel 2 Display Replacement: stap 2, afbeelding 2 van 3 Google Pixel 2 Display Replacement: stap 2, afbeelding 3 van 3
    • Attach the suction cup to the display by placing it on top of the display and pushing down on the top of the cup until it is flat.

    • Separate the display and the device by inserting the plastic opening tool between them and sliding the plastic opening tool along the perimeter of the display.

    • It is normal to hear popping noises as the plastic opening tool breaks the connection between the display and the device.

    • Remove the display from the device by grabbing the ring of the suction cup and pulling up.

  3. Google Pixel 2 Display Replacement: stap 3, afbeelding 1 van 3 Google Pixel 2 Display Replacement: stap 3, afbeelding 2 van 3 Google Pixel 2 Display Replacement: stap 3, afbeelding 3 van 3
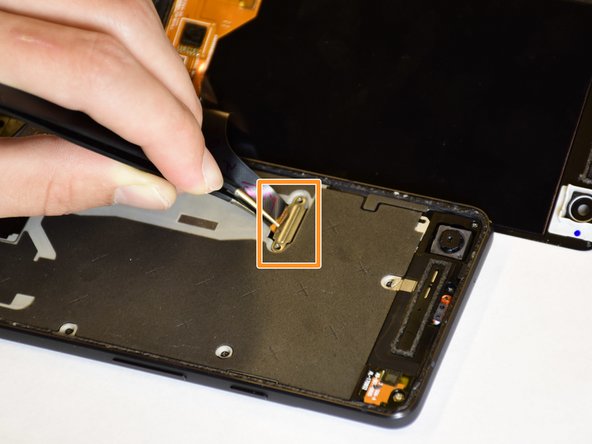
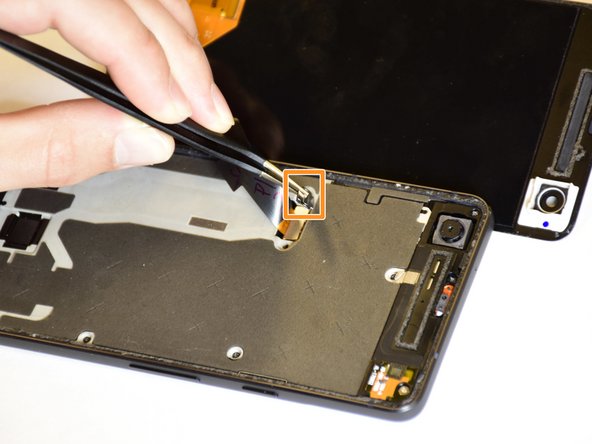
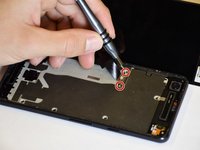
    • Remove the T4 4.0-mm screws from the latch under the display by turning the screwdriver counterclockwise.

    • Pull the latch off of the device by grabbing it with the tweezers and pulling up.

  4. Google Pixel 2 Display Replacement: stap 4, afbeelding 1 van 1
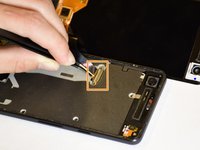
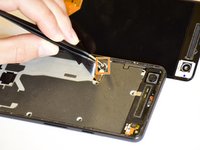
    • Remove the connector underneath the latch by grabbing it with the tweezers and lifting up.

    • It is normal to hear a popping noise during this step.

    • When reassembling, simply use your finger to pop this piece back into place by pushing it down into the device.

Conclusie

To reassemble your device, follow these instructions in reverse order.

Één andere persoon heeft deze handleiding voltooid.

Monica Andres

Lid sinds: 01/24/18

286 Reputatie

2 handleidingen geschreven

Team

Cal Poly, Team S18-G5, Livingston Winter 2018 Lid van Cal Poly, Team S18-G5, Livingston Winter 2018

CPSU-LIVINGSTON-W18S18G5

4 Leden

11 handleidingen geschreven

0 opmerkingen

Voeg opmerking toe

Weergavestatistieken:

Afgelopen 24 uren: 0

Afgelopen 7 dagen: 0

Afgelopen 30 dagen: 2

Altijd: 1,110