Ga door naar hoofdinhoud

GoPro Hero LCD Screen Replacement

Wat je nodig hebt

  1. GoPro Hero LCD Screen Replacement, Casing: stap 1, afbeelding 1 van 1
    • Power off your GoPro before beginning disassembly.

    • Unclip the black latch to the camera case and open the case.

  2. GoPro Hero LCD Screen Replacement: stap 2, afbeelding 1 van 1
    • Gently pry the back open by inserting a metal spudger between the case and back panel.

  3. GoPro Hero LCD Screen Replacement: stap 3, afbeelding 1 van 1
    • Disconnect the battery from the motherboard by unplugging the red, white, and black wires from the white adapter.

  4. GoPro Hero LCD Screen Replacement: stap 4, afbeelding 1 van 1
    • Disconnect the ribbon cable from the lens by lifting the black latch and gently pulling the ribbon cable from the socket.

  5. GoPro Hero LCD Screen Replacement: stap 5, afbeelding 1 van 1
    • Use a Phillips screwdriver (PH000) to remove the four screws around the white plastic piece.

    • Make sure to keep track of these screws as they are very small.

  6. GoPro Hero LCD Screen Replacement: stap 6, afbeelding 1 van 1
    • Carefully remove the motherboard and white plastic piece from the case.

  7. GoPro Hero LCD Screen Replacement, LCD Screen: stap 7, afbeelding 1 van 2 GoPro Hero LCD Screen Replacement, LCD Screen: stap 7, afbeelding 2 van 2
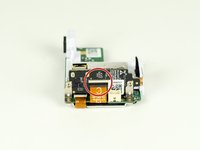
    • Remove the larger ribbon cable from the daughter board by lifting the black latch and pulling the ribbon cable gently from the socket.

    • Disconnect the smaller ribbon cable leading from the white plastic piece by simply pulling it from the socket.

  8. GoPro Hero LCD Screen Replacement: stap 8, afbeelding 1 van 1
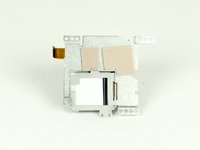
    • Separate the motherboard from the white piece of plastic.

  9. GoPro Hero LCD Screen Replacement: stap 9, afbeelding 1 van 1
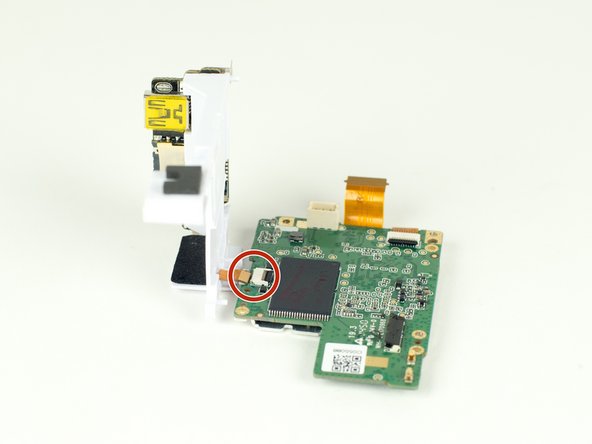
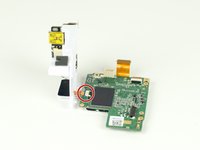
    • Remove the ribbon cable from the motherboard by simply pulling the cable from the socket.

  10. GoPro Hero LCD Screen Replacement: stap 10, afbeelding 1 van 2 GoPro Hero LCD Screen Replacement: stap 10, afbeelding 2 van 2
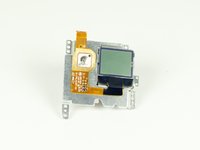
    • Separate the LCD screen from the motherboard.

Conclusie

To reassemble your device, follow these instructions in reverse order.

5 andere personen hebben deze handleiding voltooid.

River Drake

Lid sinds: 04/02/15

1.023 Reputatie

5 handleidingen geschreven

Team

Cal Poly, Team 12-2, Lancaster Spring 2015 Lid van Cal Poly, Team 12-2, Lancaster Spring 2015

CPSU-LANCASTER-S15S12G2

4 Leden

18 handleidingen geschreven

3 opmerkingen

Where do you buy the replacement lcd

Anthony Volatile - Antwoord

I can find the screen but is it compatible with the Hero+

Brian Casado - Antwoord

Voeg opmerking toe

Weergavestatistieken:

Afgelopen 24 uren: 11

Afgelopen 7 dagen: 60

Afgelopen 30 dagen: 201

Altijd: 22,195