Deze versie kan foutieve bewerkingen bevatten. Schakel over naar de recentste gecontroleerde momentopname.
Wat je nodig hebt
-
Deze stap is niet vertaald. Help het te vertalen
-
Using a plastic opening tool, remove the phone cord from the phone jack at the base of the headset.
-
-
Deze stap is niet vertaald. Help het te vertalen
-
Remove the 7.5 mm screw.
-
Remove the screw cap.
-
Pull up the phone cord to remove it from the base.
-
-
Deze stap is niet vertaald. Help het te vertalen
-
Remove the plastic cover with a plastic opening tool by gently sliding the tool underneath the plastic and pry the cover off.
-
-
Deze stap is niet vertaald. Help het te vertalen
-
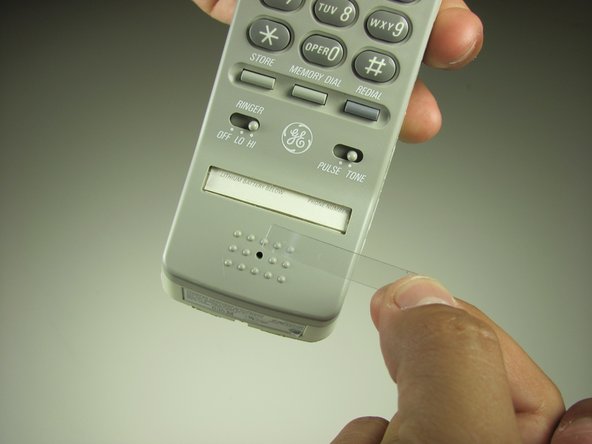
Remove the paper with a plastic opening tool by gently sliding the tool underneath and prying the paper away from the phone.
-
-
Deze stap is niet vertaald. Help het te vertalen
-
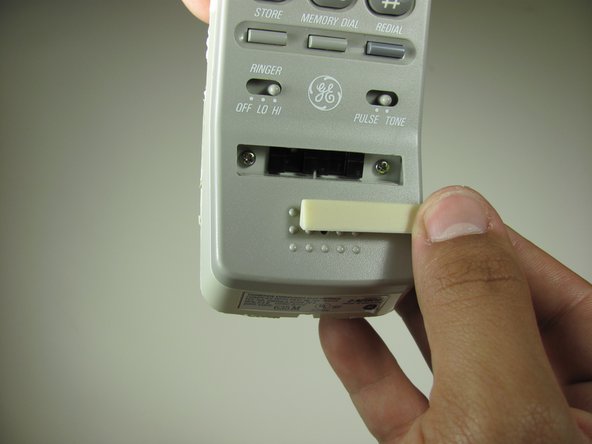
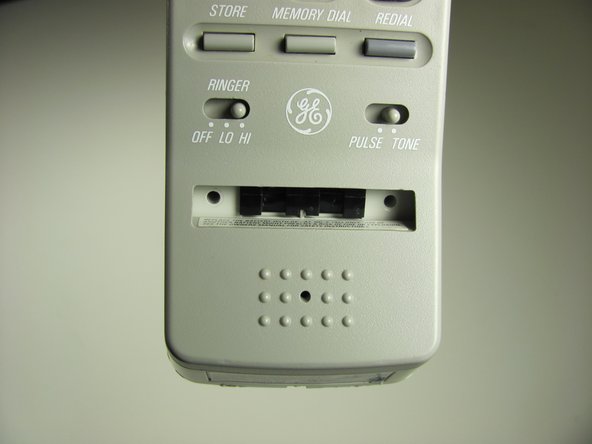
Remove the rubber stopper with a plastic opening tool by gently sliding the tool underneath and pry away from the phone.
-
-
-
Deze stap is niet vertaald. Help het te vertalen
-
Remove the two 2.1 mm screws with a Phillips #1 screwdriver.
-
-
Deze stap is niet vertaald. Help het te vertalen
-
Pull apart the handset by pulling the top shell away from the other half of the phone.
-
-
Deze stap is niet vertaald. Help het te vertalen
-
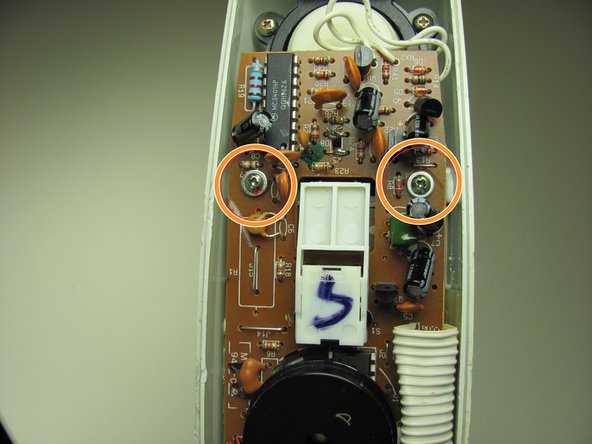
Remove 3 screws attaching the motherboard to shell.
-
Remove the 13 mm screw with a Philips #1 screwdriver.
-
Remove the two 13 mm screws with washers with a Philips #1 screwdriver.
-
-
Deze stap is niet vertaald. Help het te vertalen
-
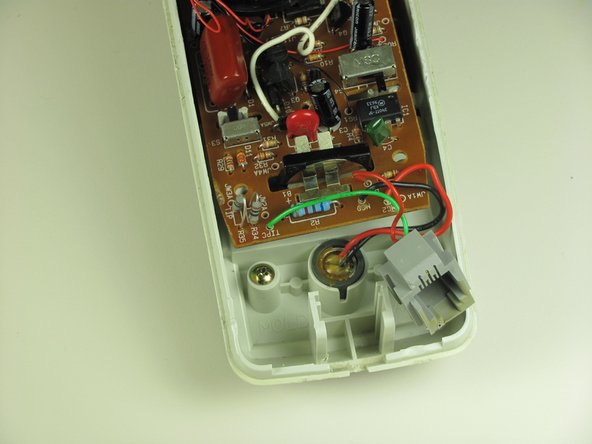
Slide the phone jack out from the shell by gently lifting up the female phone jack connector.
-
-
Deze stap is niet vertaald. Help het te vertalen
-
Without removing the motherboard completely, pull up slightly and pivot the motherboard out of the shell.
-
-
Deze stap is niet vertaald. Help het te vertalen
-
Use tweezers to apply pressure on battery holder tabs.
-
Apply pressure directly on battery holder to slide it through the shell.
-
Battery is going to slide through the bottom.
-
-
Deze stap is niet vertaald. Help het te vertalen
-
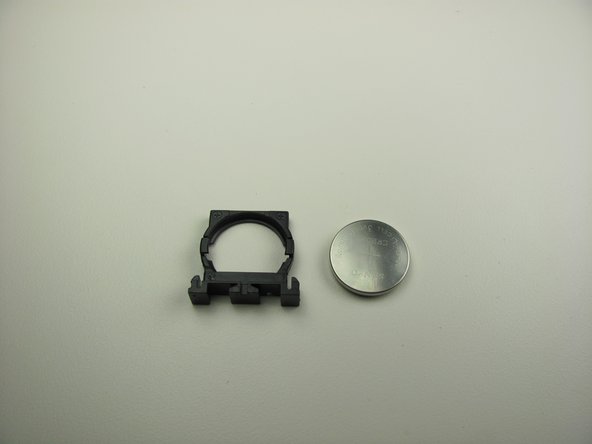
Lift tabs on the side of the holder by putting your fingers directly on the tab to pull it apart.
-
While holding the battery, remove it from the holder.
-
-
Deze stap is niet vertaald. Help het te vertalen
-
Now insert the new battery.
-
Ensure that the positive side of the battery is facing the tabs.
-


Annuleren: ik heb deze handleiding niet afgemaakt.
Één andere persoon heeft deze handleiding voltooid.
Team

Cal Poly, Team 16-59, Forte Fall 2012 Lid van Cal Poly, Team 16-59, Forte Fall 2012
CPSU-FORTE-F12S16G59
4 Leden
17 handleidingen geschreven