Inleiding
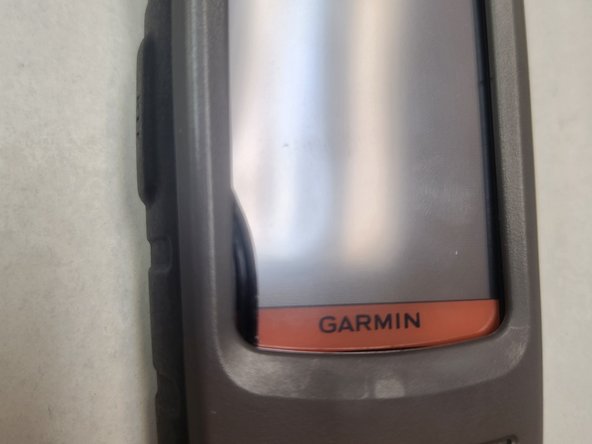
If your Garmin Rino GPS device has a broken screen, malfunctioning touch response, or distorted LCD image, this guide can walk you through replacing the screen to get things functioning properly once again.
Wat je nodig hebt
-
-
On the back of the device will be a metal pin with a D-shaped handle.
-
Using a fingernail, lift this handle until it is vertical.
-
Turn the handle 90 degrees counter-clockwise and lift to remove the battery.
-
-
-
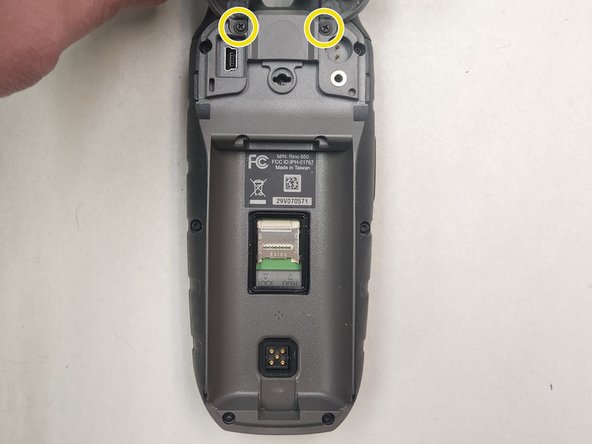
There are 6 T6 Screws surrounding the edges of the frame. 2 are on the outside, 2 are under the battery, and the final 2 are under the water resistant silicon flaps at the top of the device.
-
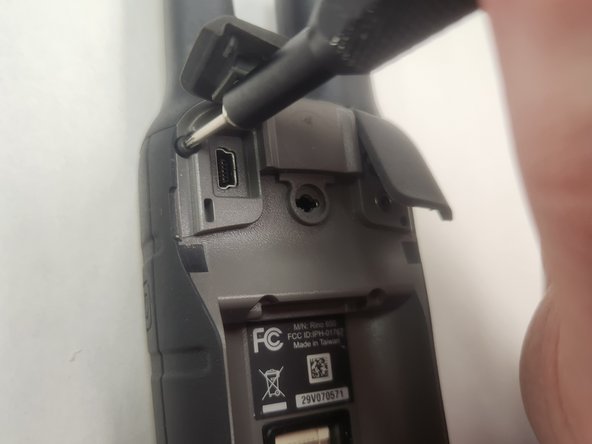
Note the 2 Phillips screws here. They are a PH1 and secure the silicon flaps to the case. They can be removed to make things easier, but it is optional.
-
Using your T6 screwdriver bit, remove the 6 T6 screws and set them aside. They are identical and do not need to be kept sorted.
-
-
-
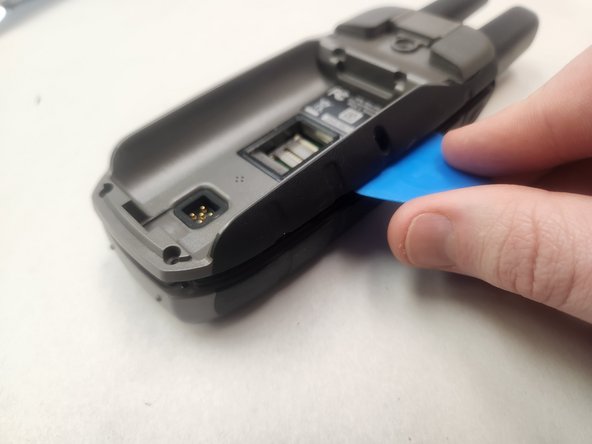
Insert your opening pick on the left side near the top. Wiggle it slightly to separate the frame and continue down towards the bottom.
-
Continuing down, round the corner around the bottom, continuing to ensure you separate the frame before continuing.
-
Rounding the second bottom corner, follow the frame all the way up to the top again, separating the frame along the way.
-
-
-
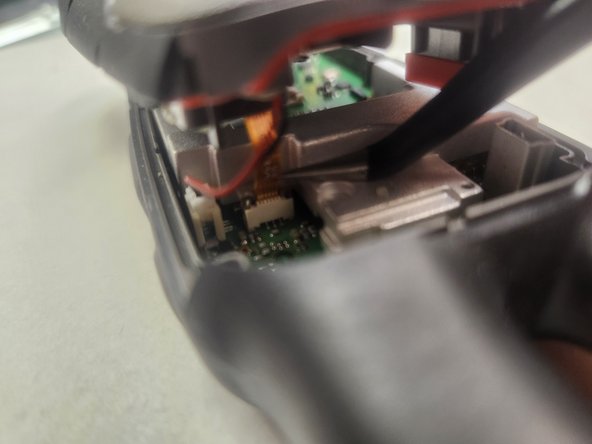
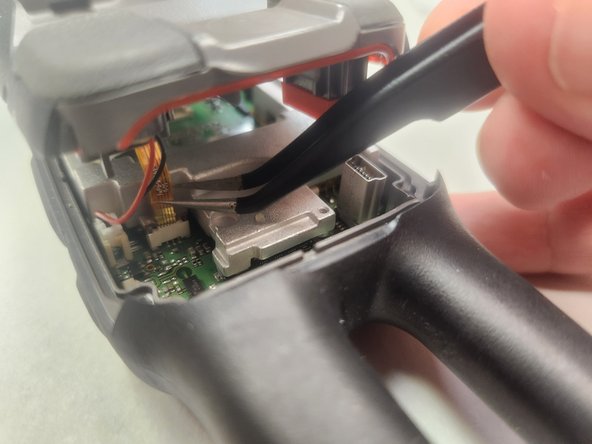
Using your tweezers, lift the brown locking tab securing the ribbon cable in place.
-
Gently grasp the ribbon cable and lift it straight up and out.
-
-
-
-
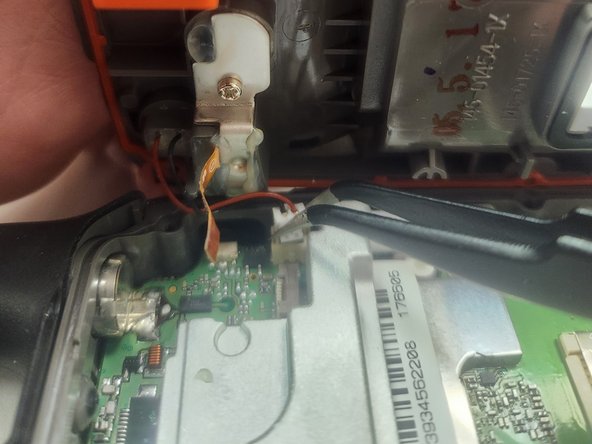
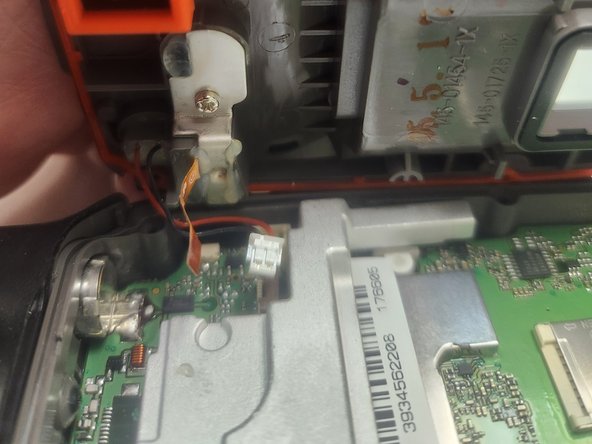
Using your tweezers, lift up on the plastic connector securing the wires to the motherboard. Once this is separated, it will be possible to safely remove the back of the frame.
-
-
-
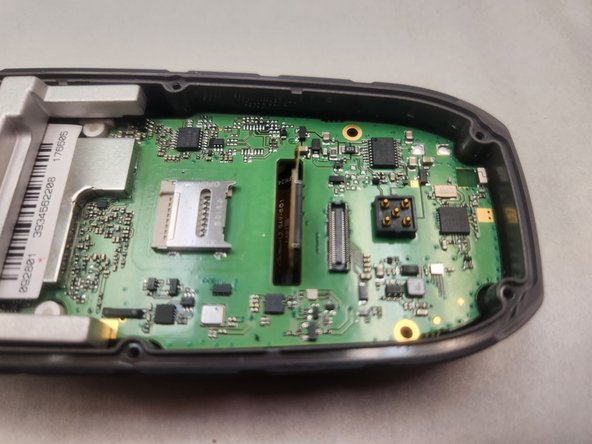
There are two grounding screw holes in the motherboard. While there were no screws present in my model, the base is intact where the screws will screw into. If these screws are present in your model, it will be required to remove these before continuing.
-
-
-
Using the flat edge of your spudger, gently pry up on the press connector. Lift until the connector separates completely and gently bend it backwards until it is out of the way.
-
-
-
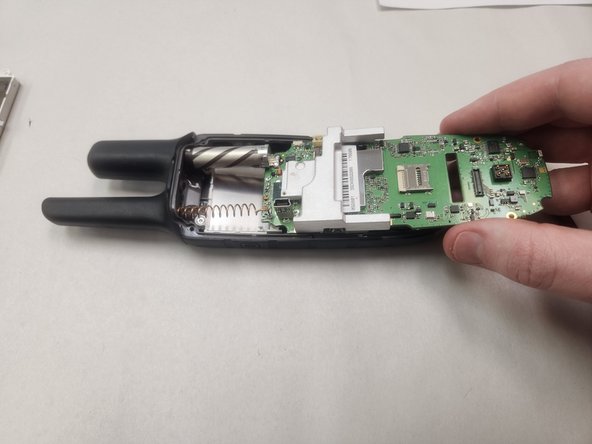
Gently lift the motherboard at the bottom, and begin to slowly and firmly pull it down towards the bottom of the device.
-
Continue pulling with steady, even strength to remove the antennas from their sheaths. The antennas may be stubborn and not want to move easily. Simply continue applying steady and slow pressure.
-
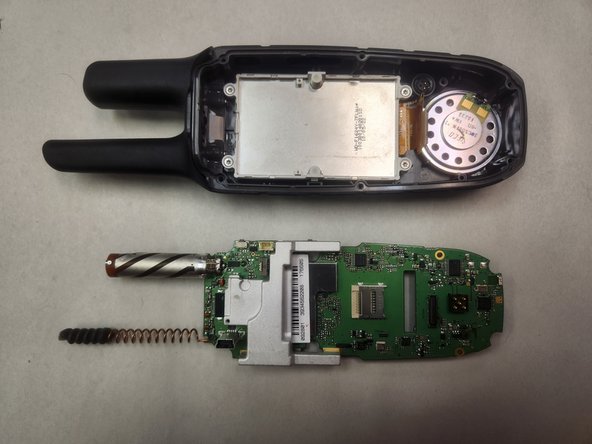
Once the antennas give, pull straight out until the motherboard is completely removed from the device.
-
-
-
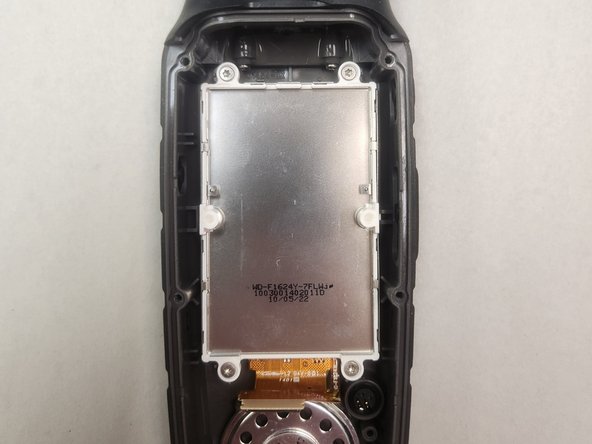
There are 4 Silver T6 Screws securing the screen to the frame.
-
Remove these 4 screws and set them aside. They are identical and interchangeable, so no need to keep them sorted.
-
-
-
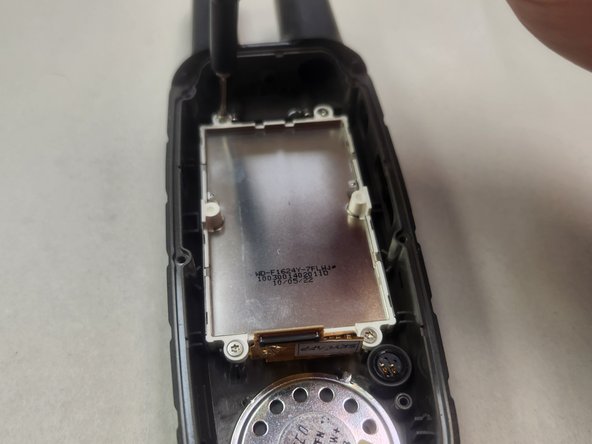
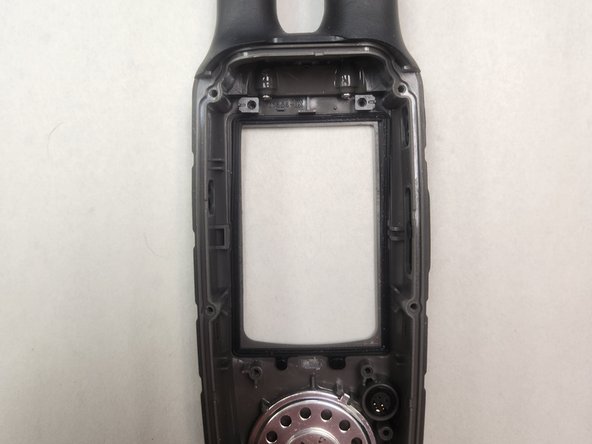
There is a black gasket between the screen and the frame. Be careful while removing the screen, as this gasket can easily be damaged.
-
If it falls out, there are two tabs on the bottom that fit snugly over a couple of notches in the frame. The gasket can only go on one way, so do not try to force it.
-
During reassembly, pay close attention to apply consistent even pressure to the screen. If not, this gasket can slip loose and be improperly stuck between the screen and the frame, as shown here.
-
-
-
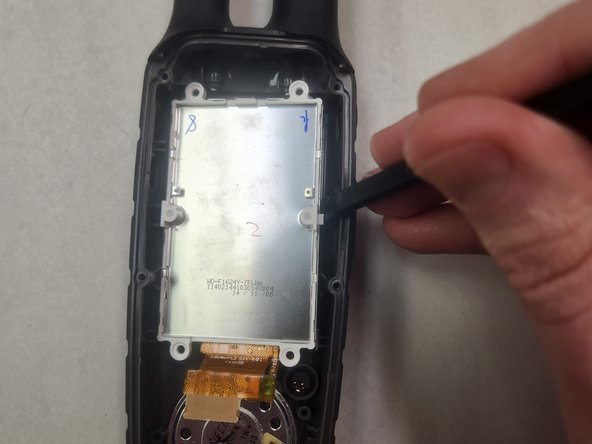
There are two plastic tabs that lock under the frame. Once the screws are removed, these tabs are the only thing holding the screen in place.
-
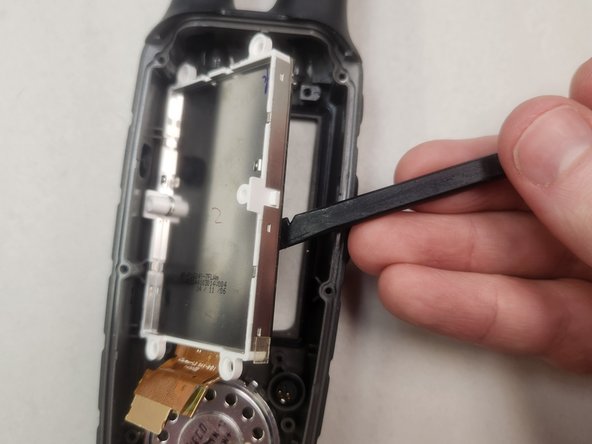
Using the flat edge of your spudger, apply pressure against the right side of the screen assembly and push it to the left to release the plastic locking tab on the right.
-
Once the plastic locking tab is away from the frame, gently lift up on the screen and it should come away easily.
-
-
-
Because the Garmin Rino 650 relies on pressure and rubber gaskets, instead of adhesives, to provide water resistance, cleanup is a breeze!
-
Simply make sure any glass shards from a broken screen (if applicable) are removed, recycle the old screen responsibly, and make sure all rubber gaskets are reseated properly before reassembly.
-


To reassemble your device, follow these instructions in reverse order. Pay special attention to the noted sections regarding the weather resistant sealing.
To reassemble your device, follow these instructions in reverse order. Pay special attention to the noted sections regarding the weather resistant sealing.
Annuleren: ik heb deze handleiding niet afgemaakt.
Één andere persoon heeft deze handleiding voltooid.

Team

7 opmerkingen
Hello..I ordered this screen and followed your procedure all went well👍👍…but turning on the gps the menu icon screen is not fully in the viewing are icon page is off the top and to the left and not fully visible…is this a fault of the screen or something I did or needs to be calibrated..any help would be appreciated
Hi there Stan. Glad my guide could help.
I am not an expert on these specific devices or associated with Garmin in any way. I simply do a lot of repairs in my shop and when there's no good guide for a device and I have to figure things out on my own, I make the guide to help the next person.
During my repair, no calibration was necessary. I can't offer you an explanation on how to fix that, I am very sorry.
Unfortunately it appears the specific listing I have ordered doesn't link properly. It is this one: https://www.ebay.com/itm/313992288429.
However, there were two different versions of the screen (version A and B). Compare your original screen with the new one you received, and compare it between A and B on that link. Did you get the right one? If i were to hazard a guess I'd suspect the different version has some role and you perhaps got the wrong one leading to this issue.
If you can confirm that I'll add a note to the guide detailing such for future repairs.
Thank you..I will check ,and if the versions are different I will report back..also left a message for the supplier recommended on your site as that is how I found them,and will advise you of any solutions ..thanks again.
Ok..yes the issue was I ordered the incorrect version.the site I was looking on did not
Mention 2 versions ..I would add to your guide that there are 2 versions part # located on the amber ribbon connector seen in step 9 pictures at bottom..thanks again for your help
Thank you for the update Stan.
I have added an extra note (step 1) to the guide to try and ensure people do not accidentally run into the same issue you did. I have also changed the part link and it seems to be working properly now.
Glad you were able to get your device working properly again. I hope you have a great day.