Ga door naar hoofdinhoud

Deze versie kan foutieve bewerkingen bevatten. Schakel over naar de recentste gecontroleerde momentopname.

Wat je nodig hebt

  1. Deze stap is niet vertaald. Help het te vertalen

    : stap 1, afbeelding 1 van 3 : stap 1, afbeelding 2 van 3 : stap 1, afbeelding 3 van 3
    • Peel off the sticker in order to find the two Torx T5 screws.

  2. Deze stap is niet vertaald. Help het te vertalen

    : stap 2, afbeelding 1 van 1
    • Remove the two 4mm T5 Torx screws.

  3. Deze stap is niet vertaald. Help het te vertalen

    : stap 3, afbeelding 1 van 3 : stap 3, afbeelding 2 van 3 : stap 3, afbeelding 3 van 3
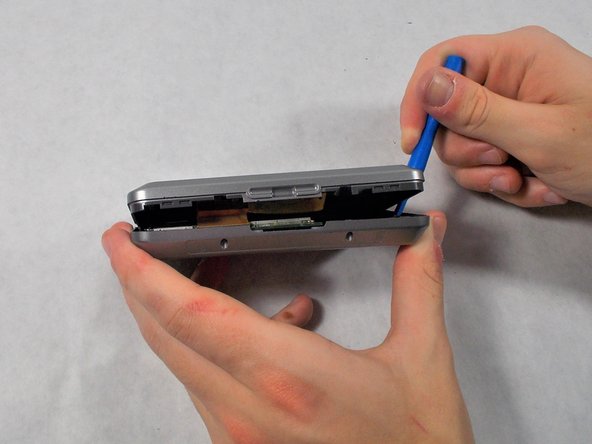
    • Carefully, using your plastic opening tools find the crease which separates the front and rear covers.

    • Once you have a little gap, work it around the whole device with the tool to get separation.

    • There is a ribbon cable between the two covers, be very careful when taking them apart to not damage the ribbon.

  4. Deze stap is niet vertaald. Help het te vertalen

    : stap 4, afbeelding 1 van 2 : stap 4, afbeelding 2 van 2
    • After the case front and rear are separated, carefully lay the two sides down without disconnecting or damaging the orange ribbon cable.

  5. Deze stap is niet vertaald. Help het te vertalen

    : stap 5, afbeelding 1 van 3 : stap 5, afbeelding 2 van 3 : stap 5, afbeelding 3 van 3
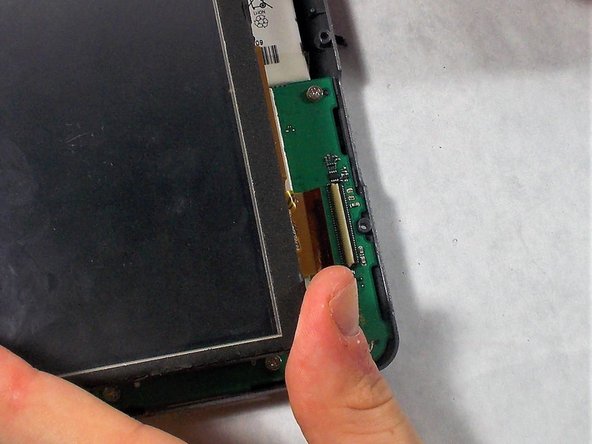
    • Carefully use the black spudger to lift the white retaining clamp on the display cable ZIF connector.

    • Make sure to lift up on the white retaining clamp and not the ZIF connector itself.

    • Slide the orange ribbon cable away from the ZIF connector.

  6. Deze stap is niet vertaald. Help het te vertalen

    : stap 6, afbeelding 1 van 2 : stap 6, afbeelding 2 van 2
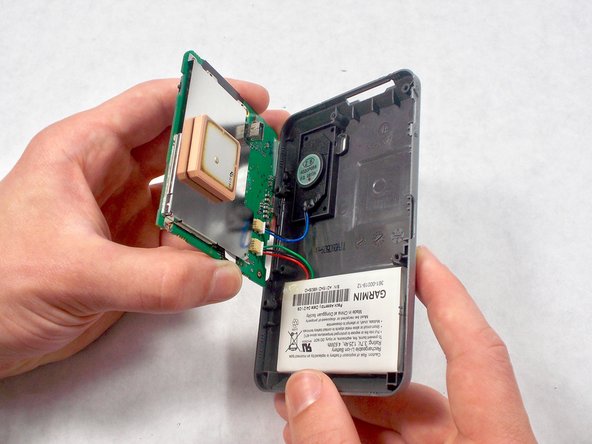
    • Using a screw driver, unscrew the four 2mm screws holding the motherboard in place.

    • Gently lift the motherboard away from the rear cover. Take care to not damage the wires or ports that link the motherboard to other components.

  7. Deze stap is niet vertaald. Help het te vertalen

    : stap 7, afbeelding 1 van 3 : stap 7, afbeelding 2 van 3 : stap 7, afbeelding 3 van 3
    • Using the black spudger, apply pressure to nudge the plug out of its port.

    • Repeat this process for both ports.

  8. Deze stap is niet vertaald. Help het te vertalen

    : stap 8, afbeelding 1 van 3 : stap 8, afbeelding 2 van 3 : stap 8, afbeelding 3 van 3
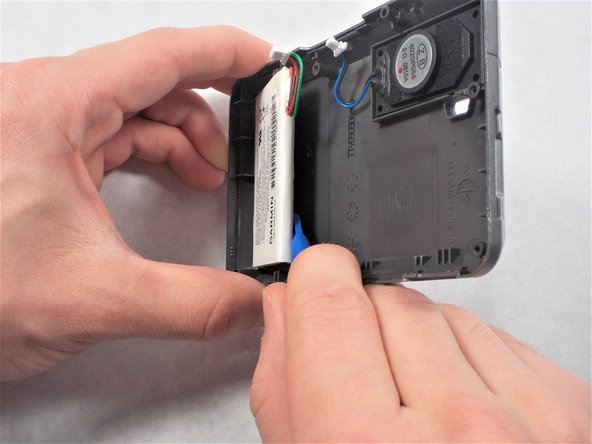
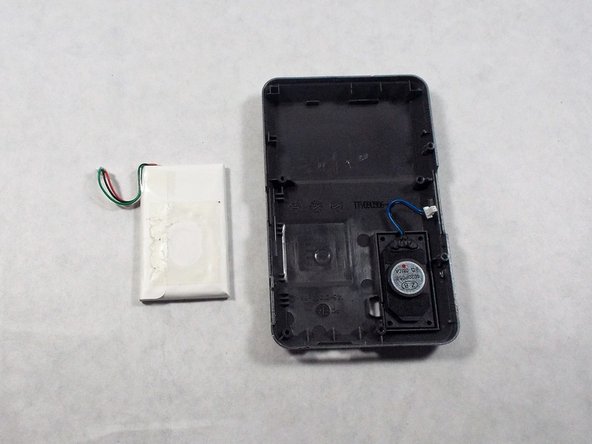
    • Using your opening tools, separate the battery from the top side. Very slowly push your tool down into the crevice.

    • Be careful because the battery is glued to the rear cover, so it does take some force to separate.

    • Once you have a gap big enough, pull the battery off the cover.

Eindstreep

Matthew Eires

Lid sinds: 03/08/17

319 Reputatie

3 handleidingen geschreven

Team

UMass Dartmouth, Team S5-G4, Botvin Spring 2017 Lid van UMass Dartmouth, Team S5-G4, Botvin Spring 2017

UMASSD-BOTVIN-S17S5G4

3 Leden

6 handleidingen geschreven

0 opmerkingen

Voeg opmerking toe

Weergavestatistieken:

Afgelopen 24 uren: 5

Afgelopen 7 dagen: 40

Afgelopen 30 dagen: 158

Altijd: 800