Ga door naar hoofdinhoud
Word lid van de reparatiegemeenschap - Account aanmaken

GameStop GS3 GameCube Controller Disassembly

Wat je nodig hebt

  1. GameStop GS3 GameCube Controller Disassembly, Remove four screws on the back of the unit: stap 1, afbeelding 1 van 2 GameStop GS3 GameCube Controller Disassembly, Remove four screws on the back of the unit: stap 1, afbeelding 2 van 2
    • Turn the controller over so the back is facing upwards.

    Vraag FixBot
  2. GameStop GS3 GameCube Controller Disassembly: stap 2, afbeelding 1 van 3 GameStop GS3 GameCube Controller Disassembly: stap 2, afbeelding 2 van 3 GameStop GS3 GameCube Controller Disassembly: stap 2, afbeelding 3 van 3
    • Carefully pry open the controller. Ensure that the rumble assembly stays intact.

    Vraag FixBot
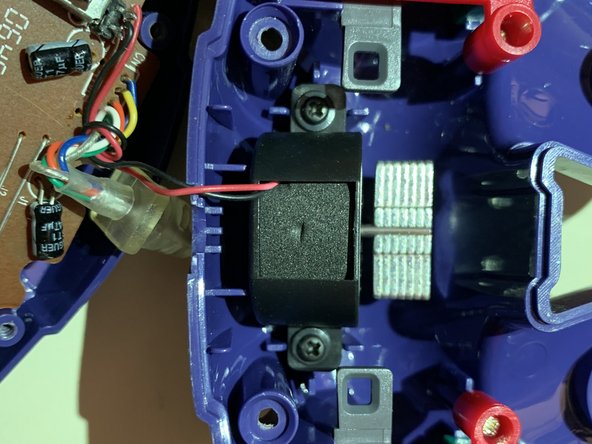
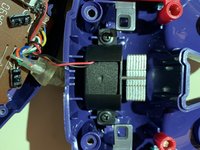
  3. GameStop GS3 GameCube Controller Disassembly: stap 3, afbeelding 1 van 2 GameStop GS3 GameCube Controller Disassembly: stap 3, afbeelding 2 van 2
    • Locate the two black screws attached to the rumble assembly. Remove them and separate the motor from the back casing.

    Vraag FixBot
  4. GameStop GS3 GameCube Controller Disassembly: stap 4, afbeelding 1 van 3 GameStop GS3 GameCube Controller Disassembly: stap 4, afbeelding 2 van 3 GameStop GS3 GameCube Controller Disassembly: stap 4, afbeelding 3 van 3
    • Locate the green pcb on the main assembly. Remove the silver screw on the green pcb to separate it from the controller casing.

    Vraag FixBot
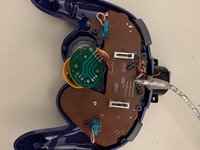
  5. GameStop GS3 GameCube Controller Disassembly: stap 5, afbeelding 1 van 2 GameStop GS3 GameCube Controller Disassembly: stap 5, afbeelding 2 van 2
    • Locate the two silver screws on the brown pcb. Remove them and carefully pry both pcbs off of the controller casing. Ensure that the buttons on the controller casing remain in place.

    Vraag FixBot
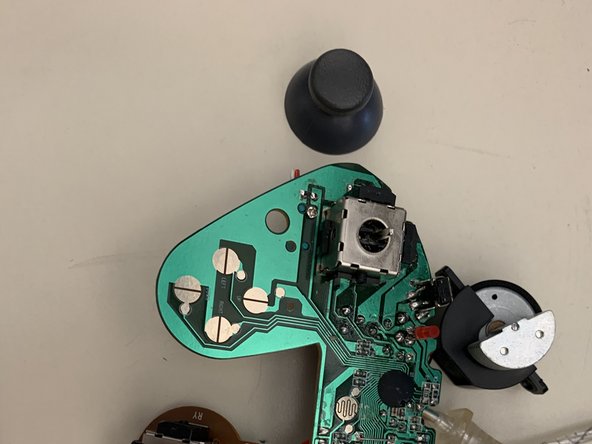
  6. GameStop GS3 GameCube Controller Disassembly: stap 6, afbeelding 1 van 2 GameStop GS3 GameCube Controller Disassembly: stap 6, afbeelding 2 van 2
    • Firmly pry the plastic part of the problematic joystick off of the pcb. Take care to ensure that the pcb remains intact.

    Vraag FixBot
  7. GameStop GS3 GameCube Controller Disassembly: stap 7, afbeelding 1 van 1
    • Examine the joystick module on the pcb. Stick drift is a common problem and is usually caused by dirt and debris inside the metal casing. Use rubbing alcohol and a tissue to clean the affected area.

    Vraag FixBot
Conclusie

To reassemble your device, follow these instructions in reverse order.

Brandon

Lid sinds: 11/18/19

145 Reputatie

1 Handleiding geschreven

0Gids Commentaar

Voeg opmerking toe

Weergavestatistieken:

Afgelopen 24 uren: 0

Afgelopen 7 dagen: 9

Afgelopen 30 dagen: 32

Altijd: 570