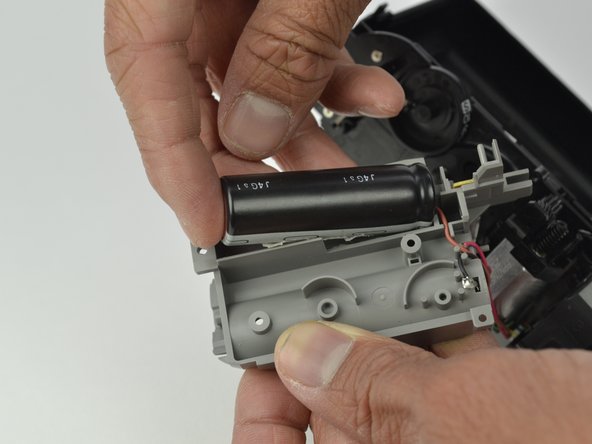
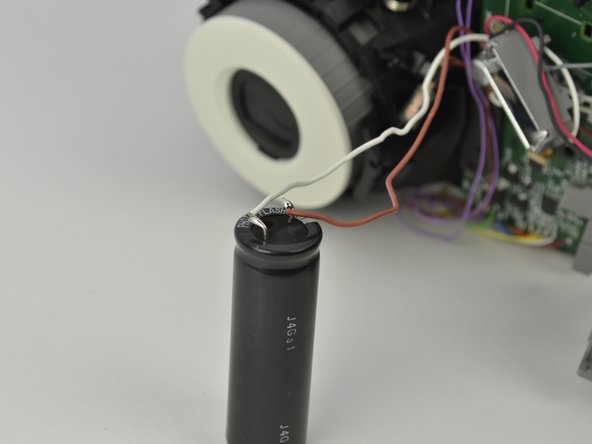
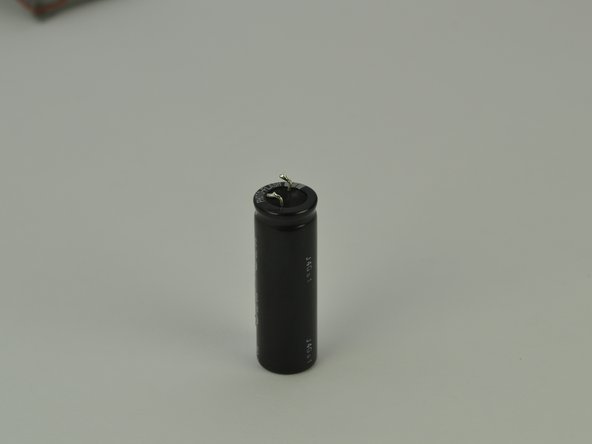
Ga door naar hoofdinhoud
Word lid van de reparatiegemeenschap - Account aanmaken

Fujifilm Instax Minion Capacitor Replacement

Wat je nodig hebt

  1. Fujifilm Instax Minion Capacitor Replacement, Camera Shell: stap 1, afbeelding 1 van 3 Fujifilm Instax Minion Capacitor Replacement, Camera Shell: stap 1, afbeelding 2 van 3 Fujifilm Instax Minion Capacitor Replacement, Camera Shell: stap 1, afbeelding 3 van 3
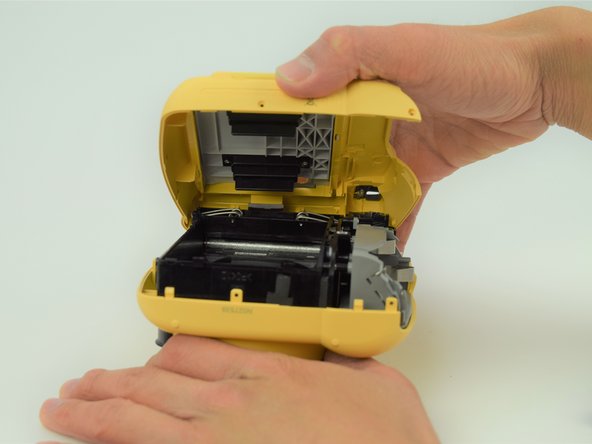
    • Remove the six 4.5 mm #00 Phillips screws from the bottom, left, and right sides.

    Vraag FixBot

    Voeg opmerking toe

  2. Fujifilm Instax Minion Capacitor Replacement: stap 2, afbeelding 1 van 3 Fujifilm Instax Minion Capacitor Replacement: stap 2, afbeelding 2 van 3 Fujifilm Instax Minion Capacitor Replacement: stap 2, afbeelding 3 van 3
    • Use a spudger to remove the film slot guard on the top of the camera.

    • Remove the one 4.5 mm #00 Phillips screw under the slot guard.

    Vraag FixBot

    Voeg opmerking toe

  3. Fujifilm Instax Minion Capacitor Replacement: stap 3, afbeelding 1 van 3 Fujifilm Instax Minion Capacitor Replacement: stap 3, afbeelding 2 van 3 Fujifilm Instax Minion Capacitor Replacement: stap 3, afbeelding 3 van 3
    • Press the release tab on the back of the camera to open the film compartment.

    • Remove the film cartridge within this compartment.

    Vraag FixBot

    Voeg opmerking toe

  4. Fujifilm Instax Minion Capacitor Replacement: stap 4, afbeelding 1 van 3 Fujifilm Instax Minion Capacitor Replacement: stap 4, afbeelding 2 van 3 Fujifilm Instax Minion Capacitor Replacement: stap 4, afbeelding 3 van 3
    • Press the battery cover in and down to remove it.

    • Remove any batteries within.

    Vraag FixBot

    Voeg opmerking toe

  5. Fujifilm Instax Minion Capacitor Replacement: stap 5, afbeelding 1 van 3 Fujifilm Instax Minion Capacitor Replacement: stap 5, afbeelding 2 van 3 Fujifilm Instax Minion Capacitor Replacement: stap 5, afbeelding 3 van 3
    • Use a plastic opening tool to help pry the front and back shells apart.

    • With the camera facing down, remove only the back shell.

    Vraag FixBot

    Voeg opmerking toe

  6. Fujifilm Instax Minion Capacitor Replacement: stap 6, afbeelding 1 van 3 Fujifilm Instax Minion Capacitor Replacement: stap 6, afbeelding 2 van 3 Fujifilm Instax Minion Capacitor Replacement: stap 6, afbeelding 3 van 3
    Gereedschap gebruikt in deze stap:
    Tweezers
    $4.99
    • Carefully peel the front side of the shell away.

    • As you lift the front shell, be careful to not pull too hard since there is a spring attached to the shell and the camera body.

    • Using a set of tweezers, detach the spring from the body. The spring will retract into the black and gray ring on the front shell.

    Vraag FixBot

    Voeg opmerking toe

  7. Fujifilm Instax Minion Capacitor Replacement, Capacitor: stap 7, afbeelding 1 van 3 Fujifilm Instax Minion Capacitor Replacement, Capacitor: stap 7, afbeelding 2 van 3 Fujifilm Instax Minion Capacitor Replacement, Capacitor: stap 7, afbeelding 3 van 3
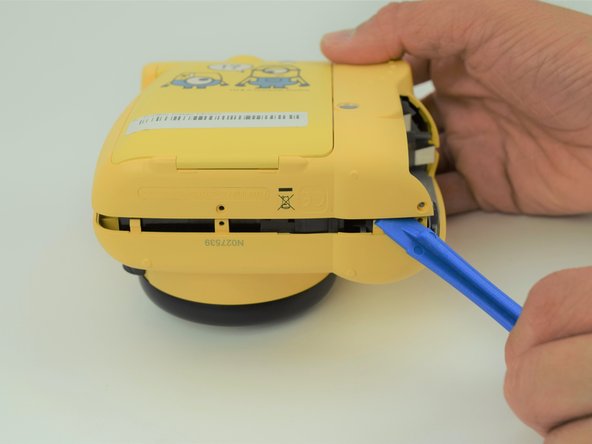
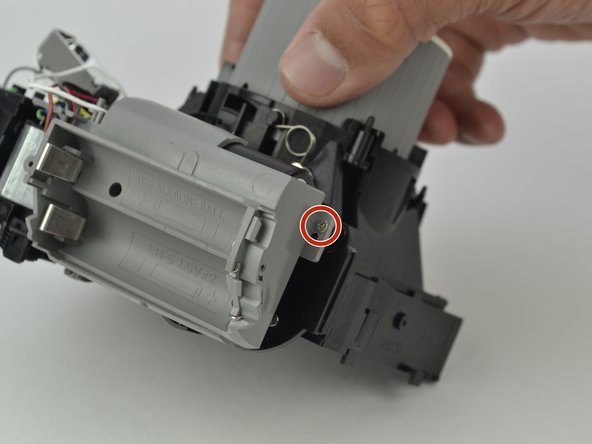
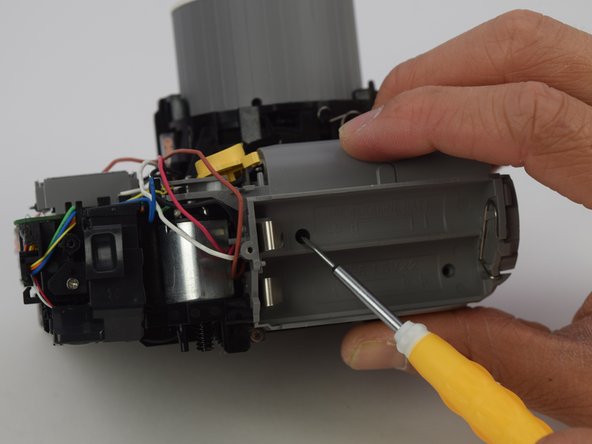
    • Remove the four 4.5 mm screws inside the battery holder with a long #00 Phillips screwdriver.

    Vraag FixBot

    Voeg opmerking toe

  8. Fujifilm Instax Minion Capacitor Replacement: stap 8, afbeelding 1 van 3 Fujifilm Instax Minion Capacitor Replacement: stap 8, afbeelding 2 van 3 Fujifilm Instax Minion Capacitor Replacement: stap 8, afbeelding 3 van 3
    • Gently pull on the battery holder to remove it from the case, exposing the capacitor.

    • Pull up on the backside of the capacitor to remove it from the battery holder.

    • The capacitor will have a small amount of adhesive holding it onto the battery holder. Keep this intact, but don't worry if it is damaged.

    • Be careful not to touch the wire leads on the front of the capacitor, as you could get shocked.

    Vraag FixBot

    Voeg opmerking toe

  9. Fujifilm Instax Minion Capacitor Replacement: stap 9, afbeelding 1 van 2 Fujifilm Instax Minion Capacitor Replacement: stap 9, afbeelding 2 van 2
    • Desolder the ends of the wires from the leads of the capacitor to remove it.

    • Take note of the connections between the wires and leads for reassembly. The brown wire connects to side with white line and the white wire connects to the other side.

    • Be careful not to touch both leads of the capacitor with your soldering iron. This will bridge the connection and could create a spark.

    Vraag FixBot

    Voeg opmerking toe

Conclusie

To reassemble your device, follow these instructions in reverse order.

Annuleren: ik heb deze handleiding niet afgemaakt.

Jeffery

Lid sinds: 03/28/15

220 Reputatie

2 handleidingen geschreven

Team

Cal Poly, Team S18-G6, Livingston Spring 2018 Lid van Cal Poly, Team S18-G6, Livingston Spring 2018

CPSU-LIVINGSTON-S18S18G6

4 Leden

11 handleidingen geschreven

0Gids Commentaar

Voeg opmerking toe

Weergavestatistieken:

Afgelopen 24 uren: 2

Afgelopen 7 dagen: 15

Afgelopen 30 dagen: 47

Altijd: 1,111