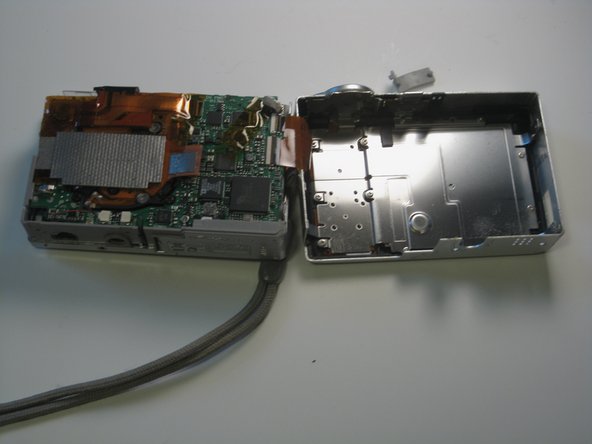
Ga door naar hoofdinhoud

Fujifilm Finepix F10 6.3 MP Front cover Replacement

Wat je nodig hebt

  1. Fujifilm Finepix F10 6.3 MP Front cover Replacement, Back Cover: stap 1, afbeelding 1 van 1
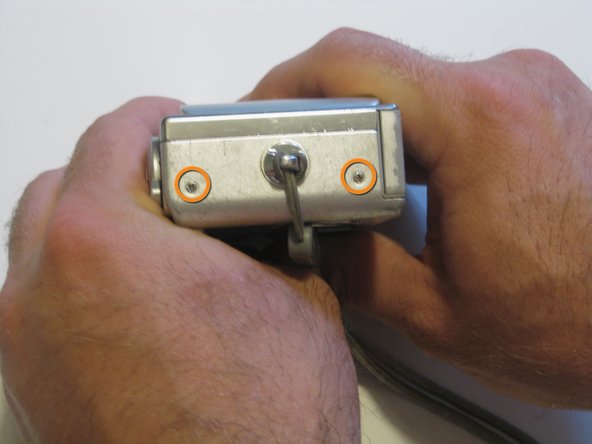
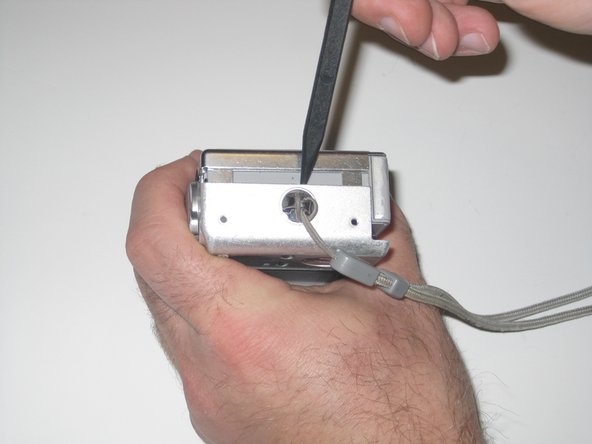
    • Remove the screws from the bottom of the camera using the tri-wing screwdriver.

    • Three 5.4 mm tri-head screws.

  2. Fujifilm Finepix F10 6.3 MP Front cover Replacement: stap 2, afbeelding 1 van 1
    • Remove screws from charger side of camera using the Phillips 00 screwdriver.

    • Two 3.3 mm Phillips #00 screws.

  3. Fujifilm Finepix F10 6.3 MP Front cover Replacement: stap 3, afbeelding 1 van 1
    • Remove screws from wrist-strap side of camera using the Phillips 00 screwdriver.

    • Two 3.3 mm Phillips #00 screws.

  4. Fujifilm Finepix F10 6.3 MP Front cover Replacement: stap 4, afbeelding 1 van 3 Fujifilm Finepix F10 6.3 MP Front cover Replacement: stap 4, afbeelding 2 van 3 Fujifilm Finepix F10 6.3 MP Front cover Replacement: stap 4, afbeelding 3 van 3
    • Separate the front and back casing using the spudger.

    • Gently pull apart the two casings.

    • Pull the back casing away from the camera.

  5. Fujifilm Finepix F10 6.3 MP Front cover Replacement, Front cover: stap 5, afbeelding 1 van 1
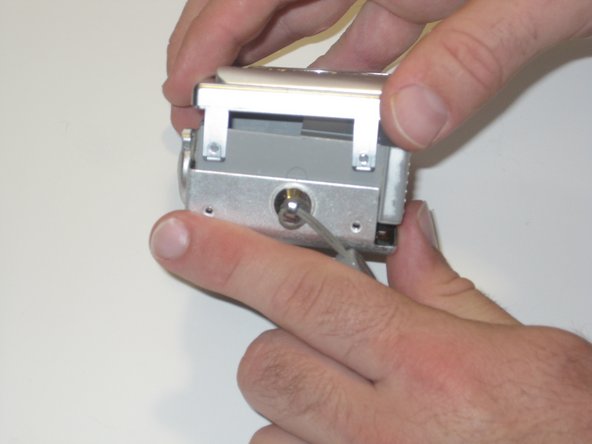
    • Remove screws from motherboard using the Phillips 00 screwdriver.

    • Two 2.5 mm widehead Phillips screws

    • One 3.3 mm #00 Phillips screws

    • Three 2.5 mm #00 Phillips screws (black screws)

  6. Fujifilm Finepix F10 6.3 MP Front cover Replacement: stap 6, afbeelding 1 van 1
    • Rotate the front cover clockwise onto its side and remove the single screw on the side using a Phillips 00 screwdriver.

    • Remove 3.3 mm #00 Phillips screw from the side of the front screen.

  7. Fujifilm Finepix F10 6.3 MP Front cover Replacement: stap 7, afbeelding 1 van 2 Fujifilm Finepix F10 6.3 MP Front cover Replacement: stap 7, afbeelding 2 van 2
    • Firmly grasp both the motherboard and front cover. Slowly pull the front cover away from the motherboard.

    • Do not be alarmed if it takes substantial pressure to separate the two.

Conclusie

To reassemble your device, follow these instructions in reverse order.

Één andere persoon heeft deze handleiding voltooid.

Sarah Looper

Lid sinds: 03/11/13

100 Reputatie

7 handleidingen geschreven

Team

Clemson, Team 13-4, Benson Spring 2013 Lid van Clemson, Team 13-4, Benson Spring 2013

CLEM-BENSON-S13S13G4

2 Leden

16 handleidingen geschreven

0 opmerkingen

Voeg opmerking toe

Weergavestatistieken:

Afgelopen 24 uren: 0

Afgelopen 7 dagen: 0

Afgelopen 30 dagen: 4

Altijd: 860