Ga door naar hoofdinhoud

Fujifilm FinePix XP10SE LCD Replacement

Wat je nodig hebt

  1. Fujifilm FinePix XP10SE LCD Replacement, Lens: stap 1, afbeelding 1 van 1
    • Remove the screws from the lens cover

  2. Fujifilm FinePix XP10SE LCD Replacement: stap 2, afbeelding 1 van 1
    • Remove the screws from the side metal cover of outer case.

  3. Fujifilm FinePix XP10SE LCD Replacement: stap 3, afbeelding 1 van 2 Fujifilm FinePix XP10SE LCD Replacement: stap 3, afbeelding 2 van 2
    • Gently remove the Lens from the housing.

  4. Fujifilm FinePix XP10SE LCD Replacement, Front Cover: stap 4, afbeelding 1 van 3 Fujifilm FinePix XP10SE LCD Replacement, Front Cover: stap 4, afbeelding 2 van 3 Fujifilm FinePix XP10SE LCD Replacement, Front Cover: stap 4, afbeelding 3 van 3
    • Use a screwdriver to remove the four screws from the top and bottom of the camera. Remove the screws securing the lanyard as well.

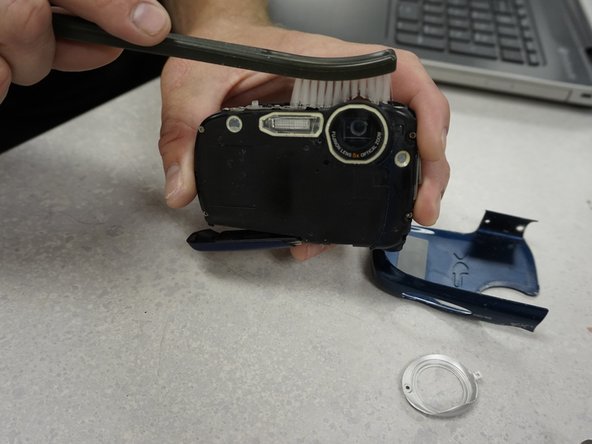
    • Use a T5 Torx bit to secure the exterior decorative cover of the device.

  5. Fujifilm FinePix XP10SE LCD Replacement: stap 5, afbeelding 1 van 2 Fujifilm FinePix XP10SE LCD Replacement: stap 5, afbeelding 2 van 2
    • Use a plastic opening tool to detach the case.

  6. Fujifilm FinePix XP10SE LCD Replacement: stap 6, afbeelding 1 van 2 Fujifilm FinePix XP10SE LCD Replacement: stap 6, afbeelding 2 van 2
    • Use the plastic opening tool to cautiously pry the casing off of the camera.

  7. Fujifilm FinePix XP10SE LCD Replacement: stap 7, afbeelding 1 van 3 Fujifilm FinePix XP10SE LCD Replacement: stap 7, afbeelding 2 van 3 Fujifilm FinePix XP10SE LCD Replacement: stap 7, afbeelding 3 van 3
    • Carefully slide the case to the left. Avoid cracking the case on the lens.

  8. Fujifilm FinePix XP10SE LCD Replacement, LCD: stap 8, afbeelding 1 van 1
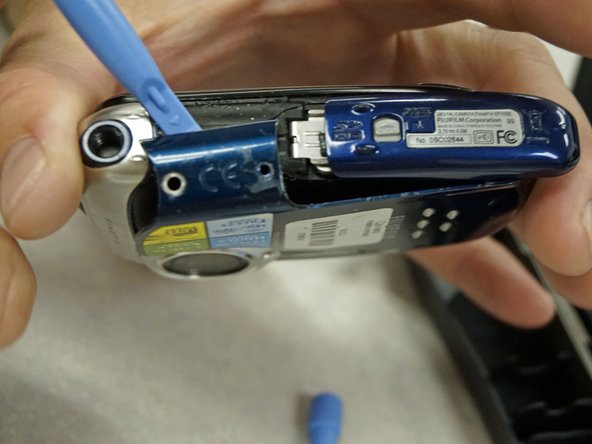
    • Locate the securing tabs of the housing unit.

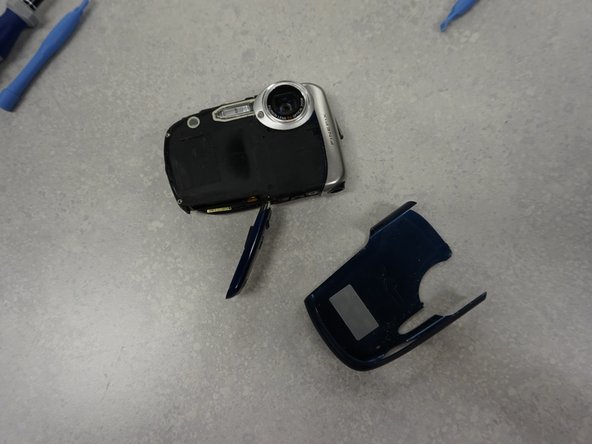
    • Using the spongerslowly work your way around the outside of the case using the sponging tool to pry open the case.

    • *** Take extreme caution when doing this being careful not to break the securing tabs of the housing.

  9. Fujifilm FinePix XP10SE LCD Replacement: stap 9, afbeelding 1 van 1
    • Once the case is open locate the Ribbon cable attachment for the LCD screen.

    • Carefully ensure that the LCD screen is free from all attachments and any tape securing the ribbon cable is released.

  10. Fujifilm FinePix XP10SE LCD Replacement: stap 10, afbeelding 1 van 2 Fujifilm FinePix XP10SE LCD Replacement: stap 10, afbeelding 2 van 2
    • Gently lift up on the black securing bar of the ribbon cable in order to free it from the units motherboard, thus releasing the LCD from the computer.

Conclusie

To reassemble your device, follow these instructions in reverse order.

Één andere persoon heeft deze handleiding voltooid.

Bryan

Lid sinds: 01/25/15

598 Reputatie

5 handleidingen geschreven

Team

Pasco Hernando, Team 5-1, Prince Winter 2015 Lid van Pasco Hernando, Team 5-1, Prince Winter 2015

PHSC-PRINCE-W15S5G1

5 Leden

10 handleidingen geschreven

0 opmerkingen

Voeg opmerking toe

Weergavestatistieken:

Afgelopen 24 uren: 0

Afgelopen 7 dagen: 3

Afgelopen 30 dagen: 12

Altijd: 167