Ga door naar hoofdinhoud

Fujifilm FinePix F505EXR LCD monitor Replacement

Wat je nodig hebt

  1. Fujifilm FinePix F505EXR LCD monitor Replacement, Battery: stap 1, afbeelding 1 van 2 Fujifilm FinePix F505EXR LCD monitor Replacement, Battery: stap 1, afbeelding 2 van 2
    • Power the device down before taking any other actions.

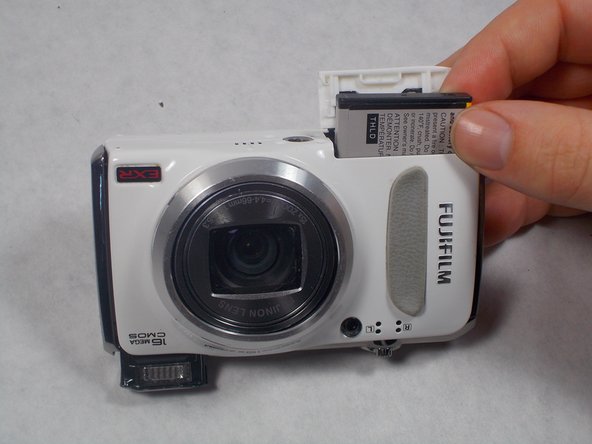
    • Hold the camera with the lens facing towards youself.

    • Turn the camera upside down and place your right thumb on the battery chamber cover.

  2. Fujifilm FinePix F505EXR LCD monitor Replacement: stap 2, afbeelding 1 van 2 Fujifilm FinePix F505EXR LCD monitor Replacement: stap 2, afbeelding 2 van 2
    • Hold the camera, then pull the battery chamber towards yourself with your right thumb.

    • Pull the cover entirely out and release it to reveal the battery.

  3. Fujifilm FinePix F505EXR LCD monitor Replacement: stap 3, afbeelding 1 van 2 Fujifilm FinePix F505EXR LCD monitor Replacement: stap 3, afbeelding 2 van 2
    • Locate the orange battery latch that holds the battery in place.

    • Use your finger to push the latch away from yourself to release the battery.

    • Remove the battery manually from the battery chamber.

    • Place the battery into a charger if it is dead.

    • Remove battery before performing any other repairs.

    • Replace defective battery if previous steps fail

    • Contact support on the Fujifilm website for further assistance

  4. Fujifilm FinePix F505EXR LCD monitor Replacement, Selector Button Circuit Board: stap 5, afbeelding 1 van 3 Fujifilm FinePix F505EXR LCD monitor Replacement, Selector Button Circuit Board: stap 5, afbeelding 2 van 3 Fujifilm FinePix F505EXR LCD monitor Replacement, Selector Button Circuit Board: stap 5, afbeelding 3 van 3
    • Remove four 2.5mm Phillips #1 screws on the bottom of the camera near where the camera mount attaches.

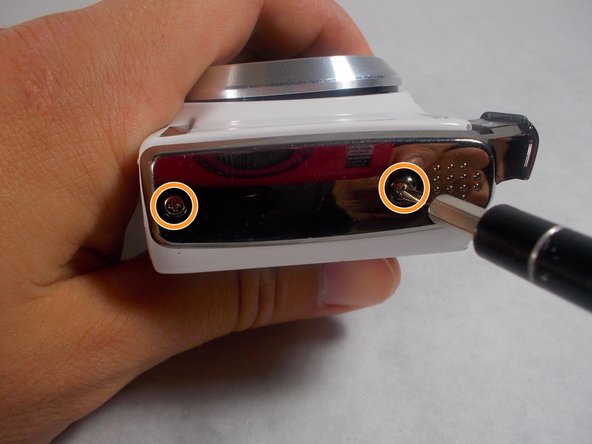
    • Remove two 5.1mm Phillips #1 screws on the left side of the camera relative to the LCD screen.

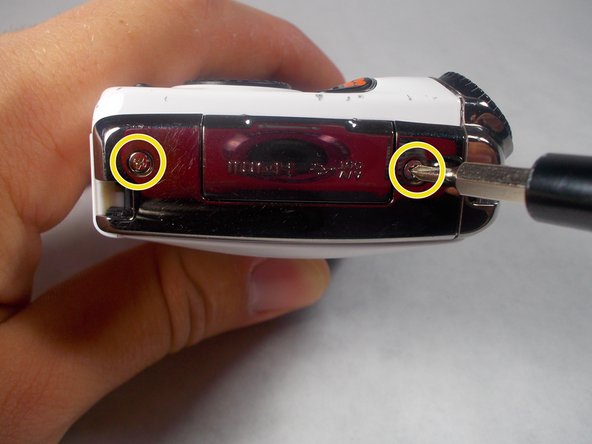
    • Remove two 5.1mm Phillips #1 screws on the right side of the camera relative to the LCD screen nearest to the mode wheel.

  5. Fujifilm FinePix F505EXR LCD monitor Replacement: stap 6, afbeelding 1 van 2 Fujifilm FinePix F505EXR LCD monitor Replacement: stap 6, afbeelding 2 van 2
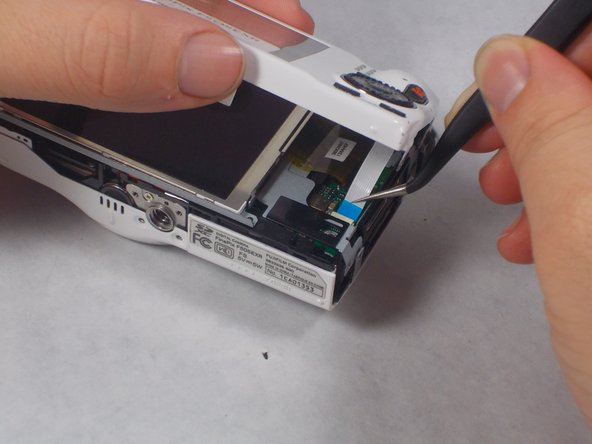
    • Place the camera lens face down with the LCD screen face up on a flat surface, or hold it. Carefully lift the camera’s back cover approximately 1 inch.

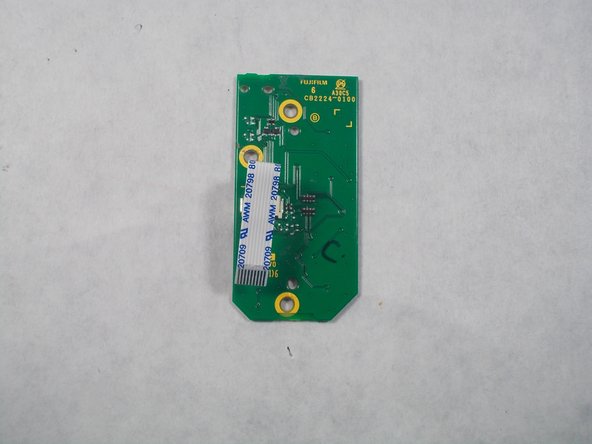
    • Carefully lift the ribbon clamp connector back using the tweezers and remove the blue ribbon.

    • Do NOT pull on ribbon if the ribbon clamp connector still grasps the blue ribbon. This could cause severe damage to the ribbon.

    • If you are replacing the LCD monitor you can skip steps 6 and 7 for the selector button circuit board guide and go directly to the LCD monitor repair guide.

    • If you are replacing the Mode Dial you can skip steps 6 and 7 for the selector button circuit board guide and go directly to the Mode Dial repair guide.

  6. Fujifilm FinePix F505EXR LCD monitor Replacement: stap 7, afbeelding 1 van 1
    • Remove the back of the camera case and place it on a flat surface with the selector button circuit board facing up.

    • Remove the three 3.5mm Phillips #1 screws located on the chip seen in the image.

  7. Fujifilm FinePix F505EXR LCD monitor Replacement: stap 8, afbeelding 1 van 3 Fujifilm FinePix F505EXR LCD monitor Replacement: stap 8, afbeelding 2 van 3 Fujifilm FinePix F505EXR LCD monitor Replacement: stap 8, afbeelding 3 van 3
    • Lift the chip with tweezers to remove it from the other remaining components.

  8. Fujifilm FinePix F505EXR LCD monitor Replacement, LCD monitor: stap 9, afbeelding 1 van 1
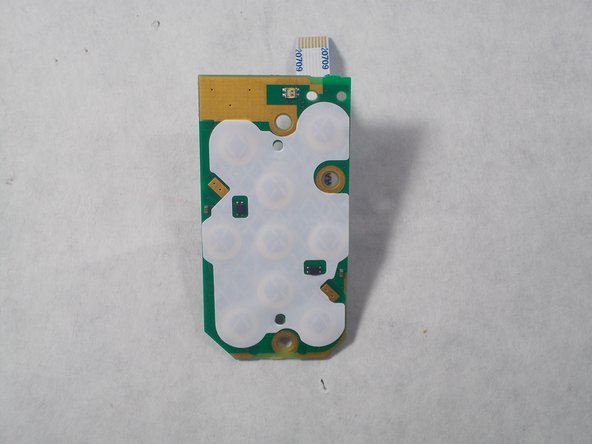
    • With the LCD monitor facing upwards, use the tweezers to lift the ribbon clamp which will release the grip on the ribbon.

    • Failure to do this can result in major damage to the connection.

  9. Fujifilm FinePix F505EXR LCD monitor Replacement: stap 10, afbeelding 1 van 1
    • With the tweezers pull the ribbon away from the connector, freeing it and allowing it to move.

  10. Fujifilm FinePix F505EXR LCD monitor Replacement: stap 11, afbeelding 1 van 1
    • With your fingers around the edges of the LCD monitor, lift it away from the camera.

Conclusie

To reassemble your device, follow these instructions in reverse order.

Brittany Perkins

Lid sinds: 03/20/17

310 Reputatie

3 handleidingen geschreven

Team

UMass Dartmouth, Team S2-G6, Isaacson Spring 2017 Lid van UMass Dartmouth, Team S2-G6, Isaacson Spring 2017

UMASSD-ISAACSON-S17S2G6

3 Leden

10 handleidingen geschreven

0 opmerkingen

Voeg opmerking toe

Weergavestatistieken:

Afgelopen 24 uren: 0

Afgelopen 7 dagen: 0

Afgelopen 30 dagen: 3

Altijd: 337