Ga door naar hoofdinhoud

Fitbit Charge HR Screen Replacement

Wat je nodig hebt

  1. Fitbit Charge HR Screen Replacement, Screen: stap 1, afbeelding 1 van 1
    • Remove the four 2.9 mm screws from the back of the display using a Torx screwdriver.

    • Remove the back cover from the device.

  2. Fitbit Charge HR Screen Replacement: stap 2, afbeelding 1 van 3 Fitbit Charge HR Screen Replacement: stap 2, afbeelding 2 van 3 Fitbit Charge HR Screen Replacement: stap 2, afbeelding 3 van 3
    • Remove the two 2.9 mm Torx screws holding the circuit board in place.

    • Carefully pry the board out using an opening tool.

  3. Fitbit Charge HR Screen Replacement: stap 3, afbeelding 1 van 2 Fitbit Charge HR Screen Replacement: stap 3, afbeelding 2 van 2
    • Remove the motherboard assembly from the device.

    • Flip the motherboard over so the screen is facing upwards.

  4. Fitbit Charge HR Screen Replacement: stap 4, afbeelding 1 van 3 Fitbit Charge HR Screen Replacement: stap 4, afbeelding 2 van 3 Fitbit Charge HR Screen Replacement: stap 4, afbeelding 3 van 3
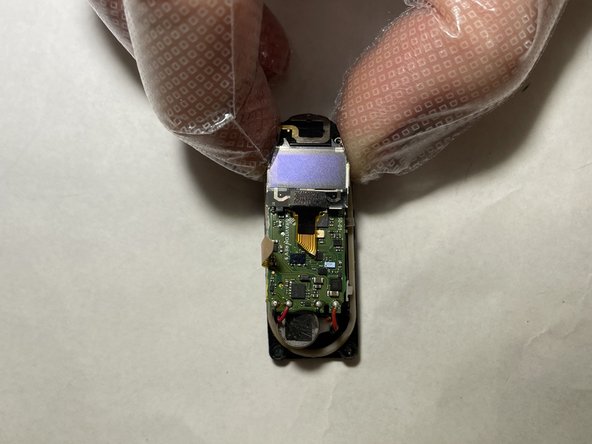
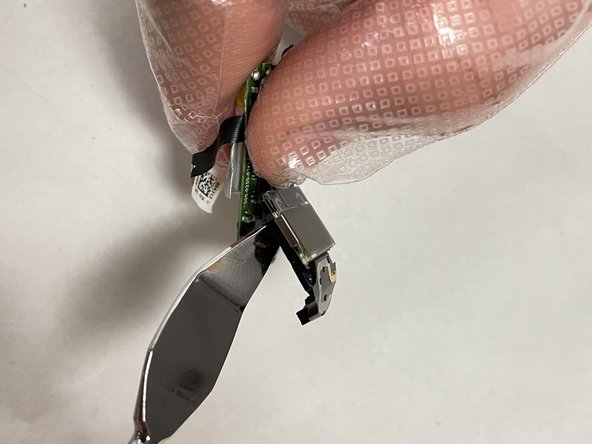
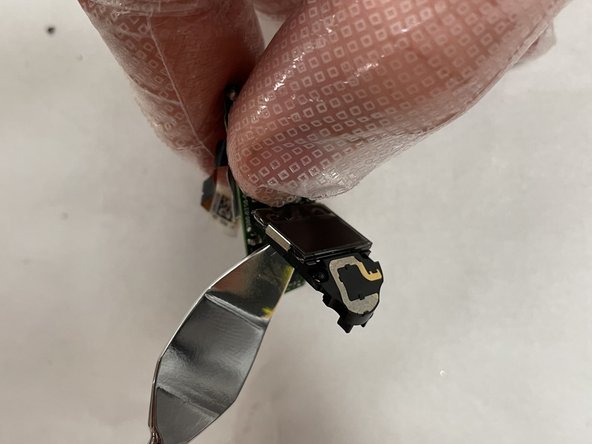
    • Wedge a nylon spudger between the screen and the motherboard.

    • Gently pry the screen up and remove it from the motherboard.

    • Metal spudgers can puncture an unprotected battery and damage components like the motherboard. Always choose a tool that's ESD-safe, such as a nylon spudger or plastic opening tool.

Conclusie

To reassemble your device, follow these instructions in reverse order.

Één andere persoon heeft deze handleiding voltooid.

0 opmerkingen

Voeg opmerking toe

Weergavestatistieken:

Afgelopen 24 uren: 0

Afgelopen 7 dagen: 3

Afgelopen 30 dagen: 19

Altijd: 779