Inleiding
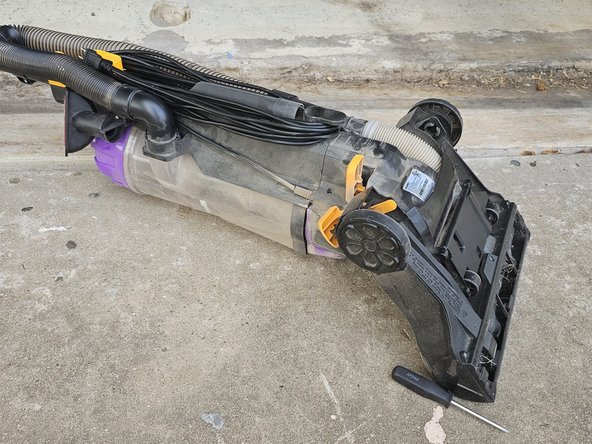
Vacuum cleaners are essential household appliances, simplifying the chore of maintaining clean and dust-free living spaces. However, what can be more frustrating than a vacuum that suddenly halts during your cleaning routine? The iFixit project I'm embarking on aims to address this issue by providing a comprehensive repair guide for the Eureka Powerspeed Vacuum Model NEU182B.
In today's fast-paced world, where time is of the essence, the last thing anyone wants is a vacuum cleaner that doesn't perform optimally. This project, titled "How To Unclog and Replace the Belt and Brush on a Eureka Powerspeed Vacuum Model # NEU182B," focuses on empowering users to troubleshoot and resolve common issues they may encounter with their Eureka Powerspeed vacuums.
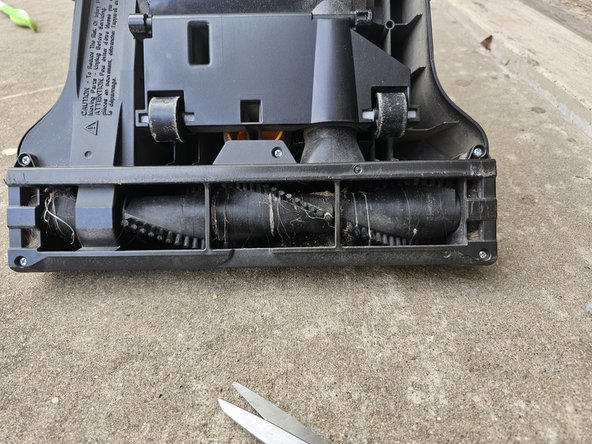
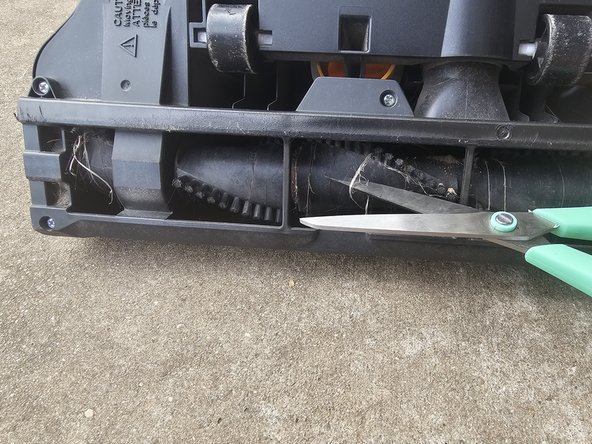
Our repair guide will cover a step-by-step process for unclogging the vacuum, ensuring it operates efficiently. Also, we'll be sure to provide detailed instructions on replacing the belt and brush, a task that is often required for proper maintenance.
The purpose of this guide is not only to offer solutions but to make the repair process accessible to users of all levels of expertise. Not everyone is a seasoned DIY enthusiast, so our guide will be designed with clarity and simplicity.
This project addresses an existing gap in repair information available on the web. While there is an owner's manual for the Eureka Powerspeed Vacuum, the images and descriptions leave much to be desired. Our guide is intended to provide a more detailed, user-friendly, and informative resource for anyone seeking to troubleshoot and repair their vacuum cleaner.
Whether you're a seasoned DIY enthusiast or a first-time vacuum repairer, our project aspires to be your go-to resource for addressing common issues with the Eureka Powerspeed Vacuum Model NEU182B. This guide will save you time and prolong your vacuum's life, reducing the need for costly replacements.
Thank you for joining us to make vacuum maintenance accessible to all. Let's dive into the intricacies of the Eureka Powerspeed Vacuum and discover how to keep it running smoothly.
Wat je nodig hebt
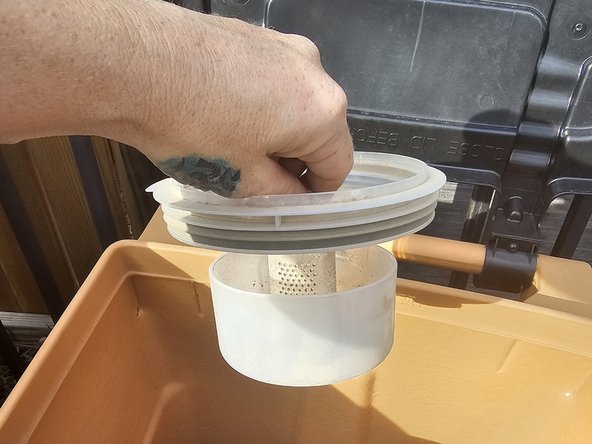
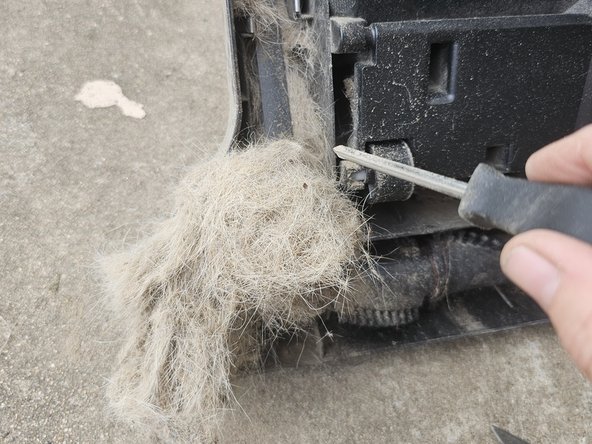
-
-
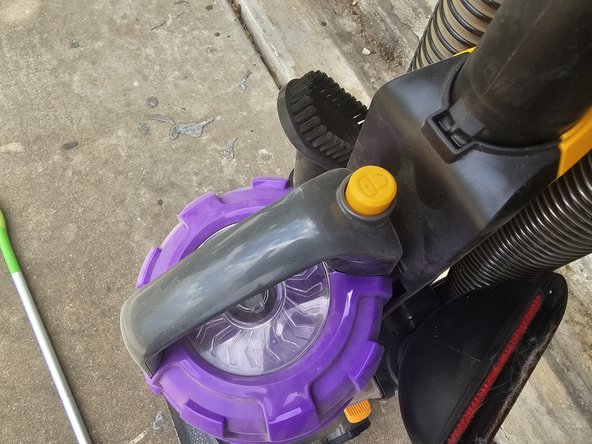
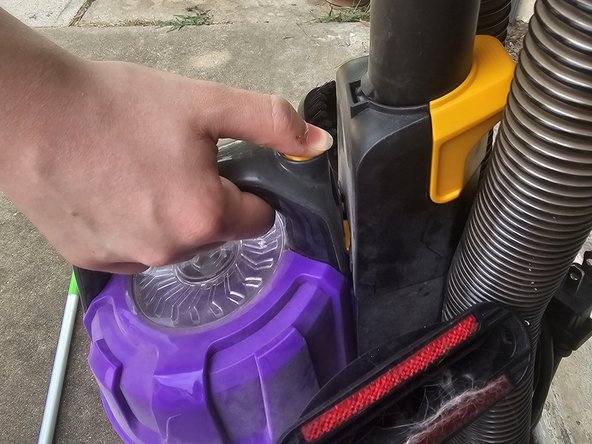
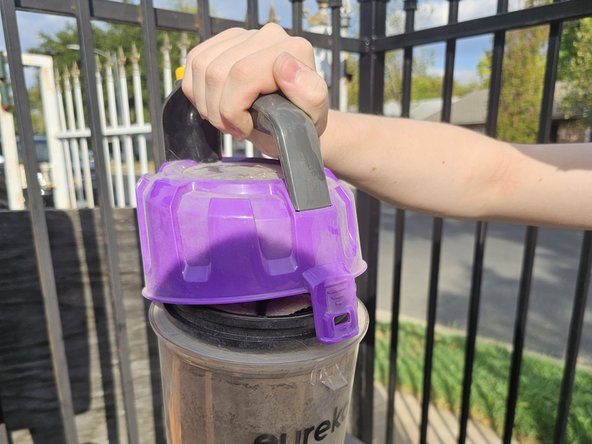
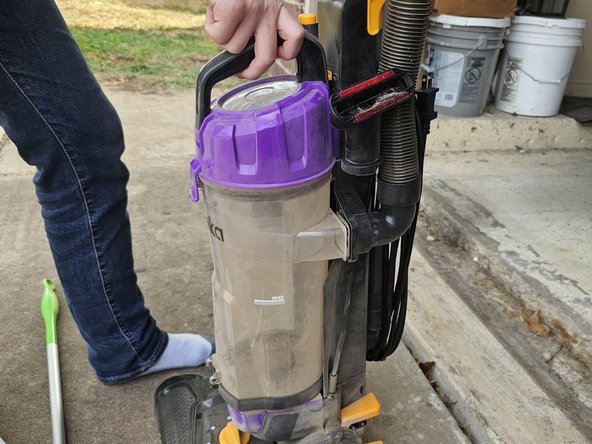
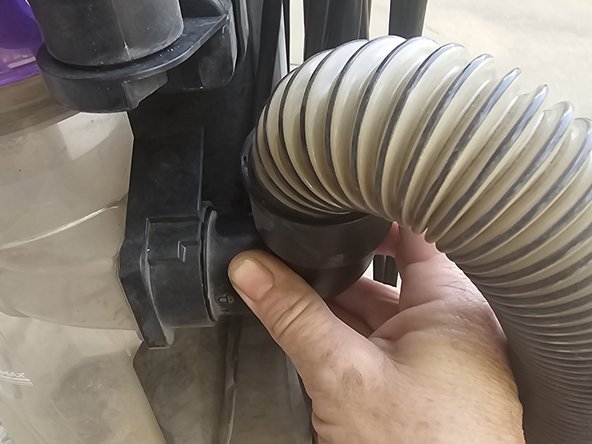
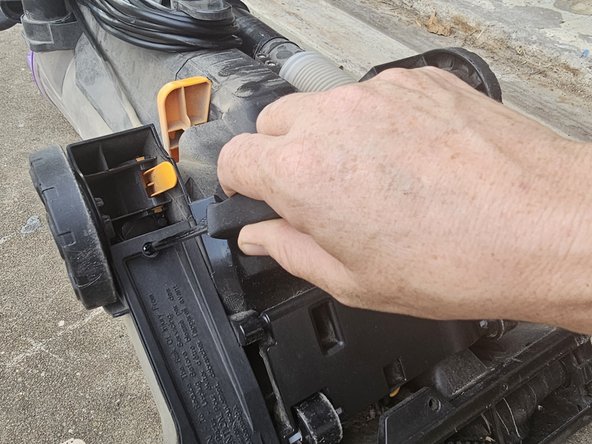
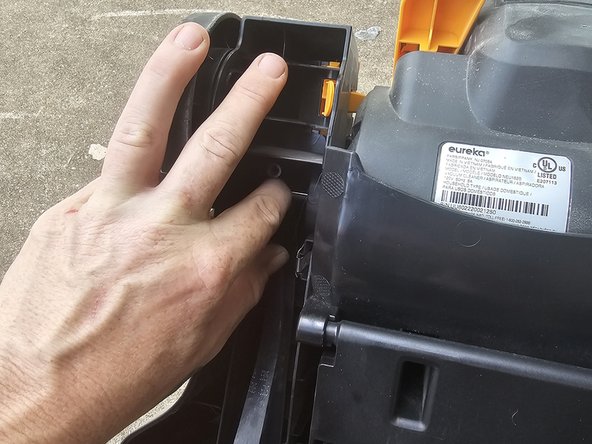
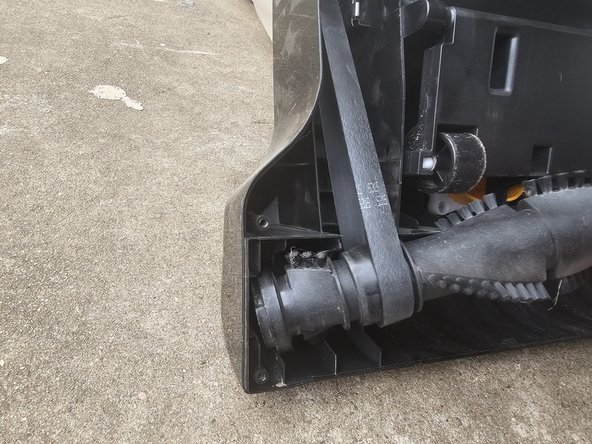
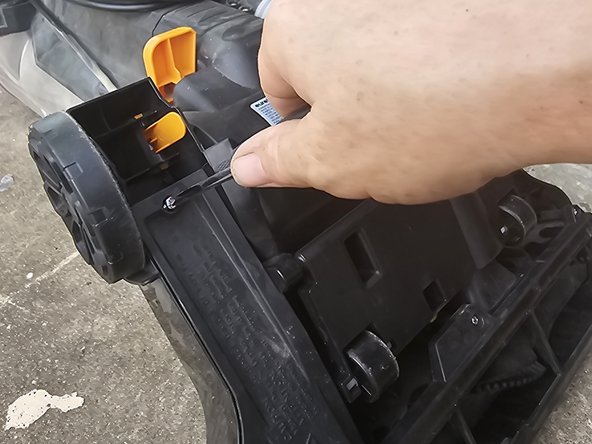
Press the orange button on the top of the canister.
-
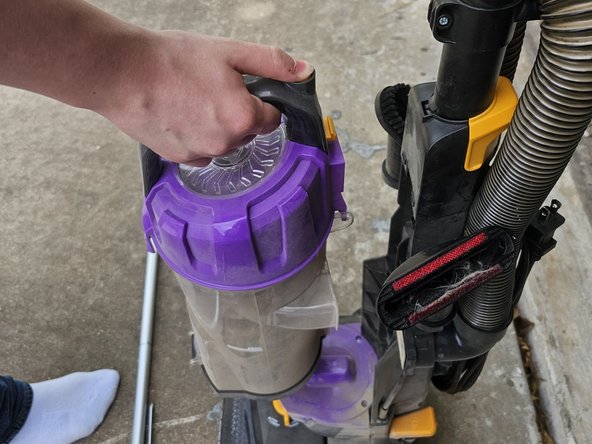
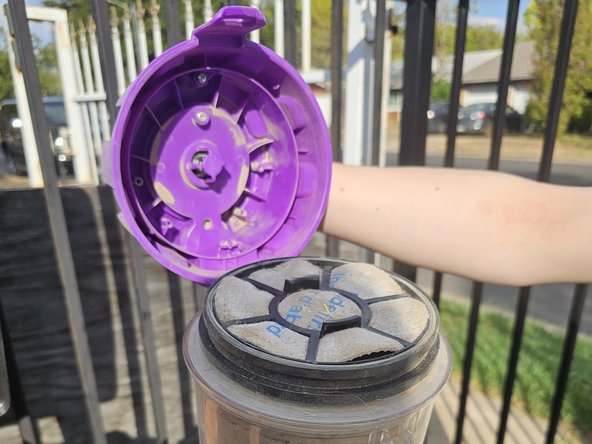
Pull it towards you to release it from the vacuum.
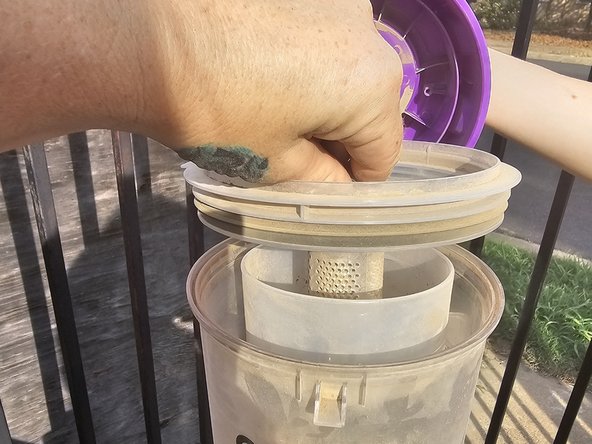
-
-
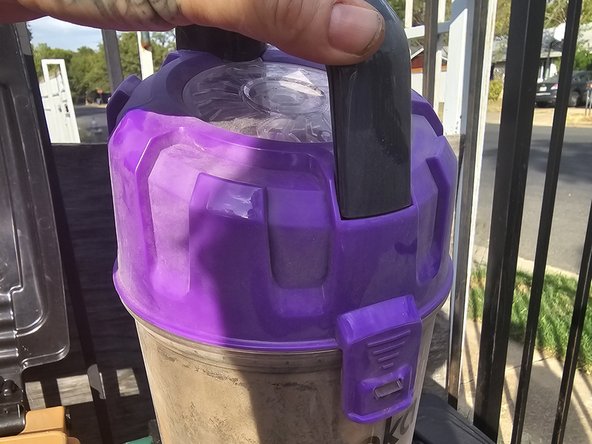
-
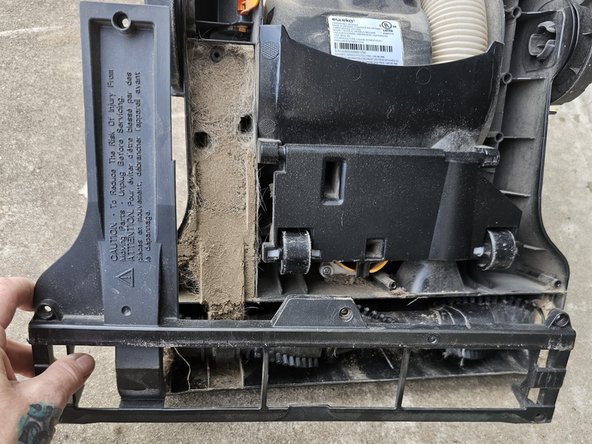
-
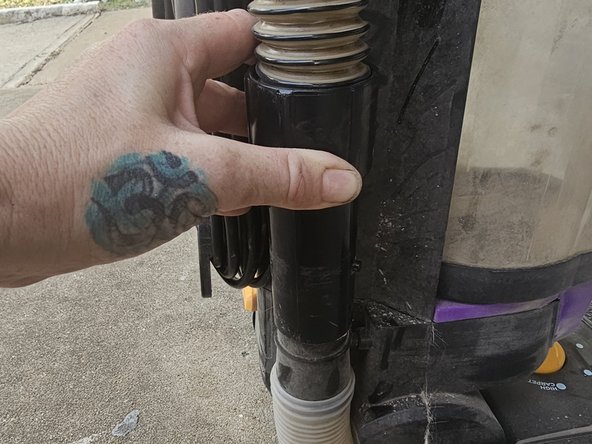
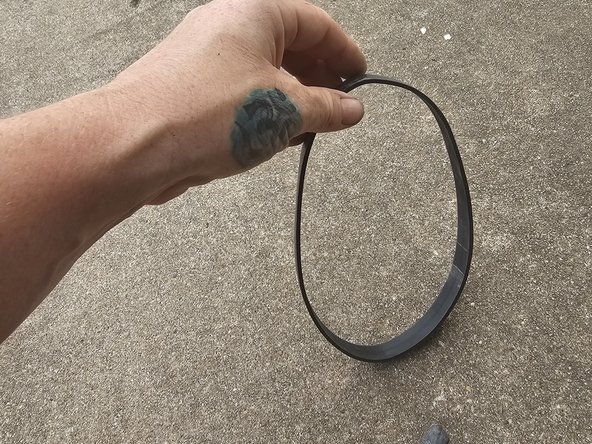
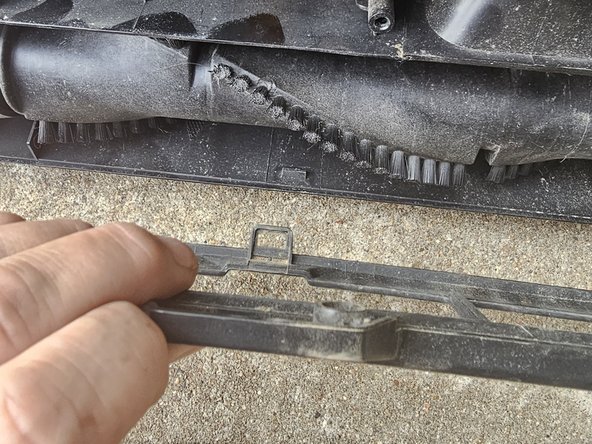
The belt is the first to be installed.
-
Take one end of the belt and slip it onto the silver peg at the top, left-hand side of the base.
-
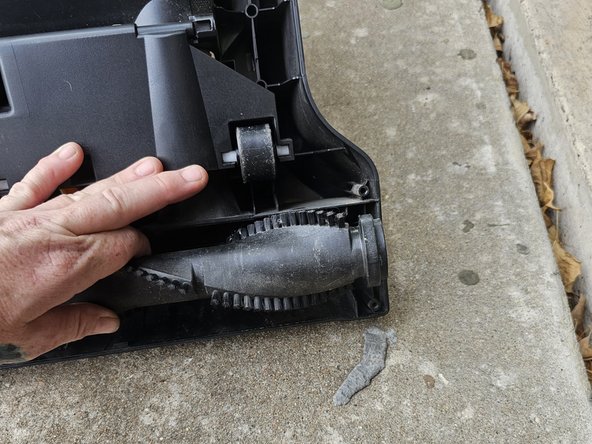
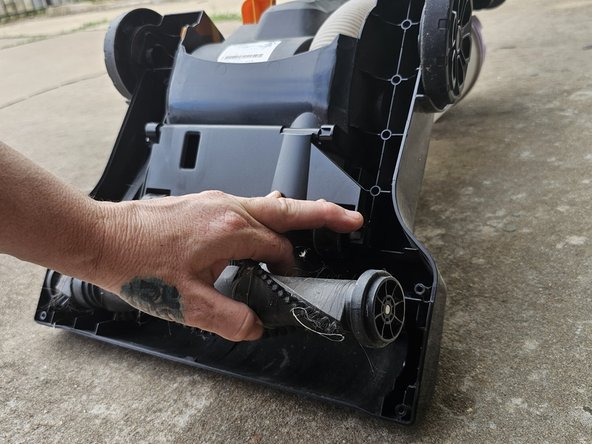
The bottom end of the belt will be placed onto the new brush roll.
-
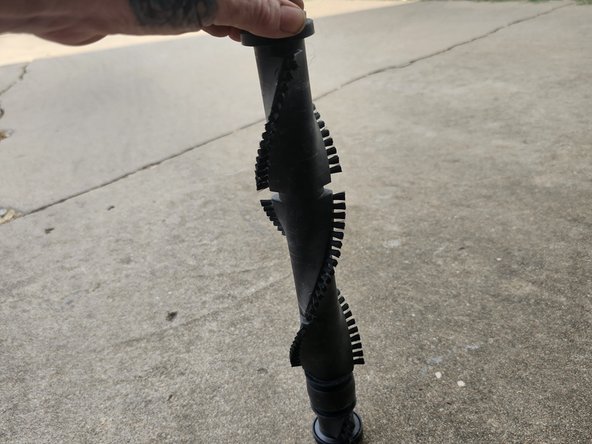
Pay attention to which end of the brush roll has the belt.
-
Make sure it is the end that has the open groove without bristles.
-
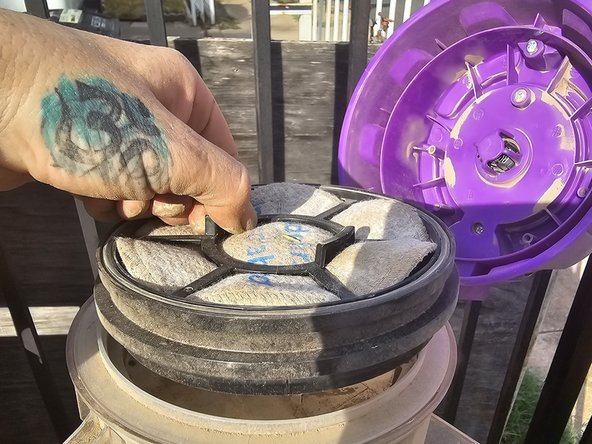
-
-
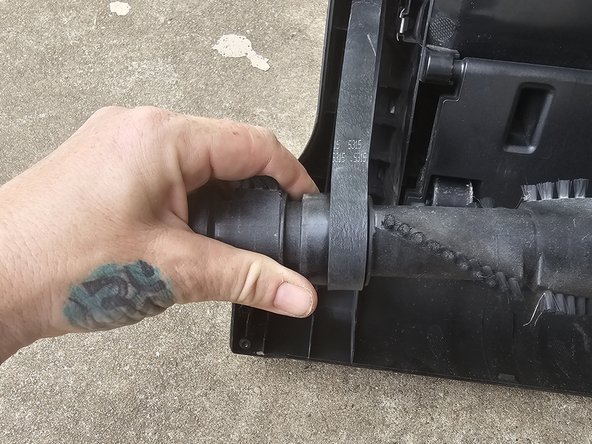
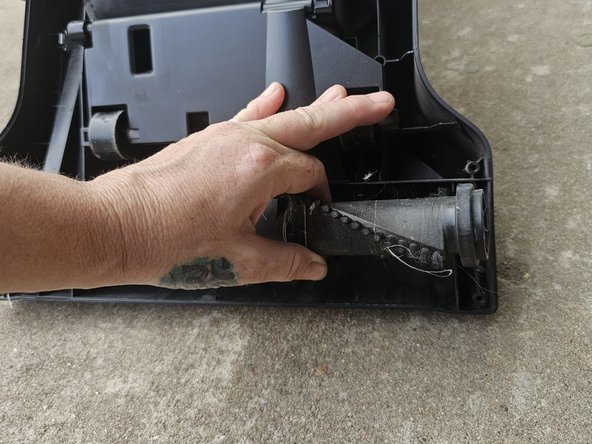
With the left end of the brush roll secured into place, insert the right-hand side into its slot.
-
You can test whether both ends are correct by gently spinning the brush with your hand.
-
If it turns easily, the brush head has been installed correctly. If not, reverse the steps and try again.
-


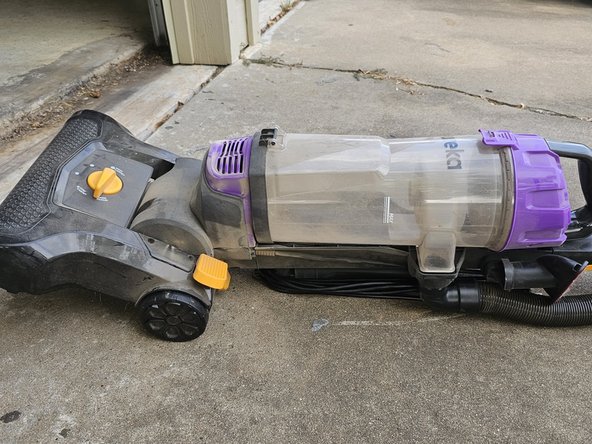


To reassemble your device, follow these instructions in reverse order.
To reassemble your device, follow these instructions in reverse order.

Team

Austin Community College, Team 22-2, Watkins Fall 2023 Lid van Austin Community College, Team 22-2, Watkins Fall 2023
AUSTINCC-WATKINS-F23S22G2
1 Lid
1 handleiding geschreven