Ga door naar hoofdinhoud

Ematic EGQ307 Digitizer Replacement

Wat je nodig hebt

  1. Ematic EGQ307 Digitizer Replacement, Digitizer: stap 1, afbeelding 1 van 2 Ematic EGQ307 Digitizer Replacement, Digitizer: stap 1, afbeelding 2 van 2
    • There are two screws on the side with the micro USB power port. Remove the two 2mm x 0.5mm screws with a Phillips #0 Screwdriver head.

  2. Ematic EGQ307 Digitizer Replacement: stap 2, afbeelding 1 van 2 Ematic EGQ307 Digitizer Replacement: stap 2, afbeelding 2 van 2
    • Pry off the plastic backing with the spudger and the plastic opening tools. Anything that can provide enough leverage and not conduct electricity will also work for this purpose.

    • Carefully separate the front and back plates because the wire that connects the speaker is connected to both the front and back plates.

  3. Ematic EGQ307 Digitizer Replacement: stap 3, afbeelding 1 van 3 Ematic EGQ307 Digitizer Replacement: stap 3, afbeelding 2 van 3 Ematic EGQ307 Digitizer Replacement: stap 3, afbeelding 3 van 3
    Gereedschap gebruikt in deze stap:
    Plastic Cards
    $2.99
    Koop
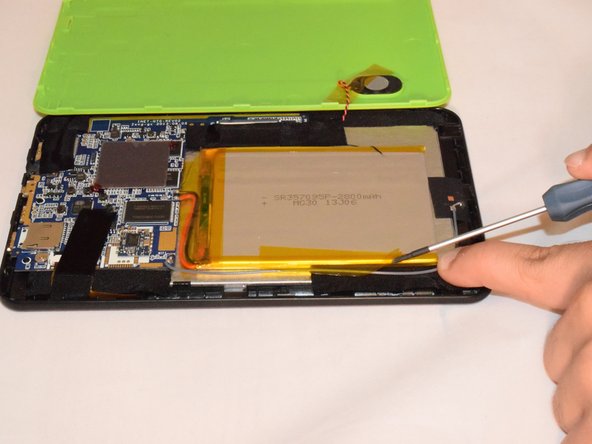
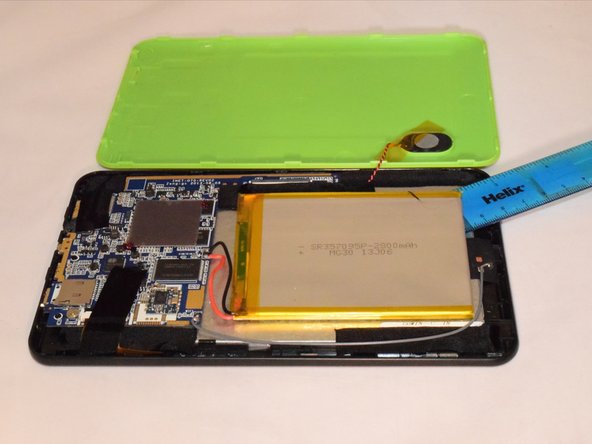
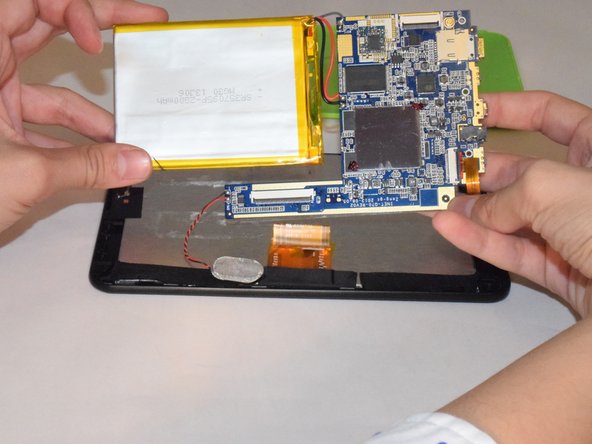
    • Once you pry off the plastic backing, you will expose the battery and the motherboard.

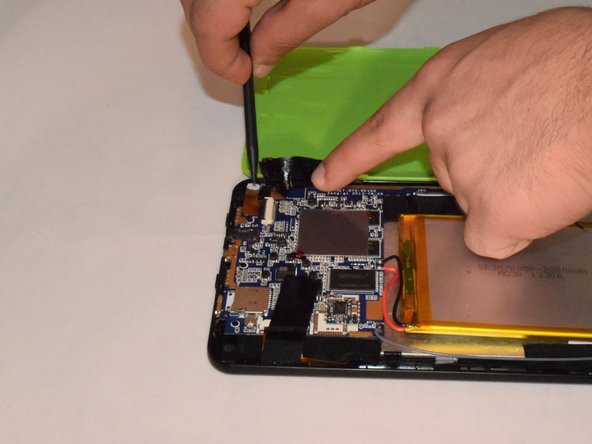
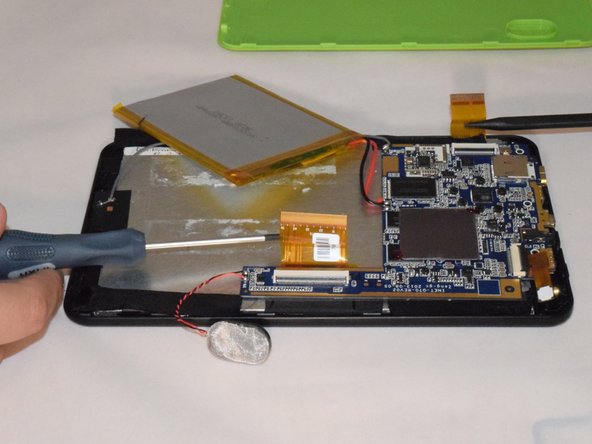
    • Remove the tape holding the battery to the plastic frame. The battery is glued to the back of the LCD.

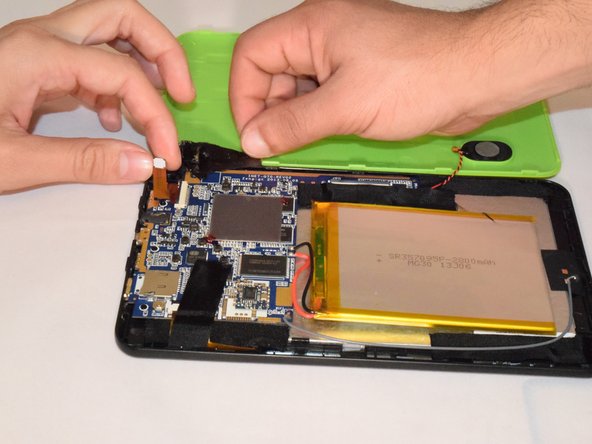
    • Pry the battery off the LCD using a flat and rigid piece of plastic, such as the plastic card.

  4. Ematic EGQ307 Digitizer Replacement: stap 4, afbeelding 1 van 3 Ematic EGQ307 Digitizer Replacement: stap 4, afbeelding 2 van 3 Ematic EGQ307 Digitizer Replacement: stap 4, afbeelding 3 van 3
    • Carefully remove the tape holding the camera in place as the camera is attached to the backing of the tape.

    • Gently lift up the black lever that’s holding the camera ribbon in place using a long piece of stiff plastic.

    • Now, remove the camera from the device.

  5. Ematic EGQ307 Digitizer Replacement: stap 5, afbeelding 1 van 3 Ematic EGQ307 Digitizer Replacement: stap 5, afbeelding 2 van 3 Ematic EGQ307 Digitizer Replacement: stap 5, afbeelding 3 van 3
    • Remove the three 2mm x 0.5mm screws with a Phillips #0 Screwdriver head from the motherboard.

    • Carefully remove the motherboard from the LCD backing. Remove tape from the edges of the LCD.

    • Carefully pry off the LCD with a piece of plastic.

    • Carefully remove the motherboard, battery, and the speaker, so wires do not get disconnected.

  6. Ematic EGQ307 Digitizer Replacement: stap 6, afbeelding 1 van 3 Ematic EGQ307 Digitizer Replacement: stap 6, afbeelding 2 van 3 Ematic EGQ307 Digitizer Replacement: stap 6, afbeelding 3 van 3
    • Now Protective Screen is removed and is ready to be replaced.

Conclusie

To reassemble your device, follow these instructions in reverse order.

Één andere persoon heeft deze handleiding voltooid.

Jonathan Scinto

Lid sinds: 07/21/15

530 Reputatie

4 handleidingen geschreven

0 opmerkingen

Voeg opmerking toe

Weergavestatistieken:

Afgelopen 24 uren: 0

Afgelopen 7 dagen: 0

Afgelopen 30 dagen: 1

Altijd: 1,013