Inleiding
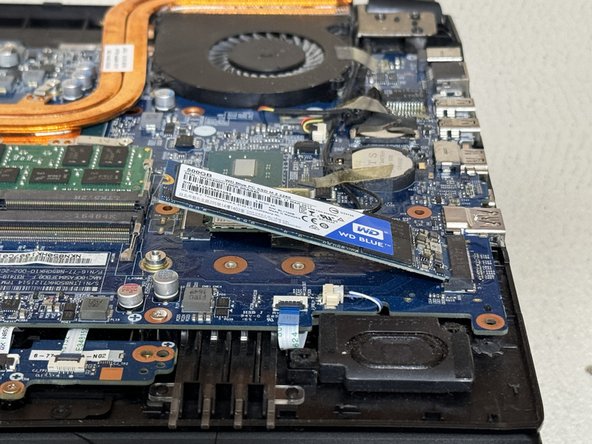
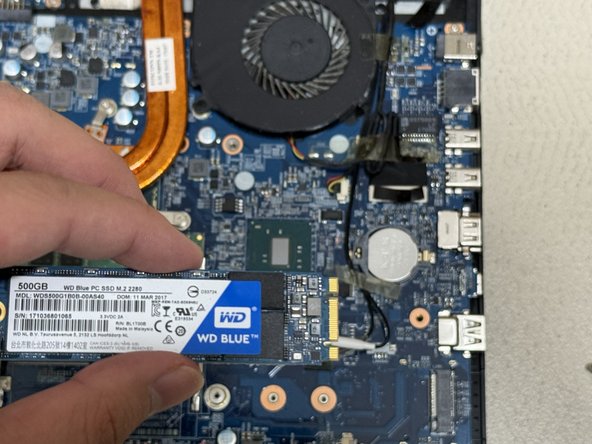
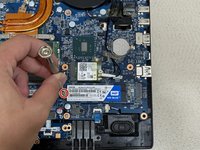
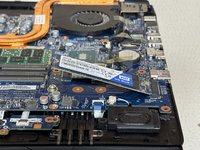
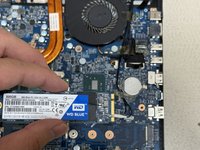
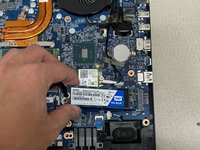
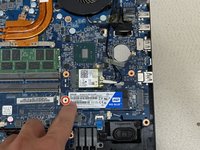
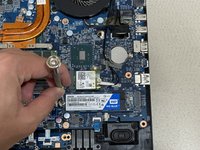
The Eluktronics N850HK is a laptop model equipped with an M.2 PCIe SSD. The SSD is a storage device, used to store the data in a laptop. Removing the SSD from the laptop is necessary to check for damages, or to replace the card. Replacing a laptop's SSD can yield greater storage space and higher reading/writing speeds.
Replacing the SSD in the N850HK is a simple task that can be accomplished with just a screwdriver and some careful handling. This guide will cover the replacement of the SSD in this laptop model.
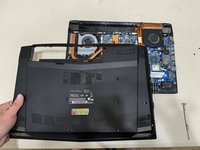
Before you begin this repair, power off your laptop and unplug it from the power cord. For an additional safety measure, disconnect or remove the battery prior to the repair.
Wat je nodig hebt
-
-
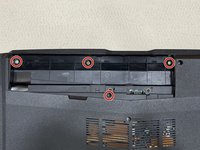
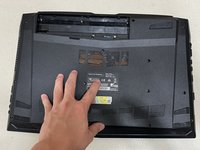
Push both switch locks inward to unlock the battery from the bottom panel.
-
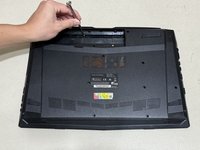
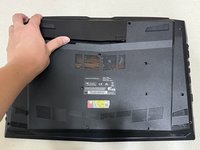
Remove the battery from the back of the laptop.
-
-


Alternative models where this guide may still apply:
- Eluktronics N857HK1
- Eluktronics N850HP6
Annuleren: ik heb deze handleiding niet afgemaakt.
4 andere personen hebben deze handleiding voltooid.
Team

Austin Community College, Team 6-12, Watkins Summer 2024 Lid van Austin Community College, Team 6-12, Watkins Summer 2024
AUSTINCC-WATKINS-SU24S6G12
1 Lid
4 handleidingen geschreven