Ga door naar hoofdinhoud

Dyson DC39 Origin Ball Wheels Replacement

Wat je nodig hebt

  1. Dyson DC39 Origin Ball Wheels Replacement, Bin: stap 1, afbeelding 1 van 3 Dyson DC39 Origin Ball Wheels Replacement, Bin: stap 1, afbeelding 2 van 3 Dyson DC39 Origin Ball Wheels Replacement, Bin: stap 1, afbeelding 3 van 3
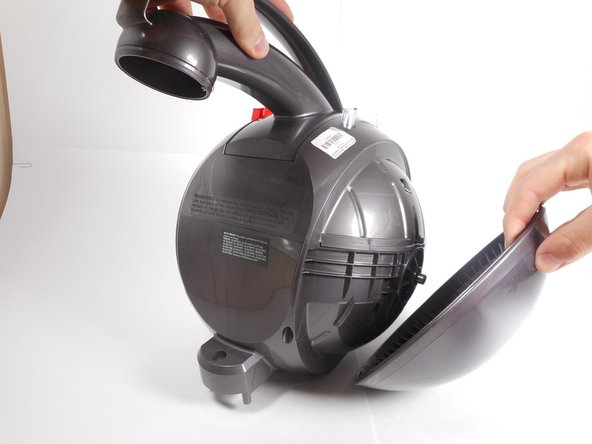
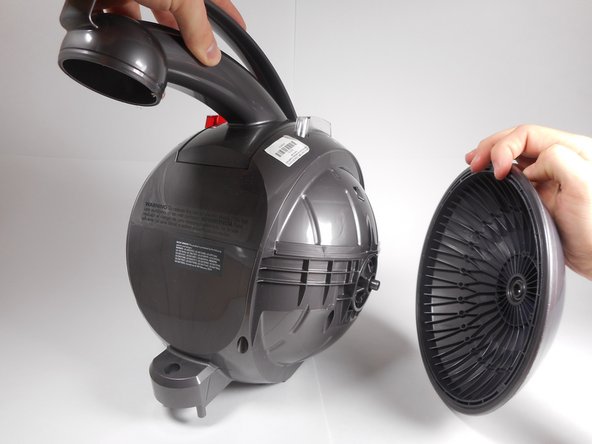
    • Push down on the gray button located next to the power button to release the bin from the ball housing.

    • Pull the bin away, then up from the ball housing to remove it.

    • If the bin won't fit back into place during re-assembly, you may need to push the grey button again.

  2. Dyson DC39 Origin Ball Wheels Replacement, Steering Assembly: stap 2, afbeelding 1 van 3 Dyson DC39 Origin Ball Wheels Replacement, Steering Assembly: stap 2, afbeelding 2 van 3 Dyson DC39 Origin Ball Wheels Replacement, Steering Assembly: stap 2, afbeelding 3 van 3
    • Place the ball housing on its side and orient it so that the underside of the steering assembly is facing you.

    • Remove the four 18.0 mm Torx 15 screws.

  3. Dyson DC39 Origin Ball Wheels Replacement: stap 3, afbeelding 1 van 3 Dyson DC39 Origin Ball Wheels Replacement: stap 3, afbeelding 2 van 3 Dyson DC39 Origin Ball Wheels Replacement: stap 3, afbeelding 3 van 3
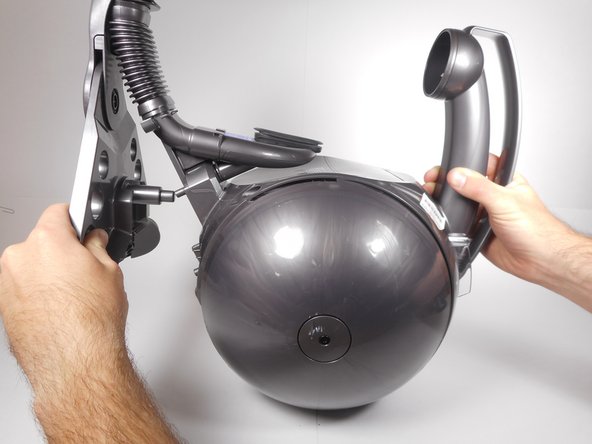
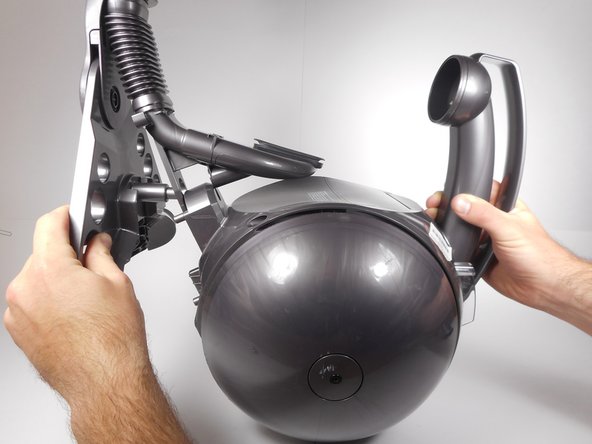
    • Using two hands, hold the ball housing with the handle in one hand and the steering assembly base in the other.

    • Hold the steering assembly base near one of the wheels.

    • Pull the steering assembly base directly away from the ball housing. You should notice a pin release.

    • Push up on the steering assembly to remove it completely from the ball housing.

    • During reassembly, slide the steering assembly in first, then push the pin back into its locking position.

  4. Dyson DC39 Origin Ball Wheels Replacement, Ball Wheels: stap 4, afbeelding 1 van 2 Dyson DC39 Origin Ball Wheels Replacement, Ball Wheels: stap 4, afbeelding 2 van 2
    • Remove the 21.4 mm Torx 15 screw located at the center of the ball wheel.

    • There is one screw located at the center of each wheel.

  5. Dyson DC39 Origin Ball Wheels Replacement: stap 5, afbeelding 1 van 3 Dyson DC39 Origin Ball Wheels Replacement: stap 5, afbeelding 2 van 3 Dyson DC39 Origin Ball Wheels Replacement: stap 5, afbeelding 3 van 3
    • Pull the wheel away from the main body of the device.

    • This may require a lot of force. The plastic wheel may bend slightly.

Conclusie

To reassemble your device, follow these instructions in reverse order.

Michael Hutcheson

Lid sinds: 04/26/17

297 Reputatie

2 handleidingen geschreven

Team

Cal Poly, Team S23-G6, Livingston Spring 2017 Lid van Cal Poly, Team S23-G6, Livingston Spring 2017

CPSU-LIVINGSTON-S17S23G6

3 Leden

6 handleidingen geschreven

0 opmerkingen

Voeg opmerking toe

Weergavestatistieken:

Afgelopen 24 uren: 3

Afgelopen 7 dagen: 5

Afgelopen 30 dagen: 22

Altijd: 2,139