Deze handleiding heeft recentere wijzigingen. Schakel over naar de nieuwste niet-geverifieerde versie.
Inleiding
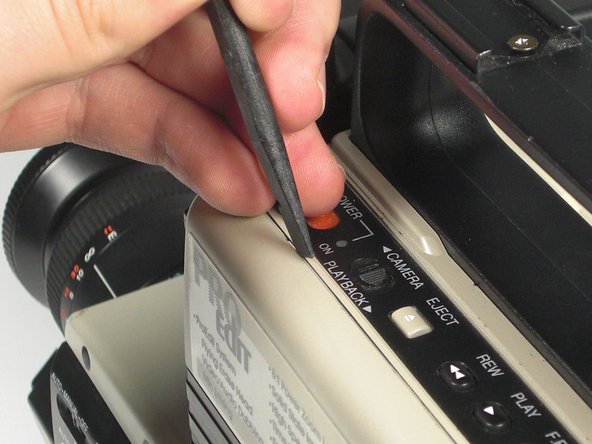
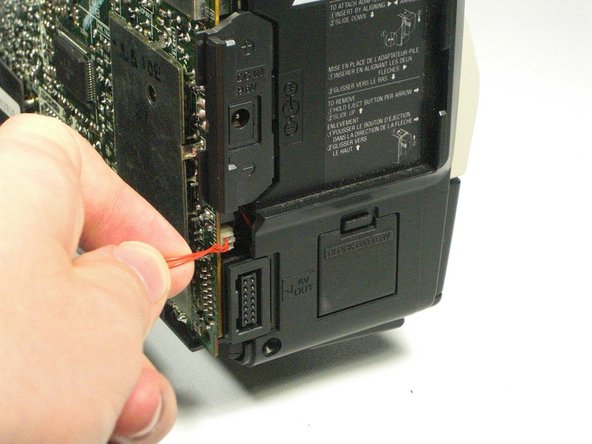
This guide will instruct you to take the left cover off of the camcorder.
Wat je nodig hebt
-
-
Remove the six 7.9mm Phillips #0 screws on the back and bottom.
-
Remove the one 3.8mm Phillips #0 screw on the bottom.
-
Remove the two 7.5mm Phillips #0 screws on the back and bottom.
-


Bijna klaar!
To reassemble your device, follow these instructions in reverse order.
Conclusie
To reassemble your device, follow these instructions in reverse order.

Team

Cal Poly, Team 5-20, Amido Winter 2011 Lid van Cal Poly, Team 5-20, Amido Winter 2011
CPSU-AMIDO-W11S5G20
4 Leden
7 handleidingen geschreven