Deze versie kan foutieve bewerkingen bevatten. Schakel over naar de recentste gecontroleerde momentopname.
Wat je nodig hebt
-
Deze stap is niet vertaald. Help het te vertalen
-
Remove the battery by placing your thumb on the bottom flap and sliding the release button away from the side the lens is on. (The screwdriver is simply used as a reference point, no screws need to be removed)
-
If the battery is dead, charge it for 60-90 minutes.
-
-
Deze stap is niet vertaald. Help het te vertalen
-
Remove the four 3 mm long cover screws at the corners of the camera using a Phillips #00 screwdriver.
-
Remove the 2 mm long screws securing the sides of the camera which holds the back panel using a Phillips #00 screwdriver.
-
-
-
Deze stap is niet vertaald. Help het te vertalen
-
Detach the ribbons using your thumb, sliding them out of their slots.
-
Set the back panel face up to keep the ribbons from touching anything.
-
-
Deze stap is niet vertaald. Help het te vertalen
-
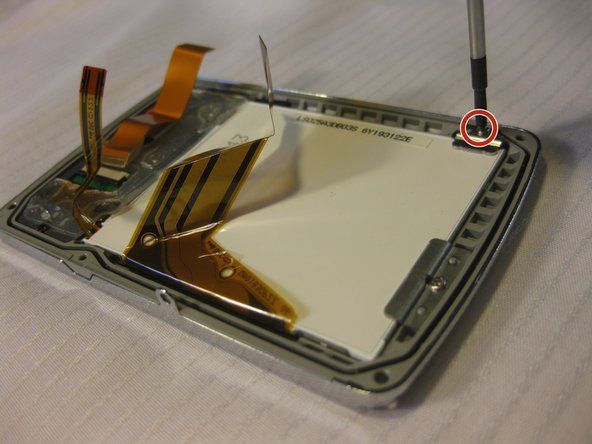
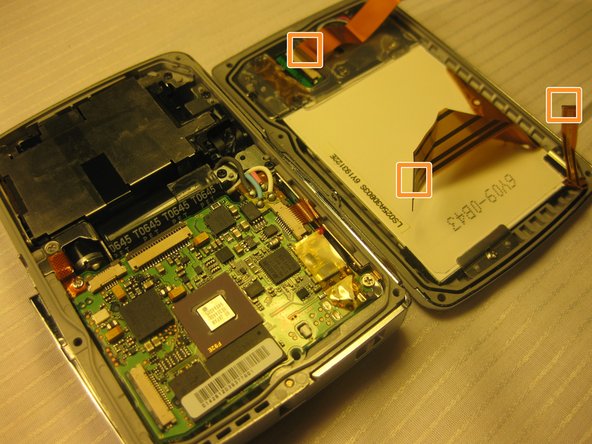
Remove the screws in the back panel using a Phillips #00 screwdriver.
-
Detach the ribbon cables that connect the LCD to the back panel of the camera.
-
-
Deze stap is niet vertaald. Help het te vertalen
-
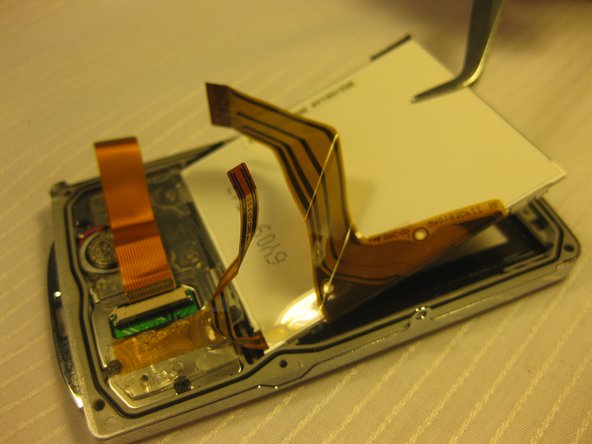
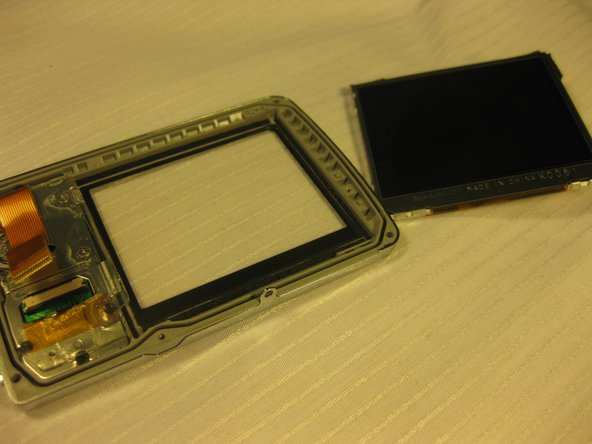
Use tweezers to remove the loosened LCD screen.
-
Carefully place the new screen in place of the old, making sure the label faces up.
-


Annuleren: ik heb deze handleiding niet afgemaakt.
Één andere persoon heeft deze handleiding voltooid.
Team

Cal Poly, Team 33-71, Johann Spring 2010 Lid van Cal Poly, Team 33-71, Johann Spring 2010
CPSU-JOHANN-S10S33G71
4 Leden
6 handleidingen geschreven