Deze versie kan foutieve bewerkingen bevatten. Schakel over naar de recentste gecontroleerde momentopname.
Wat je nodig hebt
-
Deze stap is niet vertaald. Help het te vertalen
-
Flip over the turntable and remove the nine screws on the outer edges.
-
-
-
Deze stap is niet vertaald. Help het te vertalen
-
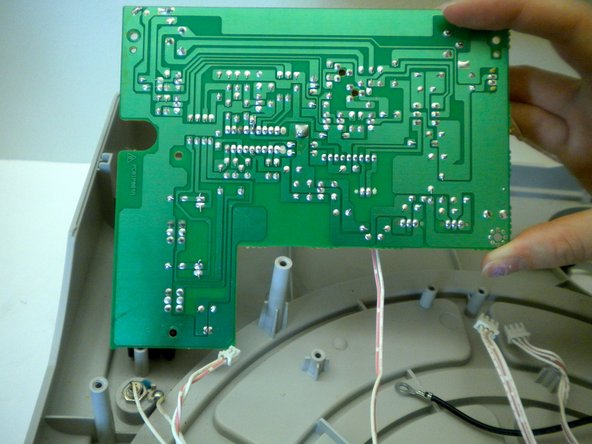
Locate the largest circuit board inside the device.
-
-
Deze stap is niet vertaald. Help het te vertalen
-
Locate the wires that are plugged into the side of the circuit board.
-
-
Deze stap is niet vertaald. Help het te vertalen
-
Gently pull out the wires plugged into the circuit board.
-
-
Deze stap is niet vertaald. Help het te vertalen
-
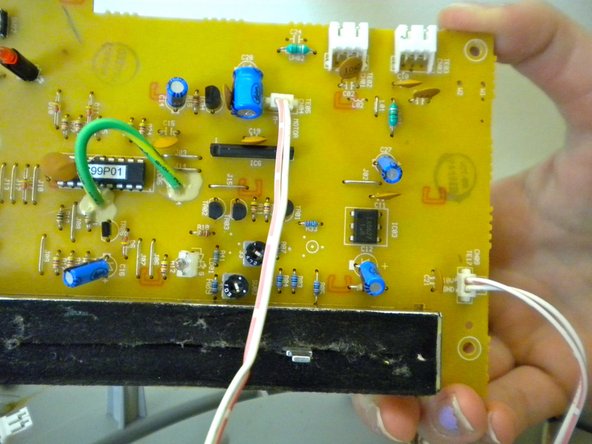
Once the wires are unplugged you will notice two more wires plugged into the bottom of the circuit board.
-
To completely remove the circuit board these wires must be removed.
-


Annuleren: ik heb deze handleiding niet afgemaakt.
Één andere persoon heeft deze handleiding voltooid.
Team

Cal Poly, Team 17-14, Regan Fall 2011 Lid van Cal Poly, Team 17-14, Regan Fall 2011
CPSU-REGAN-F11S17G14
4 Leden
11 handleidingen geschreven