Inleiding
If you need to take apart the entire LG420G phone, follow this disassembly guide. You may need this guide to access internal components or investigate potential problems that are occurring with your phone.
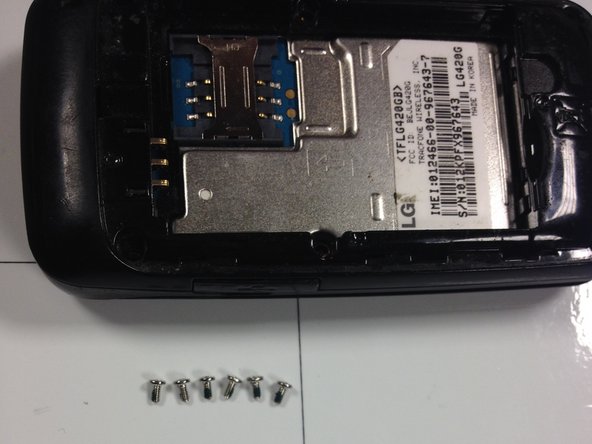
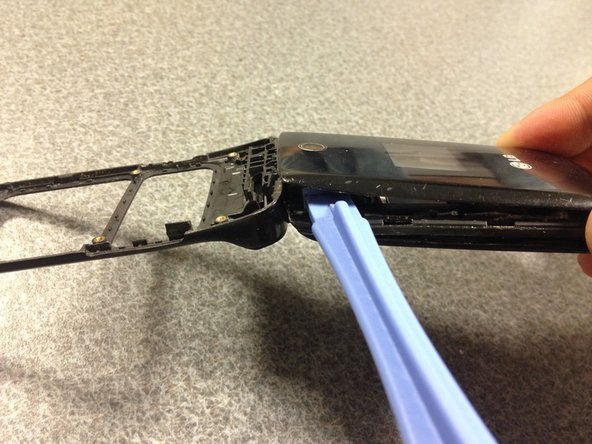
Make sure that the phone is powered off before you begin. One thing to note is that some of the components are glued down at points of the disassembly so you may want to use an iOpener to loosen the glue and make the process easier.
Wat je nodig hebt


To reassemble your device, follow these instructions in reverse order.
To reassemble your device, follow these instructions in reverse order.
Annuleren: ik heb deze handleiding niet afgemaakt.
2 andere personen hebben deze handleiding voltooid.
Team

University of Maryland, Team 1-6, Calloway Spring 2014 Lid van University of Maryland, Team 1-6, Calloway Spring 2014
UMD-CALLOWAY-S14S1G6
1 Lid
1 handleiding geschreven