Deze versie kan foutieve bewerkingen bevatten. Schakel over naar de recentste gecontroleerde momentopname.
Wat je nodig hebt
-
Deze stap is niet vertaald. Help het te vertalen
-
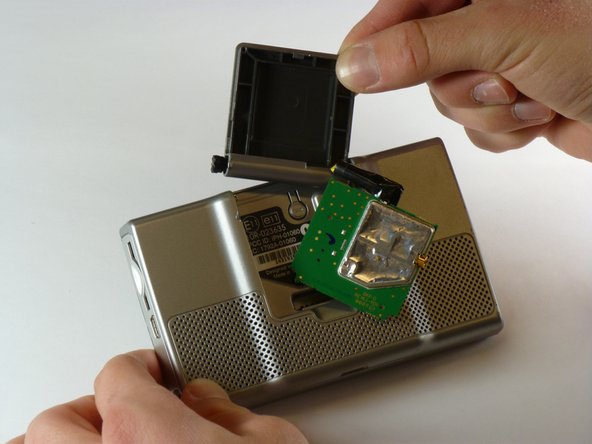
Flip open the antenna on the back of the device.
-
Remove the two 4.42 mm screws on the antenna cover using a T5 Torx screwdriver.
-
-
-
Deze stap is niet vertaald. Help het te vertalen
-
Insert the pointed end of a spudger into the leftmost slit of the antenna case.
-
Push the spudger to the right.
-
Slide the antenna case out of the device.
-
-
Deze stap is niet vertaald. Help het te vertalen
-
Remove the two screws on the back of the outer case using a T5 Torx screwdriver.
-
These screws are 10.82 mm long.
-
-
Deze stap is niet vertaald. Help het te vertalen
-
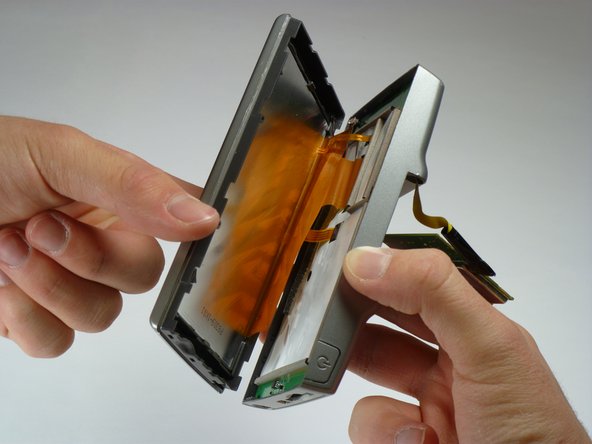
Starting along the top, separate the front and back of the device by pushing an iPod-opening tool into the crack along each side of the case.
-


Annuleren: ik heb deze handleiding niet afgemaakt.
3 andere personen hebben deze handleiding voltooid.
Team

Cal Poly, Team 5-22, Amido Winter 2011 Lid van Cal Poly, Team 5-22, Amido Winter 2011
CPSU-AMIDO-W11S5G22
5 Leden
7 handleidingen geschreven
2 opmerkingen
This guide works for the Garmin Nuvi 660 and 670 as well.
great instructions thank you! most of it also works for the NUVI 350, this one has an extra screw that holds the circuit board, and the connectors are different. Fixed the on/off button that broke of the soldering tips by re-soldering and adding some support at the back of the switch so this can't happen again.