Deze versie kan foutieve bewerkingen bevatten. Schakel over naar de recentste gecontroleerde momentopname.
Wat je nodig hebt
-
Deze stap is niet vertaald. Help het te vertalen
-
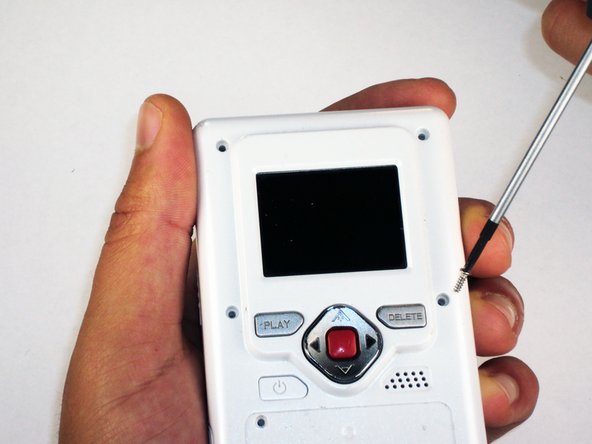
Remove metal sticker under the LCD screen with a spudger.
-
-
Deze stap is niet vertaald. Help het te vertalen
-
Remove the 4 gray screw caps with the spudger. These cover the screw heads and protect from dirt or grime.
-
-
Deze stap is niet vertaald. Help het te vertalen
-
Remove the 5 10mm screws with the #00 Phillips screwdriver. These connect the back of the outer shell to the front of the outer shell.
-
-
-
Deze stap is niet vertaald. Help het te vertalen
-
Open battery door. This can be done by gently depressing and sliding the battery down downward.
-
-
Deze stap is niet vertaald. Help het te vertalen
-
Use the spudger to separate outer shells.
-
The spudger must be inserted between the shell halves to pry the edges apart.
-
Slowly work around the outside to separate the halves.
-
-
Deze stap is niet vertaald. Help het te vertalen
-
Remove the 3 5mm screws securing the circuit board to the front shell with the #00 Phillips screwdriver.
-
-
Deze stap is niet vertaald. Help het te vertalen
-
Disconnect the USB port cable from the back side of the circuit board.
-
-
Deze stap is niet vertaald. Help het te vertalen
-
Slide out the battery contacts.
-
Battery contacts
-
Slot where battery contacts were located
-


Annuleren: ik heb deze handleiding niet afgemaakt.
Één andere persoon heeft deze handleiding voltooid.
Team

Cal Poly, Team 26-21, Regan Spring 2010 Lid van Cal Poly, Team 26-21, Regan Spring 2010
CPSU-REGAN-S10S26G21
4 Leden
12 handleidingen geschreven
Één opmerking
Thank you. Where is the reset button on these first generation Flip Videos (mine doesn’t have one visible on outside, must be on inside.