Ga door naar hoofdinhoud

Deze handleiding heeft recentere wijzigingen. Schakel over naar de nieuwste niet-geverifieerde versie.

Disassembling Epson PPC650 Replacing Flash

Wat je nodig hebt

  1. Disassembling Epson PPC650 Replacing Flash, Case: stap 1, afbeelding 1 van 3 Disassembling Epson PPC650 Replacing Flash, Case: stap 1, afbeelding 2 van 3 Disassembling Epson PPC650 Replacing Flash, Case: stap 1, afbeelding 3 van 3
    • Make sure the camera is turned off here.

    • Remove batteries from the battery compartment located on the bottom of the camera

    • Remove SD card for the card reader compartment located on the flat side (left side) of the camera

  2. Disassembling Epson PPC650 Replacing Flash: stap 2, afbeelding 1 van 1
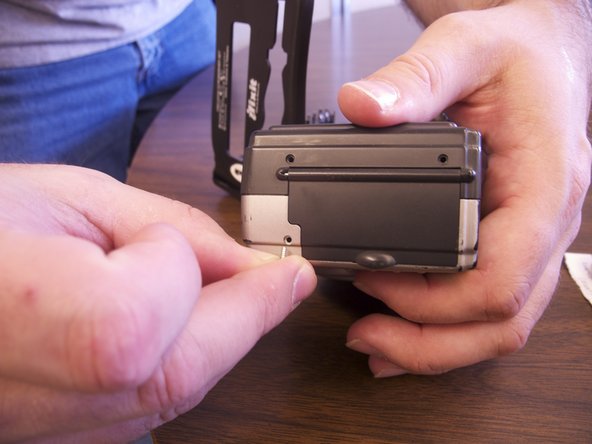
    • Remove 2 screws on the rounded side of the camera wisdom here.

  3. Disassembling Epson PPC650 Replacing Flash: stap 3, afbeelding 1 van 2 Disassembling Epson PPC650 Replacing Flash: stap 3, afbeelding 2 van 2
    • Remove 3 screws on the flat side of the camera

    • All silver screws go into the side of the camera that is silver

    • All black screws go into the side of the camera that is black

  4. Disassembling Epson PPC650 Replacing Flash: stap 4, afbeelding 1 van 1
    • Remove 4 screws from the bottom of the camera

    • All silver screws go into the side of the camera that is silver

    • All black screws go into the side of the camera that is black

  5. Disassembling Epson PPC650 Replacing Flash: stap 5, afbeelding 1 van 3 Disassembling Epson PPC650 Replacing Flash: stap 5, afbeelding 2 van 3 Disassembling Epson PPC650 Replacing Flash: stap 5, afbeelding 3 van 3
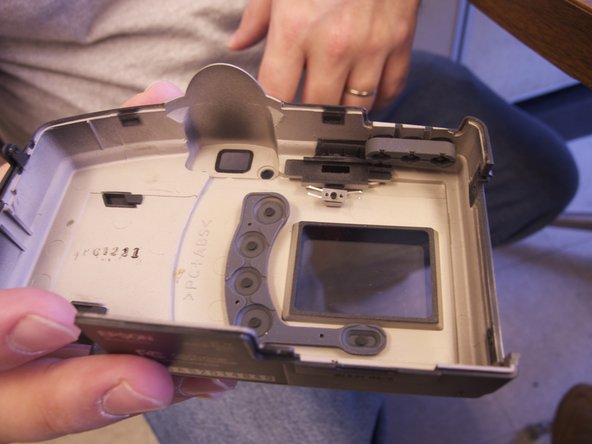
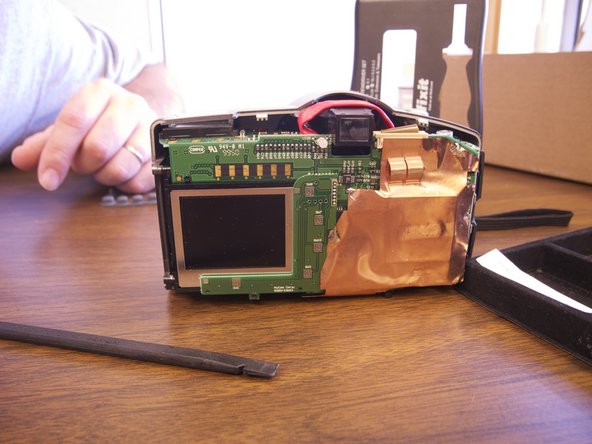
    • Separate the front and back pieces of the cameras plastic casing using a spudgerm here.

    • WARNING: When pulling the front plastic casing, be careful of the wire that are connected to the aperture control

    • Use minimal force so that the plastic casing does not break

    • When separating the small silver sliding indicator for view/off/playback may fall out

    • The plastic viewing window located on the top of the camera may also become lose and fall out

  6. Disassembling Epson PPC650 Replacing Flash, Disassembling Epson PPC650 Replacing Flash: stap 6, afbeelding 1 van 3 Disassembling Epson PPC650 Replacing Flash, Disassembling Epson PPC650 Replacing Flash: stap 6, afbeelding 2 van 3 Disassembling Epson PPC650 Replacing Flash, Disassembling Epson PPC650 Replacing Flash: stap 6, afbeelding 3 van 3
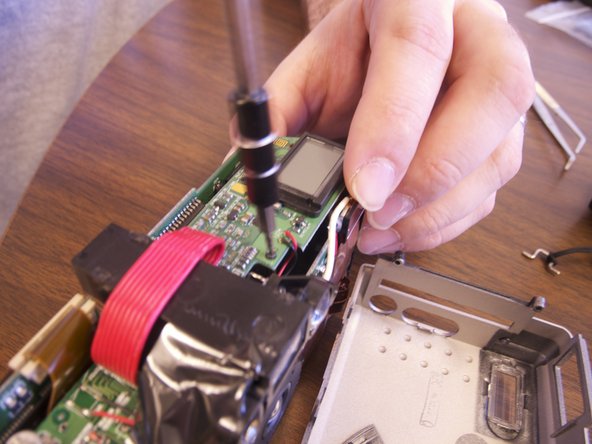
    • Optional: Remove two black screws from top of camera on the flash side for more working space.

  7. Disassembling Epson PPC650 Replacing Flash: stap 7, afbeelding 1 van 1
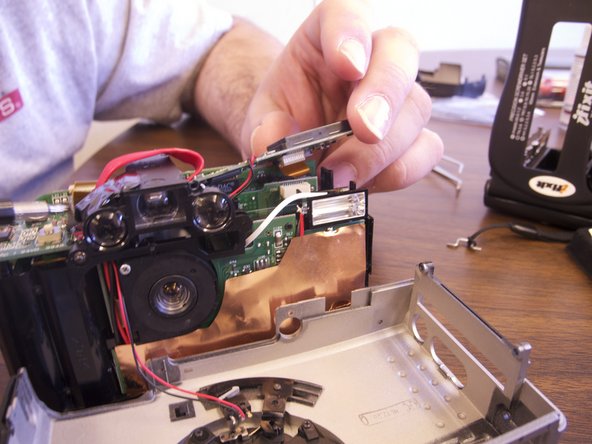
    • Remove clear rubber band holding flash in line with wiring.

    • Cut white wire, red wire, and black wire connecting flash element to circuit board by unsoldering ends

    • Connect new flash by soldering copper ends to their respective ends to new flash element.

Conclusie

To reassemble your device, follow these instructions in reverse order.

Xan Danes

Lid sinds: 02/14/13

122 Reputatie

1 Handleiding geschreven

Team

Ohio State, Team 1-5, Buehl Spring 2013 Lid van Ohio State, Team 1-5, Buehl Spring 2013

OSU-BUEHL-S13S1G5

4 Leden

6 handleidingen geschreven

0 opmerkingen

Voeg opmerking toe

Weergavestatistieken:

Afgelopen 24 uren: 0

Afgelopen 7 dagen: 0

Afgelopen 30 dagen: 0

Altijd: 272