Inleiding
As one of the key features of a laptop, the mouse pad is one of the elements of the device that is most likely to suffer wear over time. The right/left click buttons are especially susceptible to wear and tear, as these are mechanical systems connected to electrical boards.
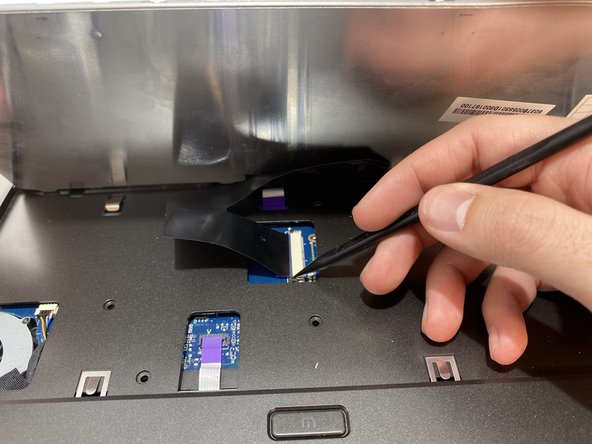
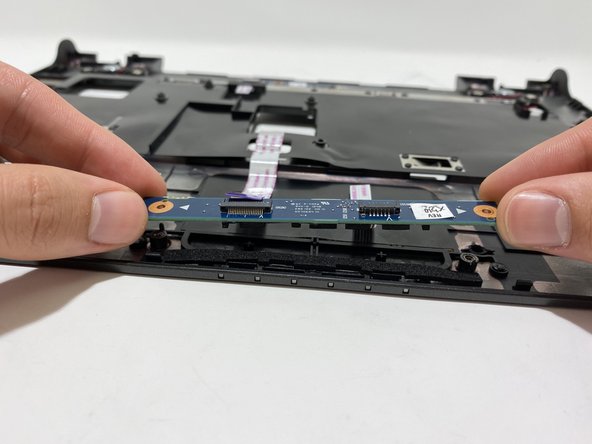
If your left-click or right-click buttons aren't working, you may need to replace the board that controls those functions. Use this guide to learn how!
Wat je nodig hebt
-
-
Flip the device over. Unscrew nine marked 7mm Phillips #1 screws.
-
-


To reassemble your device, follow these instructions in reverse order.
To reassemble your device, follow these instructions in reverse order.
Annuleren: ik heb deze handleiding niet afgemaakt.
Één andere persoon heeft deze handleiding voltooid.
Team

University of Memphis, Team S2-G1, Kim Fall 2019 Lid van University of Memphis, Team S2-G1, Kim Fall 2019
UM-KIM-F19S2G1
4 Leden
3 handleidingen geschreven