Deze handleiding heeft recentere wijzigingen. Schakel over naar de nieuwste niet-geverifieerde versie.
Inleiding
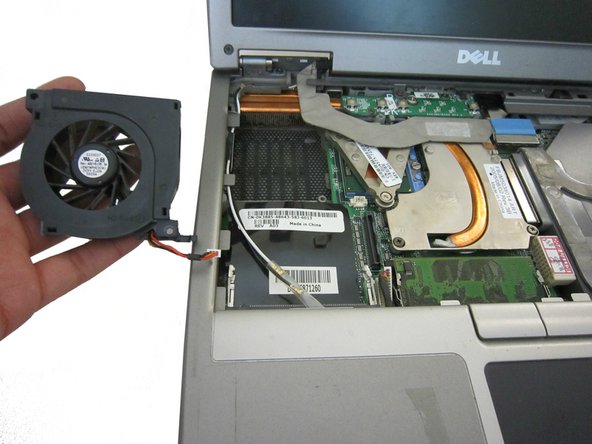
Replacing a defective fan will stop your computer from overheating, preventing damage and increasing the life of your computer.
Wat je nodig hebt
-
-
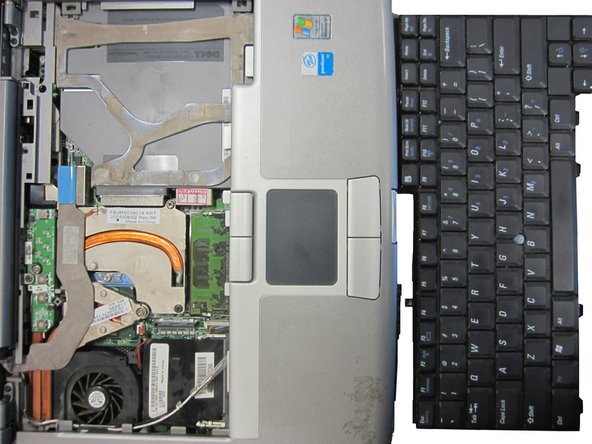
Use an opening tool or flat tool to remove the plastic cover above the keyboard.
-
-


To reassemble your device, follow these instructions in reverse order.
To reassemble your device, follow these instructions in reverse order.
Annuleren: ik heb deze handleiding niet afgemaakt.
2 andere personen hebben deze handleiding voltooid.
Team

Cal Poly, Team 6-24, Maness Winter 2014 Lid van Cal Poly, Team 6-24, Maness Winter 2014
CPSU-MANESS-W14S6G24
4 Leden
5 handleidingen geschreven