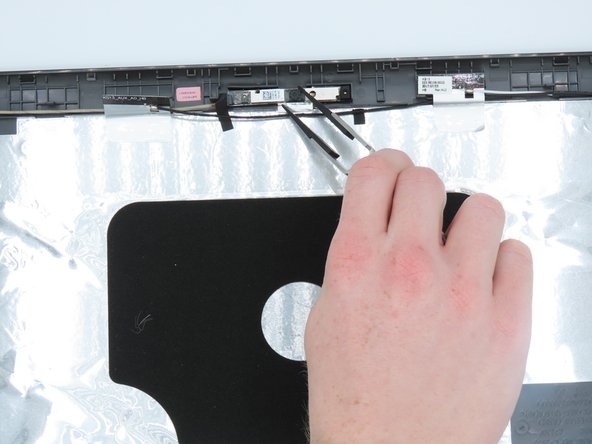
Ga door naar hoofdinhoud

Dell Latitude 3380 Front Camera Replacement

Wat je nodig hebt

  1. Dell Latitude 3380 Front Camera Replacement, Back Cover: stap 1, afbeelding 1 van 2 Dell Latitude 3380 Front Camera Replacement, Back Cover: stap 1, afbeelding 2 van 2
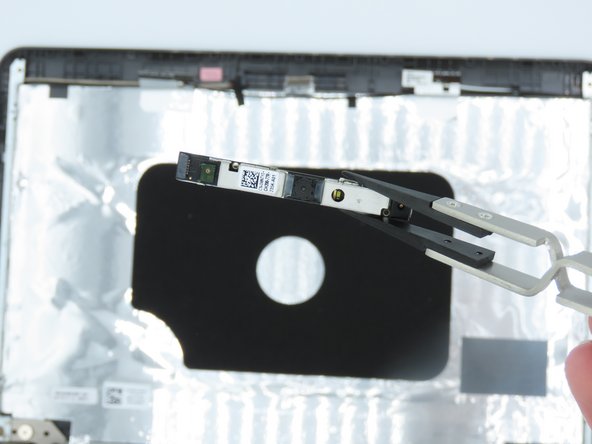
    • Turn the laptop over so that the back is facing up.

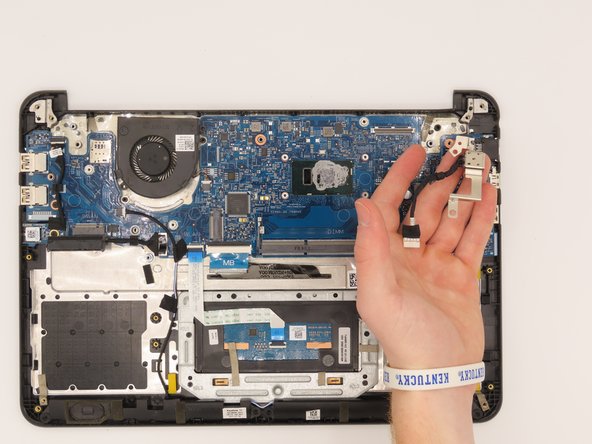
    • Remove the nine 3 mm screws with a Phillips #0 screwdriver.

  2. Dell Latitude 3380 Front Camera Replacement: stap 2, afbeelding 1 van 2 Dell Latitude 3380 Front Camera Replacement: stap 2, afbeelding 2 van 2
    • Use an opening tool to pry the back cover away from the laptop.

  3. Dell Latitude 3380 Front Camera Replacement, Front Camera: stap 3, afbeelding 1 van 2 Dell Latitude 3380 Front Camera Replacement, Front Camera: stap 3, afbeelding 2 van 2
    • Disconnect the cable strip.

  4. Dell Latitude 3380 Front Camera Replacement: stap 4, afbeelding 1 van 1
    • Detach the power cable connecting the display to the motherboard.

  5. Dell Latitude 3380 Front Camera Replacement: stap 5, afbeelding 1 van 1
    • Remove the four screws holding the display in place using a Phillips #0 screwdriver.

  6. Dell Latitude 3380 Front Camera Replacement: stap 6, afbeelding 1 van 2 Dell Latitude 3380 Front Camera Replacement: stap 6, afbeelding 2 van 2
    • Using your fingers (or an opening tool if necessary), gently pry off the bottom cover on the display.

  7. Dell Latitude 3380 Front Camera Replacement: stap 7, afbeelding 1 van 2 Dell Latitude 3380 Front Camera Replacement: stap 7, afbeelding 2 van 2
    • Remove the screw caps, then the screws using a Phillips #0 screwdriver.

    • Remove the plastic outer covering using an opening tool.

  8. Dell Latitude 3380 Front Camera Replacement: stap 8, afbeelding 1 van 3 Dell Latitude 3380 Front Camera Replacement: stap 8, afbeelding 2 van 3 Dell Latitude 3380 Front Camera Replacement: stap 8, afbeelding 3 van 3
    Gereedschap gebruikt in deze stap:
    Tweezers
    $4.99
    Koop
    • Remove the front camera by gently pulling it out with a pair of tweezers.

Conclusie

To reassemble your device, follow these instructions in reverse order.

Charlie Tracey

Lid sinds: 02/21/23

313 Reputatie

2 handleidingen geschreven

0 opmerkingen

Voeg opmerking toe

Weergavestatistieken:

Afgelopen 24 uren: 0

Afgelopen 7 dagen: 1

Afgelopen 30 dagen: 4

Altijd: 52