Inleiding
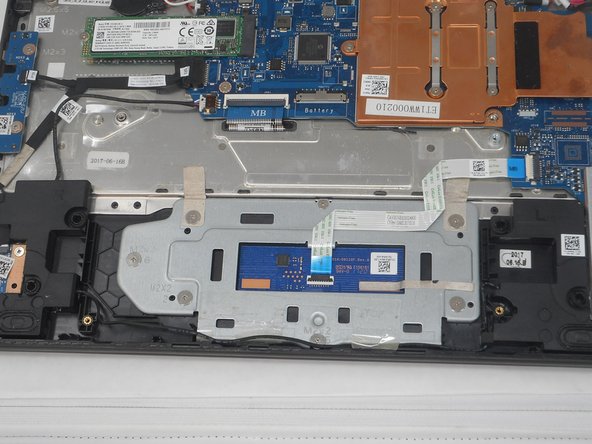
The trackpad of your laptop is a touch-sensitive surface used to communicate with the laptop to move the cursor on your screen. If you are not getting an on-screen response from your Dell Latitude 3189 when you interact with the trackpad, you may need to replace the trackpad to resolve the issue.
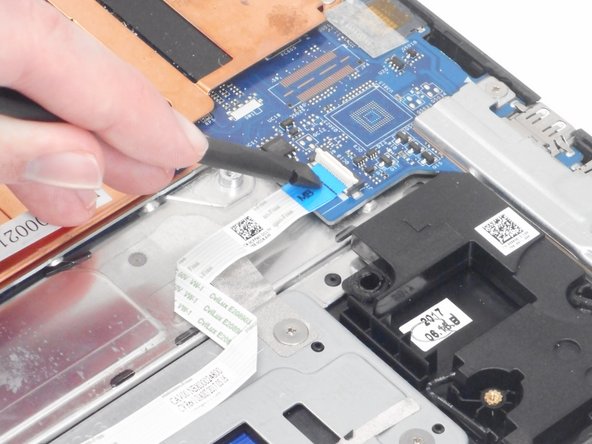
The cable connector can damage easily, be careful when moving the ribbon as to not break the connector socket.
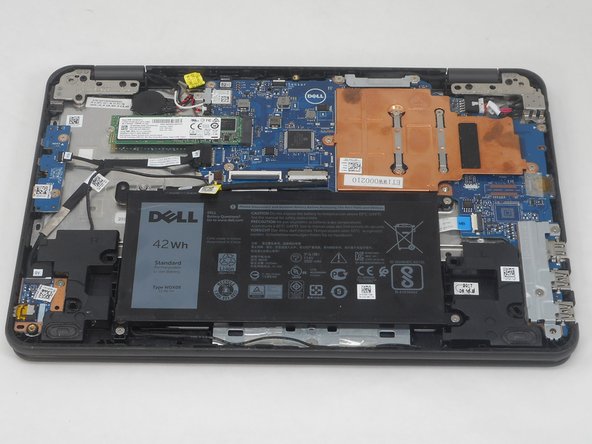
You will need to reference the base cover replacement guide to remove the base cover from your device before continuing to the rest of this guide. Make sure that your device is completely powered off before using this guide.
Wat je nodig hebt
-
-
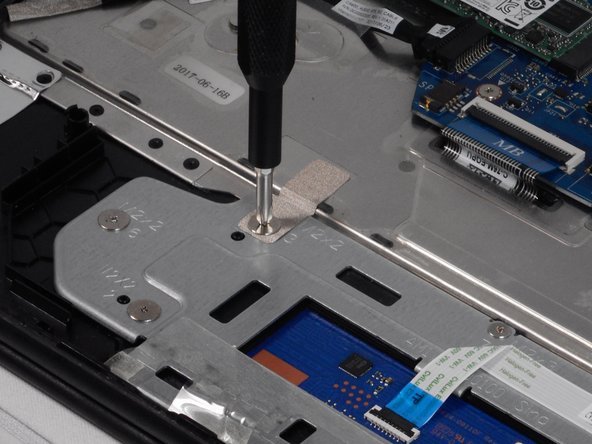
Use a Phillips screwdriver to loosen the seven captive screws that secure the lower case.
-
-
-
-
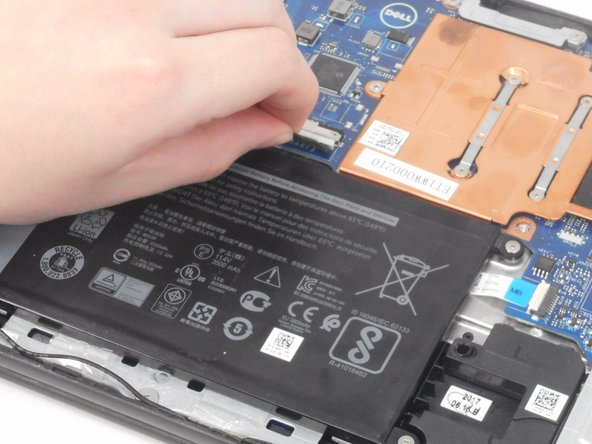
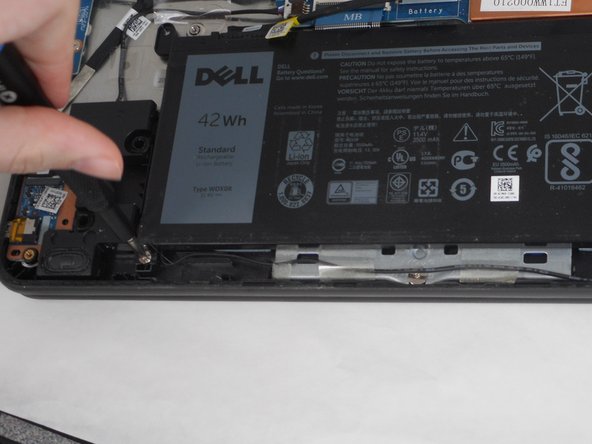
Use a Phillips #0 screwdriver to remove the three 3.2 mm screws that secure the battery.
-
-
-
Flip up the white ZIF lock bar on the trackpad motherboard socket.
-
Gently pull the ribbon cable directly out of its motherboard socket.
-


To reassemble your device, follow these instructions in reverse order.
To reassemble your device, follow these instructions in reverse order.

Team

University of Memphis, Team 2-3, Sneed Spring 2024 Lid van University of Memphis, Team 2-3, Sneed Spring 2024
UM-SNEED-S24S2G3
4 Leden
7 handleidingen geschreven