Deze versie kan foutieve bewerkingen bevatten. Schakel over naar de recentste gecontroleerde momentopname.
Wat je nodig hebt
-
Deze stap is niet vertaald. Help het te vertalen
-
Locate the case cover latch on the back of the computer.
-
-
Deze stap is niet vertaald. Help het te vertalen
-
Using your index finger, slide and hold the cover latch down.
-
While holding the latch down, place your other hand flat on the side of the case and firmly shift the side panel to the left until it disengages.
-
-
Deze stap is niet vertaald. Help het te vertalen
-
Grab the edge of the panel and slide it away from the case until it is removed.
-
-
Deze stap is niet vertaald. Help het te vertalen
-
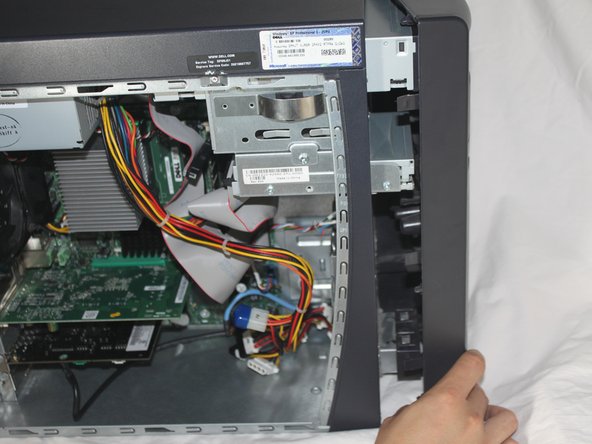
Locate the Optical Drive by finding it externally on the case.
-
-
-
Deze stap is niet vertaald. Help het te vertalen
-
Press and hold the three levers located behind the front panel.
-
While holding the levers down, swing open the front panel.
-
-
Deze stap is niet vertaald. Help het te vertalen
-
Swing the front of the case open until it separates from the main case.
-
-
Deze stap is niet vertaald. Help het te vertalen
-
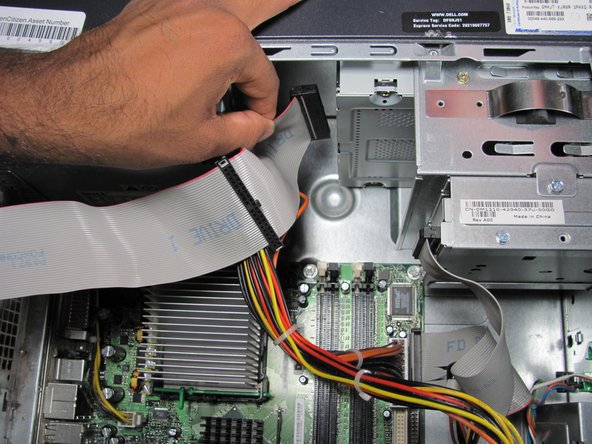
Locate the Drive 1 cable and where it is connected to the motherboard.
-
-
Deze stap is niet vertaald. Help het te vertalen
-
Grasp the end of the Drive 1 cable connected to the motherboard and firmly pull upwards until it is removed.
-
-
Deze stap is niet vertaald. Help het te vertalen
-
Locate the end of the Drive 1 cable connected to the optical drive.
-
Grasp the cable and pull firmly to disconnect it from the optical drive.
-
-
Deze stap is niet vertaald. Help het te vertalen
-
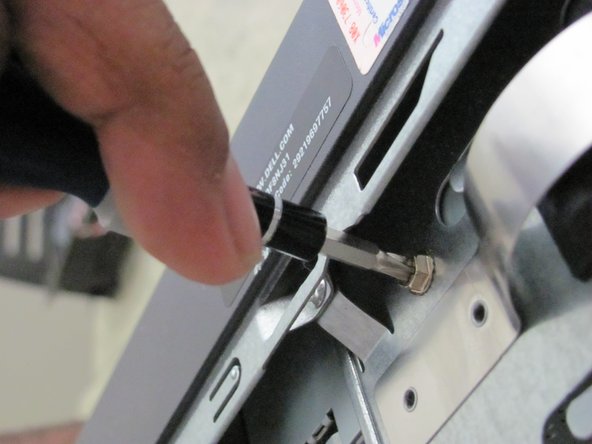
Locate the screw on the optical drive.
-
Remove the 7.7 mm screw by using a Phillips #2 screw-driver.
-
-
Deze stap is niet vertaald. Help het te vertalen
-
Remove the optical drive by sliding it out of the front of the case.
-


Annuleren: ik heb deze handleiding niet afgemaakt.
13 andere personen hebben deze handleiding voltooid.
Team

Cal Poly, Team 6-10, Regan Fall 2011 Lid van Cal Poly, Team 6-10, Regan Fall 2011
CPSU-REGAN-F11S6G10
4 Leden
11 handleidingen geschreven