Deze handleiding heeft recentere wijzigingen. Schakel over naar de nieuwste niet-geverifieerde versie.
Inleiding
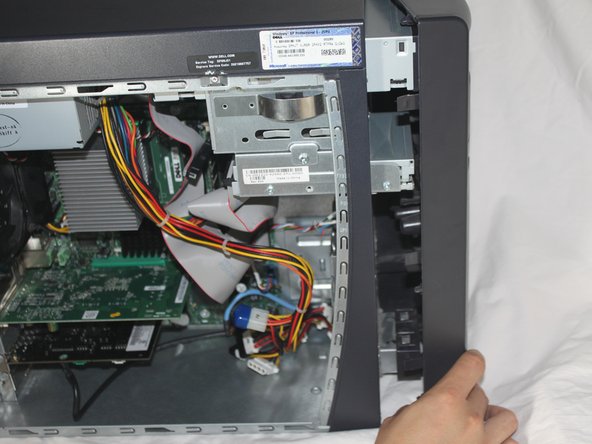
Use this guide to replace the optical drive in your computer.
Wat je nodig hebt


To reassemble your device, follow these instructions in reverse order.
To reassemble your device, follow these instructions in reverse order.
Annuleren: ik heb deze handleiding niet afgemaakt.
13 andere personen hebben deze handleiding voltooid.
Team

Cal Poly, Team 6-10, Regan Fall 2011 Lid van Cal Poly, Team 6-10, Regan Fall 2011
CPSU-REGAN-F11S6G10
4 Leden
11 handleidingen geschreven