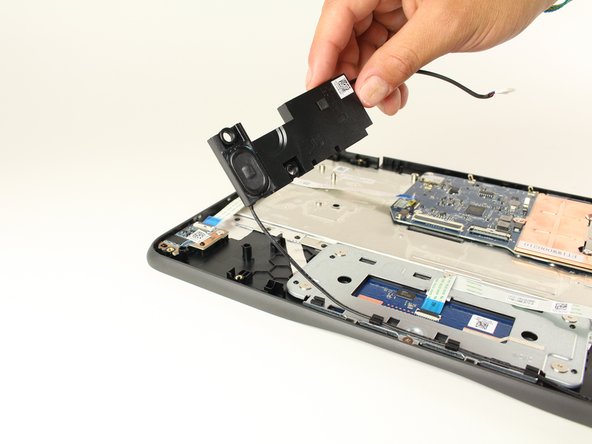
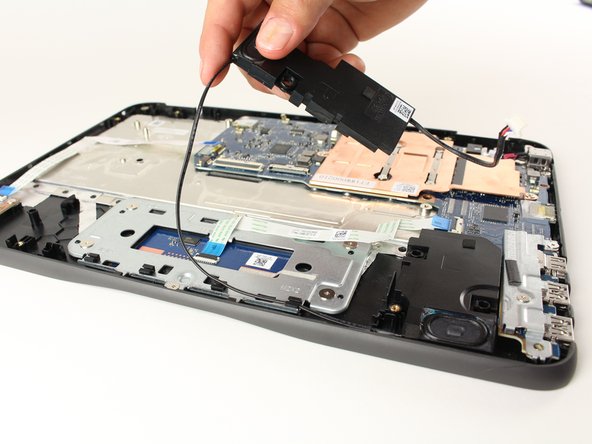
Ga door naar hoofdinhoud

Dell Chromebook 11 3180 Speakers Replacement

Wat je nodig hebt

  1. Dell Chromebook 11 3180 Speakers Replacement, Back Cover: stap 1, afbeelding 1 van 1
    • Set your laptop upside down on your work space.

  2. Dell Chromebook 11 3180 Speakers Replacement: stap 2, afbeelding 1 van 1
    Gereedschap gebruikt in deze stap:
    Tweezers
    $4.99
    Koop
    • Using tweezers, remove the circular stickers that are covering the two screws near the middle of the back cover. Stick them to the laptop next to the screws.

  3. Dell Chromebook 11 3180 Speakers Replacement: stap 3, afbeelding 1 van 1
    • Using a Phillips #0 screwdriver, loosen all seven 2.5mm screws on the back cover of the device.

    • These screws will stay attached to the back cover, so just loosen them until they rattle around.

  4. Dell Chromebook 11 3180 Speakers Replacement: stap 4, afbeelding 1 van 1
    • Using a plastic opening tool, begin to separate the back cover from the body of the computer.

    • If you have trouble prying a particular part of the back cover off, make sure that the nearest screws are fully loosened.

  5. Dell Chromebook 11 3180 Speakers Replacement: stap 5, afbeelding 1 van 1
    • Using your hands, pull the back cover fully off of the body of the computer.

  6. Dell Chromebook 11 3180 Speakers Replacement, Speakers: stap 6, afbeelding 1 van 3 Dell Chromebook 11 3180 Speakers Replacement, Speakers: stap 6, afbeelding 2 van 3 Dell Chromebook 11 3180 Speakers Replacement, Speakers: stap 6, afbeelding 3 van 3
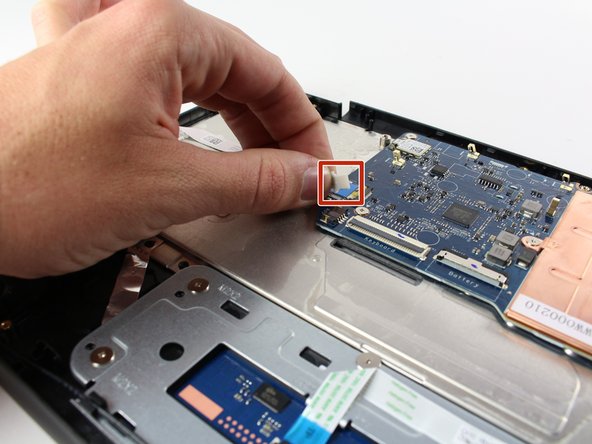
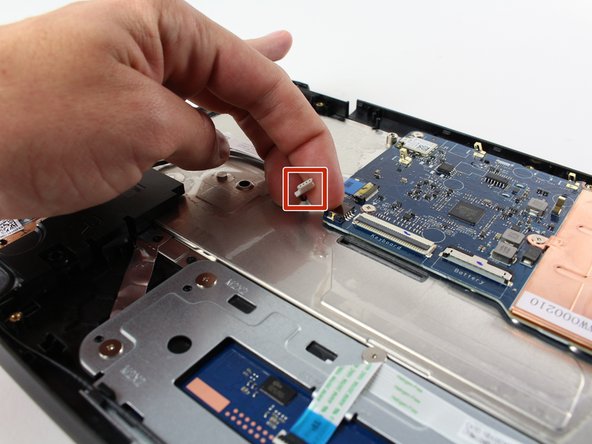
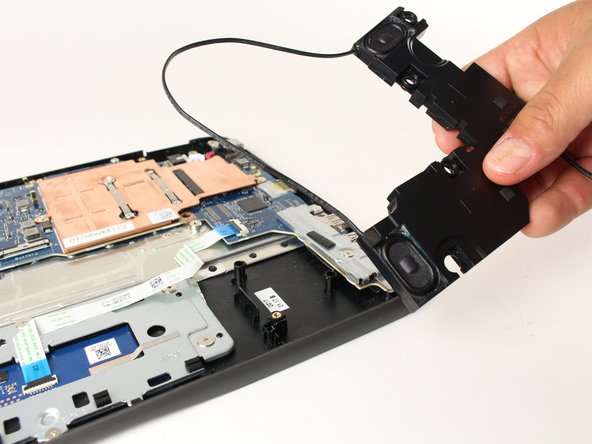
    • Locate and gently pull the wire harness (small plastic box with wires leading to black audio speakers) directly out of the connector on the motherboard.

    • Some components are not shown in pictures for simplicity. There is no need to remove any of the missing components to successfully remove the speakers.

  7. Dell Chromebook 11 3180 Speakers Replacement: stap 7, afbeelding 1 van 3 Dell Chromebook 11 3180 Speakers Replacement: stap 7, afbeelding 2 van 3 Dell Chromebook 11 3180 Speakers Replacement: stap 7, afbeelding 3 van 3
    • Remove any existing tape attached to the audio wire you unplugged in the previous step.

    • Gently lift and remove speakers.

    • No screws should be removed

Conclusie

To reassemble your device, follow these instructions in reverse order.

3 andere personen hebben deze handleiding voltooid.

George Erie

Lid sinds: 04/26/17

327 Reputatie

2 handleidingen geschreven

Team

Cal Poly, Team S22-G1, Livingston Spring 2017 Lid van Cal Poly, Team S22-G1, Livingston Spring 2017

CPSU-LIVINGSTON-S17S22G1

4 Leden

8 handleidingen geschreven

0 opmerkingen

Voeg opmerking toe

Weergavestatistieken:

Afgelopen 24 uren: 0

Afgelopen 7 dagen: 2

Afgelopen 30 dagen: 13

Altijd: 674