Inleiding
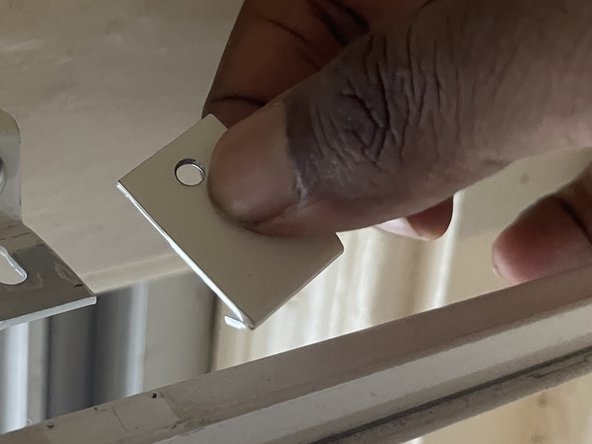
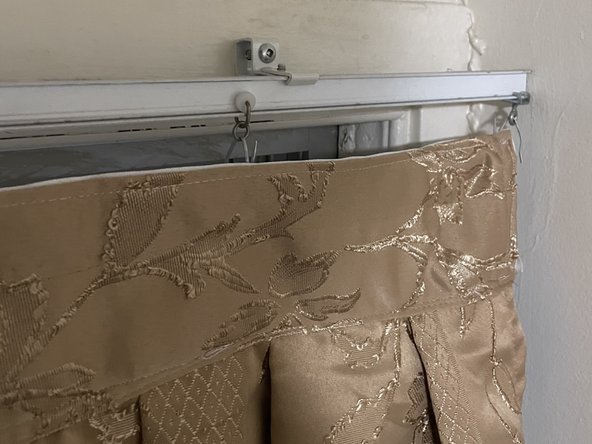
If your curtain rail clipper can not support the curtain rail any longer, use this guide to replace the clipper. The curtain rail clipper is what is mounted into the wall to hold the curtain rail in place for your curtain. A faulty curtain rail clipper will result in the inability for your curtain to be put in place.
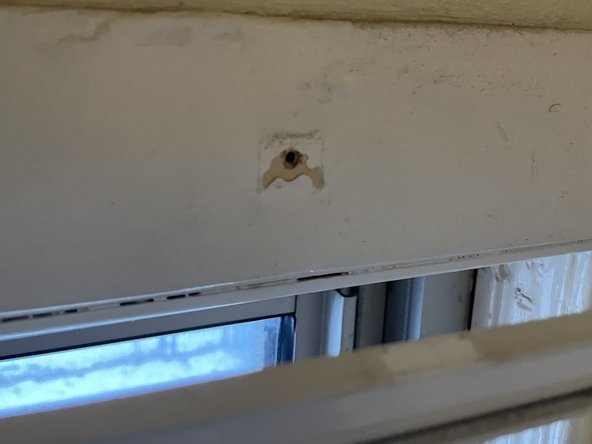
Before consulting this guide, inspect the wall where your curtain rail clipper is screwed in as it simply just may be the hole in the wall which can no longer support the clipper. If the suggestion has been exercised, you may proceed to use this guide to replace your curtain rail clipper.
Wat je nodig hebt
-
-
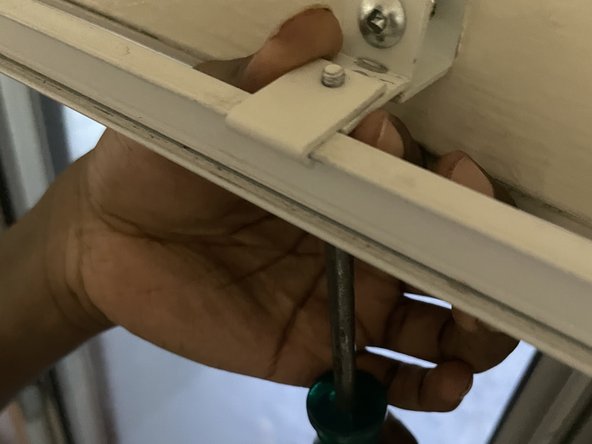
Unhook the curtain hooks and move your curtain aside for working space.
-
-


To reassemble your device, follow these instructions in reverse order.
To reassemble your device, follow these instructions in reverse order.
Team

York University, Team S1-G19, O'Regan Winter 2021 Lid van York University, Team S1-G19, O'Regan Winter 2021
YORK-O'REGAN-W21S1G19
2 Leden
1 handleiding geschreven