Ga door naar hoofdinhoud

Cuisinart TOA-60FR Function Switch Replacement

Wat je nodig hebt

  1. Cuisinart TOA-60FR Function Switch Replacement, Outside removal: stap 1, afbeelding 1 van 1
    • Using a 25-hexagon head, unscrew these 7.31 mm three screws.

  2. Cuisinart TOA-60FR Function Switch Replacement: stap 2, afbeelding 1 van 2 Cuisinart TOA-60FR Function Switch Replacement: stap 2, afbeelding 2 van 2
    • Using a Phillips #1 screwdriver, remove all these 7.31 mm screws.

    • Pull off the back.

  3. Cuisinart TOA-60FR Function Switch Replacement: stap 3, afbeelding 1 van 3 Cuisinart TOA-60FR Function Switch Replacement: stap 3, afbeelding 2 van 3 Cuisinart TOA-60FR Function Switch Replacement: stap 3, afbeelding 3 van 3
    • Flip the oven upside down.

    • Pick the grey stoppers out with a sprudger.

    • Using a Phillips #1 screwdriver, remove these three 11 mm screws.

  4. Cuisinart TOA-60FR Function Switch Replacement: stap 4, afbeelding 1 van 2 Cuisinart TOA-60FR Function Switch Replacement: stap 4, afbeelding 2 van 2
    • Unscrew all of the 11.05 mm screws that connect the outer shell to the device.

  5. Cuisinart TOA-60FR Function Switch Replacement: stap 5, afbeelding 1 van 3 Cuisinart TOA-60FR Function Switch Replacement: stap 5, afbeelding 2 van 3 Cuisinart TOA-60FR Function Switch Replacement: stap 5, afbeelding 3 van 3
    • Pull the top piece off.

    • Push down before pulling up to release the tabs.

  6. Cuisinart TOA-60FR Function Switch Replacement, Function Switch: stap 6, afbeelding 1 van 3 Cuisinart TOA-60FR Function Switch Replacement, Function Switch: stap 6, afbeelding 2 van 3 Cuisinart TOA-60FR Function Switch Replacement, Function Switch: stap 6, afbeelding 3 van 3
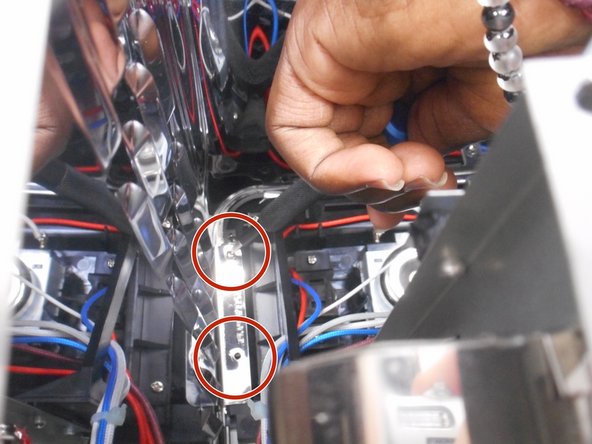
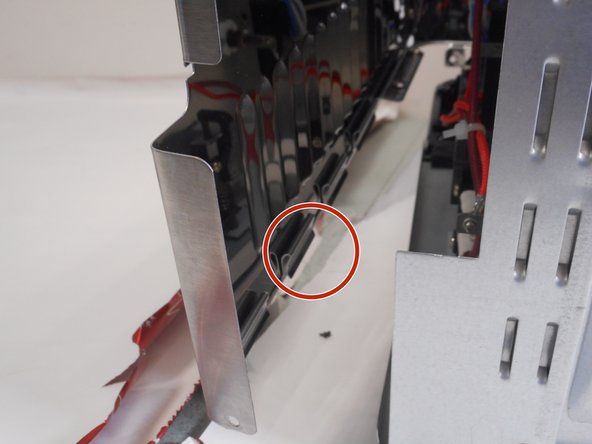
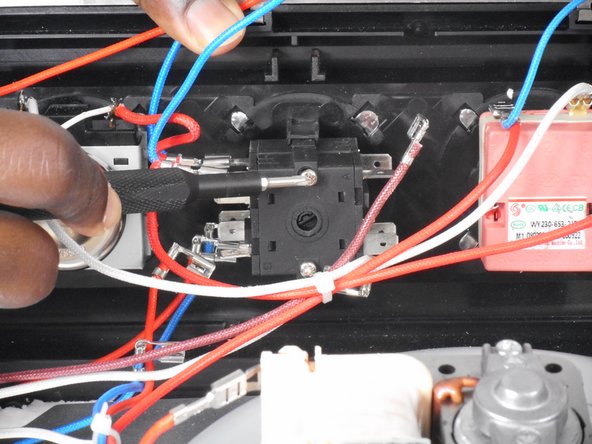
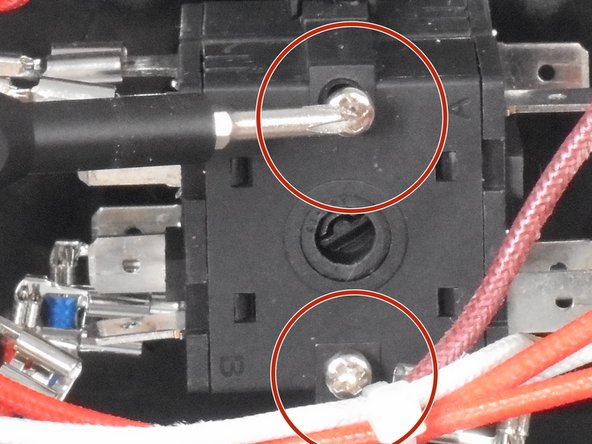
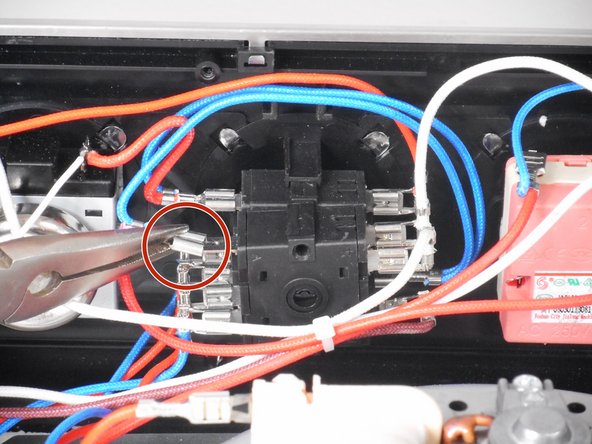
    • Inside of the device locate the function switch and remove the indicated screws (4.97mm).

  7. Cuisinart TOA-60FR Function Switch Replacement: stap 7, afbeelding 1 van 1
    • Unclip all connections.

    • Rotate function knob to broil so plastic tab is visible. Use screwdriver to push tab down and pull knob out from front side.

    • Remove 2 screws revealed under the front knob

Conclusie

To reassemble your device, follow these instructions in reverse order.

TRiels

Lid sinds: 09/08/23

97 Reputatie

1 Handleiding geschreven

0 opmerkingen

Voeg opmerking toe

Weergavestatistieken:

Afgelopen 24 uren: 4

Afgelopen 7 dagen: 18

Afgelopen 30 dagen: 134

Altijd: 567