Deze versie kan foutieve bewerkingen bevatten. Schakel over naar de recentste gecontroleerde momentopname.
Wat je nodig hebt
-
Deze stap is niet vertaald. Help het te vertalen
-
Turn the device around so the line out port faces you.
-
Remove the ten 12 mm screws with the Phillips screwdriver.
-
-
Deze stap is niet vertaald. Help het te vertalen
-
Pull the line out port toward you so you can view the inside of the Crosley.
-
Locate the wires that connect the line out port to the inside of the device.
-
-
Deze stap is niet vertaald. Help het te vertalen
-
Pull on the two connections to remove them from the back of the line out port.
-
Remove the antenna wire from the line out port, then remove the line out port and set it aside.
-
-
-
Deze stap is niet vertaald. Help het te vertalen
-
Remove the red and black connection underneath the turntable.
-
-
Deze stap is niet vertaald. Help het te vertalen
-
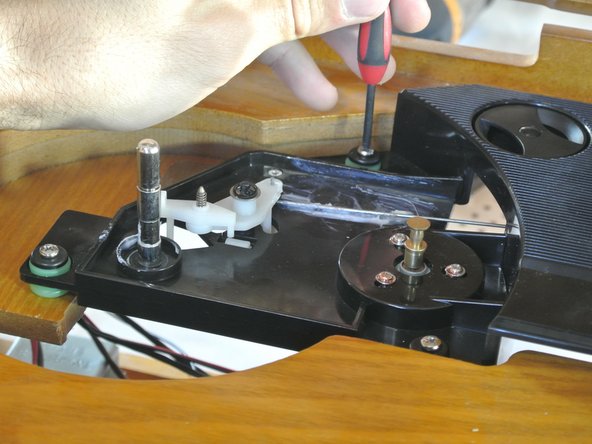
Position yourself in front of the turntable to unscrew the three bushing bolts.
-
-
Deze stap is niet vertaald. Help het te vertalen
-
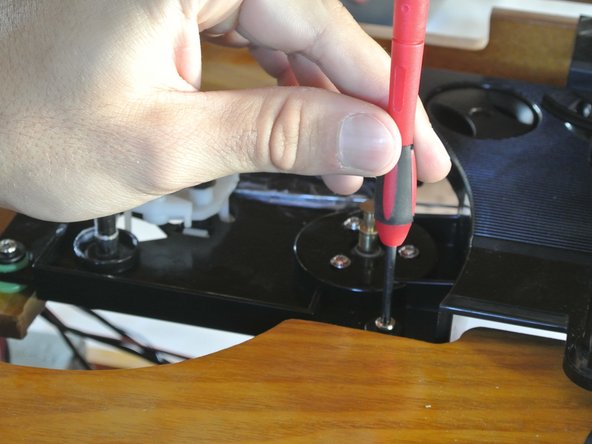
Unscrew the three bushing bolts with the Phillips screw driver.
-
-
Deze stap is niet vertaald. Help het te vertalen
-
Pull the turntable out from the casing.
-
Remove the three bushing bolts.
-
-
Deze stap is niet vertaald. Help het te vertalen
-
Pinch the rubber bushing at the bottom, then pull downwards to remove it.
-
Repeat the previous step for the other two bushings.
-


Annuleren: ik heb deze handleiding niet afgemaakt.
Één andere persoon heeft deze handleiding voltooid.
Team

Cal Poly, Team 1-38, Maness Winter 2014 Lid van Cal Poly, Team 1-38, Maness Winter 2014
CPSU-MANESS-W14S1G38
4 Leden
5 handleidingen geschreven