Ga door naar hoofdinhoud
Word lid van de reparatiegemeenschap - Account aanmaken

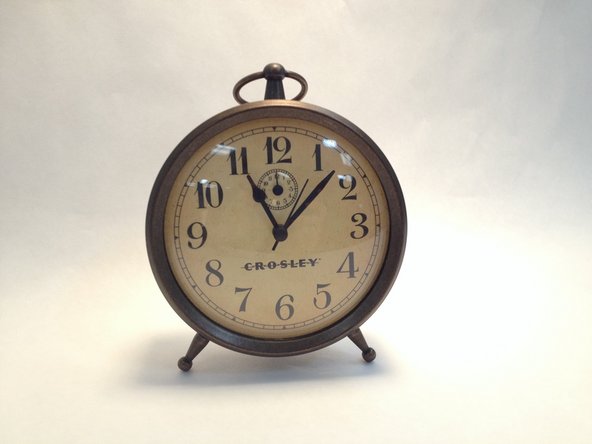
Crosley 33301 Front Glass Replacement

Wat je nodig hebt

    1. Crosley 33301 Front Glass Replacement, Crosley 33301 Front Glass: stap 1, afbeelding 1 van 3 Crosley 33301 Front Glass Replacement, Crosley 33301 Front Glass: stap 1, afbeelding 2 van 3 Crosley 33301 Front Glass Replacement, Crosley 33301 Front Glass: stap 1, afbeelding 3 van 3
      • Rotate Clock till the face/or front is pointing away from you.

      • Continue on by unscrewing the 5.5 millimeter screws with your hands.

      • Once all the screws are removed, take the circular back panel off and lay it down flat on a stable surface to put back on later.

      Vraag FixBot

      Voeg opmerking toe

    2. Crosley 33301 Front Glass Replacement: stap 2, afbeelding 1 van 2 Crosley 33301 Front Glass Replacement: stap 2, afbeelding 2 van 2
      • Unscrew the two remaining screws with a PH2 bit.

      • Do not be afraid to use additional force to remove these screws. Just be careful not to break the clock!

      Vraag FixBot

      Voeg opmerking toe

    3. Crosley 33301 Front Glass Replacement: stap 3, afbeelding 1 van 2 Crosley 33301 Front Glass Replacement: stap 3, afbeelding 2 van 2
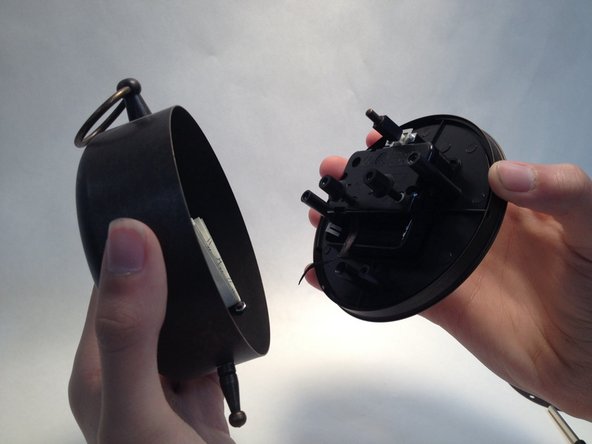
      • Remove the front part of the clock from the back frame.

      • No major force is required. The back frame should slide right off.

      Vraag FixBot

      Voeg opmerking toe

    4. Crosley 33301 Front Glass Replacement: stap 4, afbeelding 1 van 2 Crosley 33301 Front Glass Replacement: stap 4, afbeelding 2 van 2
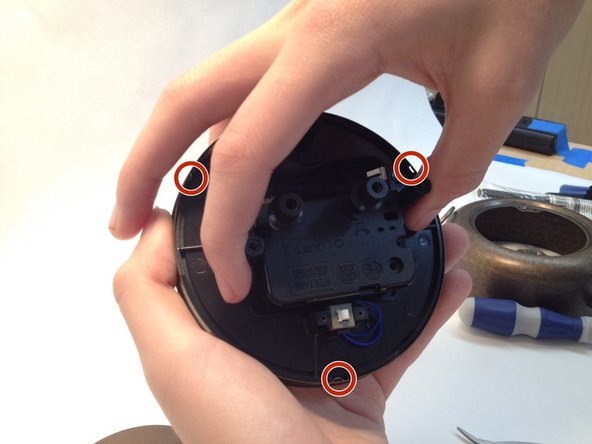
      • You will notice that there are three small indents on alternate sides.

      • You will see small slits where the indents can slide through.

      • Twist the center counter clockwise so that the face and the back are no longer connected.

      Vraag FixBot

      Voeg opmerking toe

    5. Crosley 33301 Front Glass Replacement: stap 5, afbeelding 1 van 2 Crosley 33301 Front Glass Replacement: stap 5, afbeelding 2 van 2
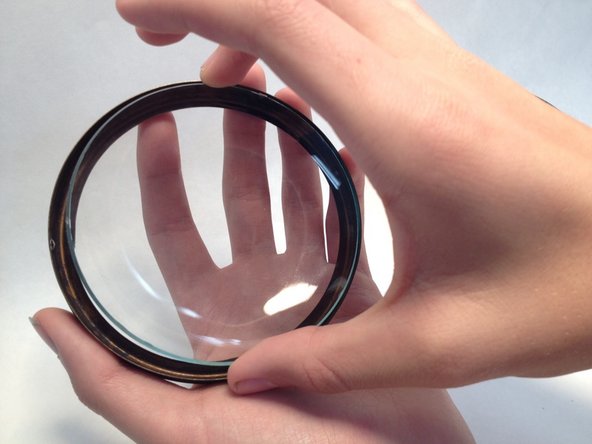
      • Replace the front of the clock with your new glass face protector and settle it on the frame.

      • The glass for this clock is 10cm in diameter. It would be best to use glass that fits this measurement!

      Vraag FixBot

      Voeg opmerking toe

    6. Crosley 33301 Front Glass Replacement: stap 6, afbeelding 1 van 3 Crosley 33301 Front Glass Replacement: stap 6, afbeelding 2 van 3 Crosley 33301 Front Glass Replacement: stap 6, afbeelding 3 van 3
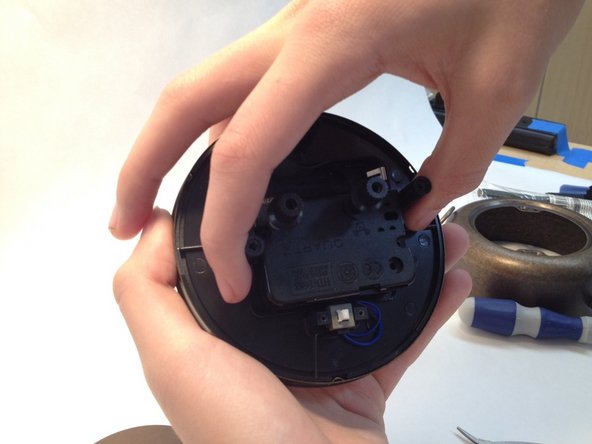
      • Apply the clock face back on the frame, then reverse your steps. Take a step back and admire your handiwork!

      Vraag FixBot

      Voeg opmerking toe

Conclusie

To reassemble your device, follow these instructions in reverse order.

Annuleren: ik heb deze handleiding niet afgemaakt.

2 andere personen hebben deze handleiding voltooid.

Tenaya

Lid sinds: 05/31/16

125 Reputatie

1 Handleiding geschreven

0Gids Commentaar

Voeg opmerking toe

Weergavestatistieken:

Afgelopen 24 uren: 4

Afgelopen 7 dagen: 25

Afgelopen 30 dagen: 76

Altijd: 2,956