Inleiding
The Circut Maker it is powered by two motors. If your device isn't moving at all, and it's still receiving power, then the motors might need to be replaced. The motors are not identical, so be sure to identify which one is faulty before beginning.
Before beginning the repair, be sure to turn off the device and unplug it from the outlet.
Wat je nodig hebt
-
-
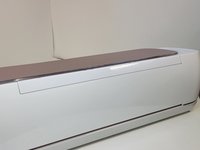
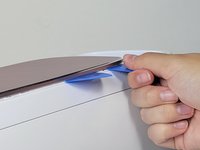
To remove the cover from the connecting joint, use an iFixit opening tool, and pry around the perimeter of the cover to release it.
-
Remove the cover from the connecting joint and set it aside.
-
-
-
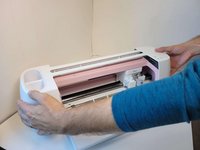
Turn the device around, so that the back is facing you.
-
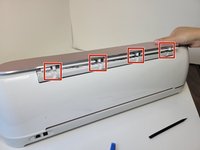
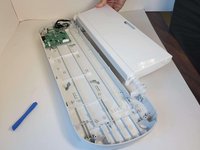
Wedge one or two iFixit opening picks in the seam connecting the Top Door to the device, and use the iFixit opening tool to pry upwards along the seam.
-
These actions should reveal the cylindrical connectors.
The lid of my Cricut maker 3 was removable by pulling upwards, while the lid was still open. It slides right off. The prying approach as described in this step is unnecessary, and could break the attachment points if forced.
-
-
-
Press down on the lid.
-
Push the lid outwards to free it from the jointed clasps.
Where is/are the steps to get to the point of seeing the motor? I've got the top cover off, but that doesn't reveal the motor. There are steps missing between 4 and 5.
There are x7 small screws on the inside upper panel that have to be removed as well as x4 long screws under the feet of the machine.
I had to turn on my machine and send a project to it to have the cutter mechanism move out of the way to remove some of the screws. Once all the screws have been removed the case can be pulled away, but you have to be careful when removing because there are some wires connecting the buttons on the case to the harddrive.
Where can I get the replacement part(s) to make the door stay up and open?
-
-
-
Using your hands or an opening tool, remove the four foot pads covering four screws.
-
Use a Phillips #1 screwdriver to remove four 41 mm screws from the feet.
-
-
-
Remove the seven screws (Four 8.5 mm screws, and three 12.5 mm screws) on the bottom of the device, this will allow you to remove the cover later on.
-
Use a Phillips #1 screwdriver to remove the four 8.5 mm screws from the bottom of the device.
-
Use a Phillips #0 screwdriver to remove the three 12.5 mm screws.
-
-
-
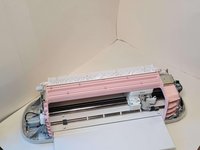
Turn the device on its side.
-
To remove the seven 10 mm screws from the underside of the top of the device, use a Phillips #1 screwdriver with the flex extension.
-
-
-
-
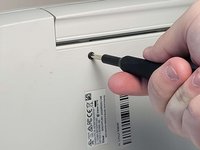
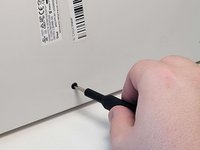
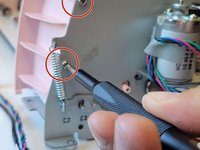
Use a Phillips #1 screwdriver to remove two 10 mm screws. These are parallel to one another, one on either side of the machine.
-
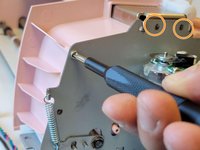
Use a Phillips #1 screwdriver to remove two 8mm screws, these are also directly parallel to one another on either side of the machine.
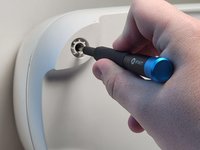
Note the empty screw hole in the second photo, on the front, just beneath the plastic fin.
How was this removed without damaging the fin?
Hint: Since we've already removed the screws holding the right side cover in Step 9, the cover could be moved inward, providing access to that screw, IF we had already removed the lid attachment/hinge mechanism and rear inside cover. -
-
-
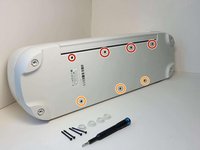
Remove a total of seven 10 mm screws from the underside of the door.
-
One side of the base has two 10mm screws.
-
The other side of the base has five 10 mm screws.
-
-
-
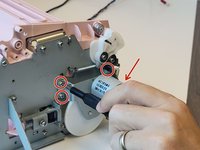
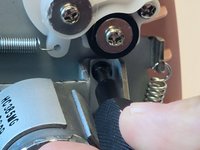
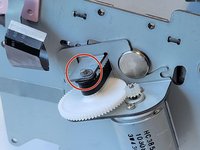
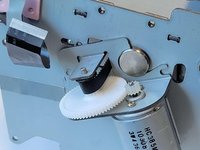
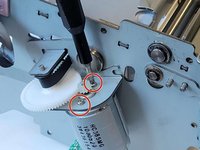
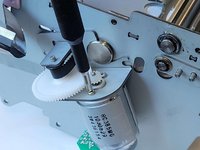
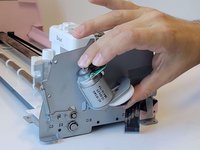
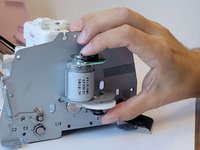
Use a Phillips #1 screwdriver to remove the four 5 mm screws that attach the motor on the left side of the machine.
-
-
-
Remove the two 5 mm screws from the remaining motor on the opposite side, using a Phillips #2 screwdriver.
Bonjour, à quel moment enlève t on l'arrière de la machine pour accéder au porte outil?
-
To reassemble your device, follow these instructions in reverse order.
To reassemble your device, follow these instructions in reverse order.
Annuleren: ik heb deze handleiding niet afgemaakt.
2 andere personen hebben deze handleiding voltooid.
2 opmerkingen
Bonjour,
Merci pour vos précisions c’est parfait comme tuto mais quels sont les signaux de la cricut nous alarmant que c’est une panne de moteur ? Car ma machine en l’occurrence fait un drôle de bruit au démarrage mais je ne sais pas d’où vient la panne ni le centre d’assistance de cricut d’ailleurs à part me conseiller d’en acheter une autre. Pouvez-vous peut-être me conseiller ?
Merci d’avance
Fanny




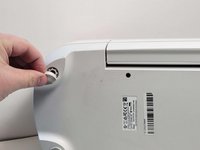




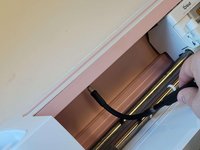
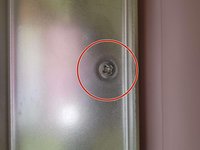
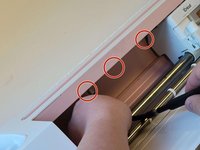


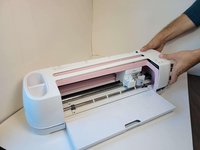




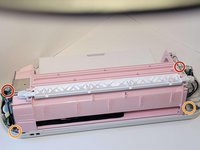
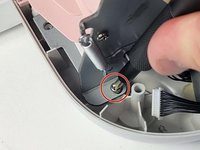
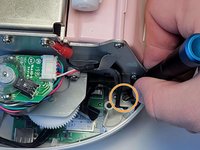


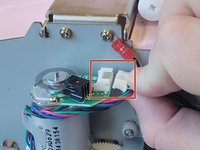
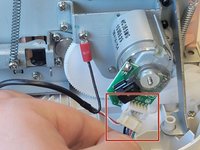


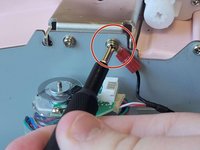
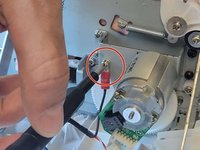


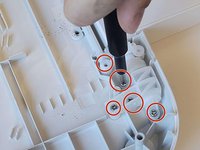
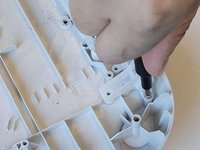
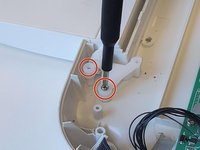


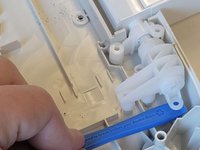
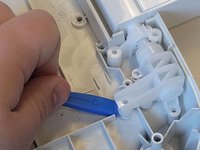









The outer two attachment points of my Cricut were actually glued on, and I had to reach in with the torx driver and remove them while the strip was still on, to be able to get the lid off. On inspection, there would have been no way to lift the strip off in the way described here.
cjberry - Antwoord