Ga door naar hoofdinhoud

Creative Zen X-Fi LCD Screen Replacement

Wat je nodig hebt

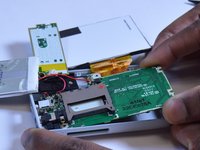
  1. Creative Zen X-Fi LCD Screen Replacement, Detaching Front Case: stap 1, afbeelding 1 van 3 Creative Zen X-Fi LCD Screen Replacement, Detaching Front Case: stap 1, afbeelding 2 van 3 Creative Zen X-Fi LCD Screen Replacement, Detaching Front Case: stap 1, afbeelding 3 van 3
    • Using a spudger, wedge the tip between the front and back case to pry them apart.

    • Be careful to not apply excessive force since there are six fasteners on the screen's side that holds the cases firmly together.

  2. Creative Zen X-Fi LCD Screen Replacement, Rubber Button Cover: stap 2, afbeelding 1 van 1
    • The black rubber button pad can be removed by simply picking it up.

  3. Creative Zen X-Fi LCD Screen Replacement, Button Input Chip Part 1: stap 3, afbeelding 1 van 1
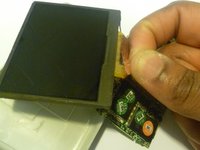
    • Flip the LCD screen off the midsection plate to gain access to the space around the input button chip.

  4. Creative Zen X-Fi LCD Screen Replacement, Button Input Chip: stap 4, afbeelding 1 van 1
    • Using a spudger, pry off the button input chip from the mid-section of the device. To gain best leverage, start at the bottom right corner and level your way up the side of the chip.

    • Be aware that the button input chip is glued to the mid-section, so some extra force may be required.

  5. Creative Zen X-Fi LCD Screen Replacement, Access Midsection Plate: stap 5, afbeelding 1 van 1
    • Lift open the LCD screen and button input chip to access the entire midsection plate.

  6. Creative Zen X-Fi LCD Screen Replacement, Unscrew below Button Chip: stap 6, afbeelding 1 van 1
    • Use a Phillips Head screwdriver to unscrew the three 3/16 inch screws that were underneath the button input chip.

  7. Creative Zen X-Fi LCD Screen Replacement, Unscrew below LCD Screen: stap 7, afbeelding 1 van 1
    • Use a Phillips Head screwdriver to unscrew the three 3/16 inch screws that were underneath the LCD screen.

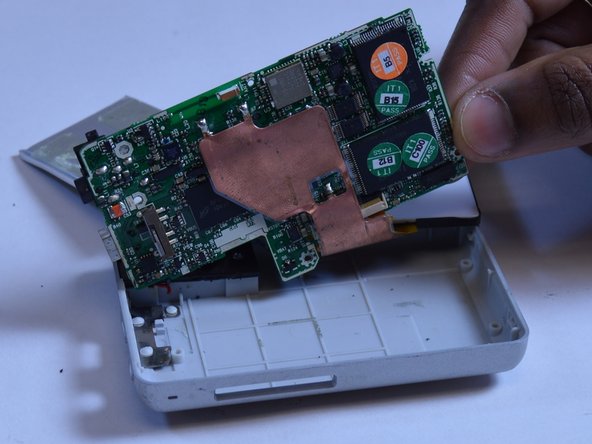
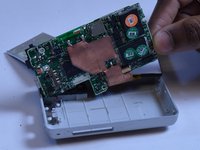
  8. Creative Zen X-Fi LCD Screen Replacement, Pull the Motherboard Out: stap 8, afbeelding 1 van 2 Creative Zen X-Fi LCD Screen Replacement, Pull the Motherboard Out: stap 8, afbeelding 2 van 2
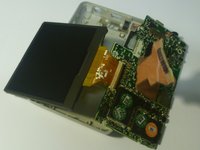
    • Lift the right edge of the motherboard off the back case.

    • Using two fingers to grip the edge of the board, slide the motherboard out of the case to the right.

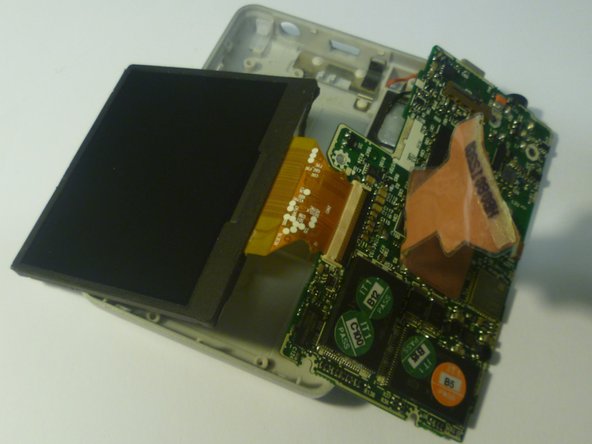
  9. Creative Zen X-Fi LCD Screen Replacement, Disconnect the LCD Screen: stap 9, afbeelding 1 van 2 Creative Zen X-Fi LCD Screen Replacement, Disconnect the LCD Screen: stap 9, afbeelding 2 van 2
    • Use two fingers to peel back the edge of the ribbon connector that is glued to the bottom of the LCD screen.

  10. Creative Zen X-Fi LCD Screen Replacement, Unlatch the LCD Screen: stap 10, afbeelding 1 van 1
    • Using a plastic opening tool, unlock the ribbon connector by unlatching the black lever that pins it on the motherboard.

    • Once the black lever arm is open, pull the ribbon connector out to disconnect the LCD screen.

Conclusie

To reassemble your device, follow these instructions in reverse order.

3 andere personen hebben deze handleiding voltooid.

Westley Courchene

Lid sinds: 01/13/15

3.362 Reputatie

14 handleidingen geschreven

Team

USF Tampa, Team 1-1, Remmell Fall 2015 Lid van USF Tampa, Team 1-1, Remmell Fall 2015

USFT-REMMELL-F15S1G1

5 Leden

14 handleidingen geschreven

0 opmerkingen

Voeg opmerking toe

Weergavestatistieken:

Afgelopen 24 uren: 1

Afgelopen 7 dagen: 10

Afgelopen 30 dagen: 12

Altijd: 1,429