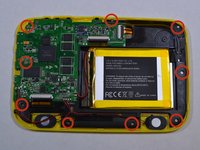
Ga door naar hoofdinhoud

Computer King Muffin Kinder 7 Screen Replacement

Wat je nodig hebt

  1. Computer King Muffin Kinder 7 Screen Replacement, Screen: stap 1, afbeelding 1 van 2 Computer King Muffin Kinder 7 Screen Replacement, Screen: stap 1, afbeelding 2 van 2
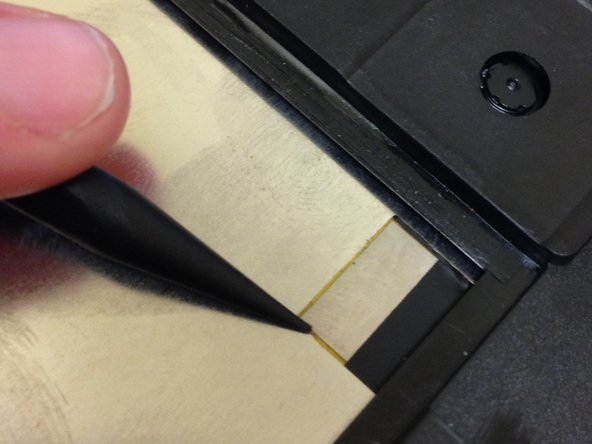
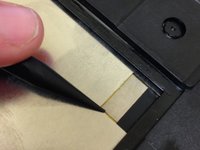
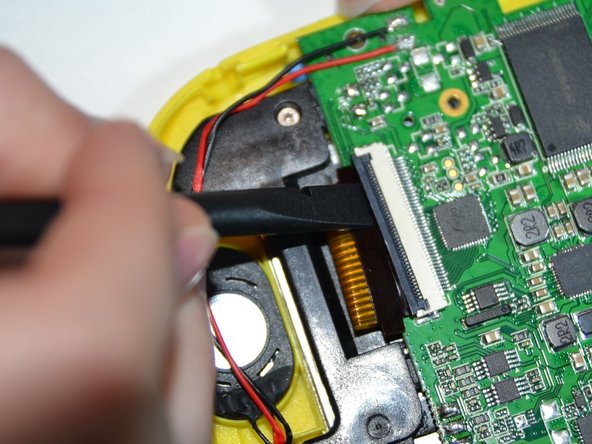
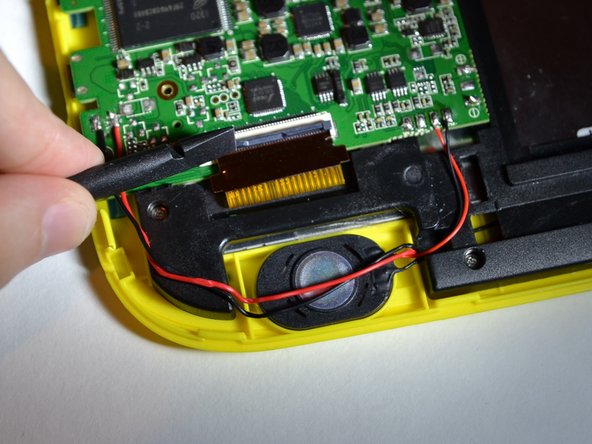
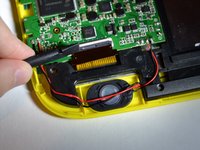
    • Use the plastic opening tool help push out the microSD card from the microSD slot.

  2. Computer King Muffin Kinder 7 Screen Replacement: stap 2, afbeelding 1 van 1
    • Use the plastic opening tool to unclip the plastic front from the plastic back. Use the MicroSD slot to initially start the unclipping.

  3. Computer King Muffin Kinder 7 Screen Replacement: stap 3, afbeelding 1 van 2 Computer King Muffin Kinder 7 Screen Replacement: stap 3, afbeelding 2 van 2
    • Unscrew the nine 3.0 mm Phillips #00 screws.

  4. Computer King Muffin Kinder 7 Screen Replacement: stap 4, afbeelding 1 van 1
    • The battery is glued onto the black plastic. Use the plastic opening tool to pry the battery from the black plastic

  5. Computer King Muffin Kinder 7 Screen Replacement: stap 5, afbeelding 1 van 2 Computer King Muffin Kinder 7 Screen Replacement: stap 5, afbeelding 2 van 2
    • There will be a black strip connected to the screen.

    • Use the pointy end of the spudger to unstick the black strip that is glued onto the screen.

  6. Computer King Muffin Kinder 7 Screen Replacement: stap 6, afbeelding 1 van 3 Computer King Muffin Kinder 7 Screen Replacement: stap 6, afbeelding 2 van 3 Computer King Muffin Kinder 7 Screen Replacement: stap 6, afbeelding 3 van 3
    • You will need to remove 2 ribbon cables, one that is connected to the touch screen (by the battery) and one that is connected to the yellow plastic (by the speaker).

    • Use the flat end of the spudger to lift the black panel covering the ribbon cables.

  7. Computer King Muffin Kinder 7 Screen Replacement: stap 7, afbeelding 1 van 1
    • Pull the two ribbon cables out so that they are no longer connected to the logic board.

  8. Computer King Muffin Kinder 7 Screen Replacement: stap 8, afbeelding 1 van 1
    • Lift up the logic board and black plastic so that they are no longer covering the screen

    • Lift out the screen.

Conclusie

To reassemble your device, follow these instructions in reverse order.

3 andere personen hebben deze handleiding voltooid.

Katherine

Lid sinds: 01/22/15

439 Reputatie

3 handleidingen geschreven

Team

UWT Liner: Group 2 Lid van UWT Liner: Group 2

Community

4 Leden

7 handleidingen geschreven

0 opmerkingen

Voeg opmerking toe

Weergavestatistieken:

Afgelopen 24 uren: 0

Afgelopen 7 dagen: 1

Afgelopen 30 dagen: 1

Altijd: 354