Ga door naar hoofdinhoud

Wat je nodig hebt

Deze demontage is geen reparatiehandleiding. Om je Macintosh Color Classic te repareren, gebruik onze reparatiehandleidingen.

  1. Deze stap is niet vertaald. Help het te vertalen

    : stap 1, afbeelding 1 van 1
    • My Macintosh Color Classic running under MacOS 7.6 some days before it died

  2. Deze stap is niet vertaald. Help het te vertalen

    : stap 2, afbeelding 1 van 1
    • Machine completely emptied

  3. Deze stap is niet vertaald. Help het te vertalen

    : stap 3, afbeelding 1 van 1
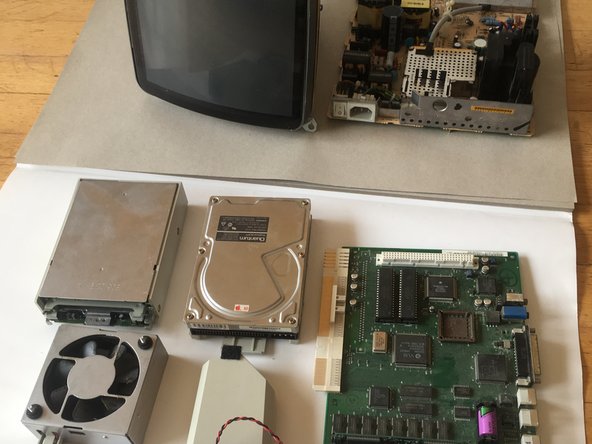
    • all original components…

  4. Deze stap is niet vertaald. Help het te vertalen

    : stap 4, afbeelding 1 van 1
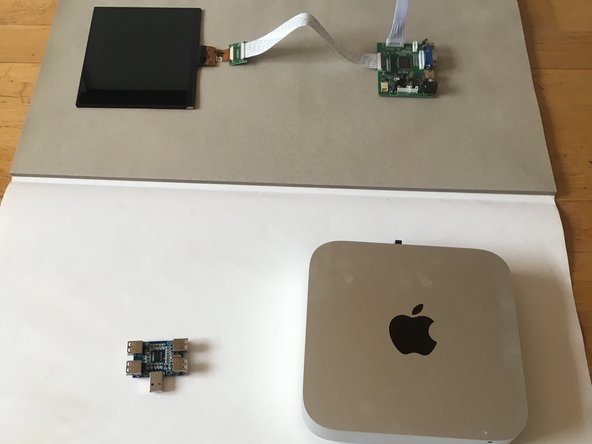
    • ...were replaced with the new ones

  5. Deze stap is niet vertaald. Help het te vertalen

    : stap 5, afbeelding 1 van 1
    • Testing the new HDMI 8” LCD screen.

  6. Deze stap is niet vertaald. Help het te vertalen

    : stap 6, afbeelding 1 van 1
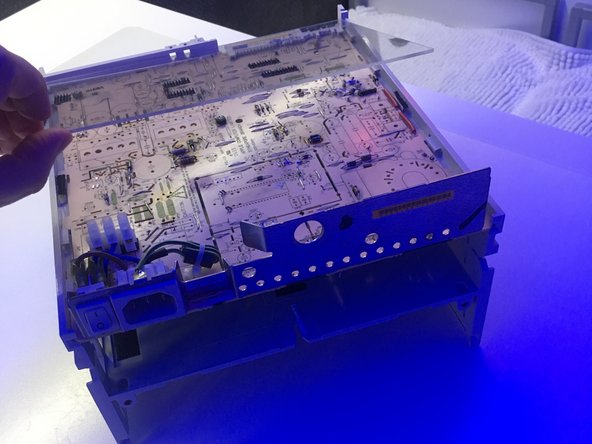
    • The chassis and the power supply board were cleaned up and adapted for fitting the new components.

  7. Deze stap is niet vertaald. Help het te vertalen

    : stap 7, afbeelding 1 van 1
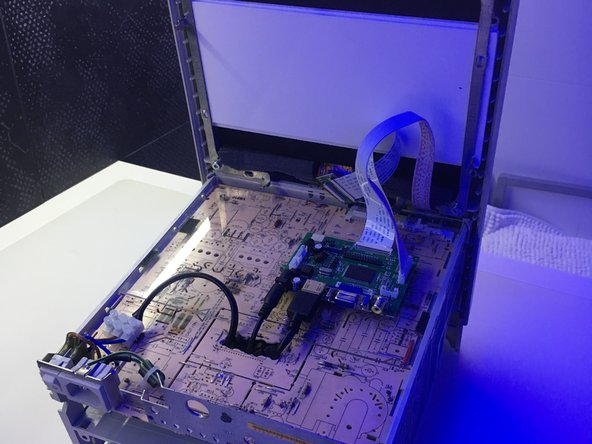
    • Installing the new screen

  8. Deze stap is niet vertaald. Help het te vertalen

    : stap 8, afbeelding 1 van 1
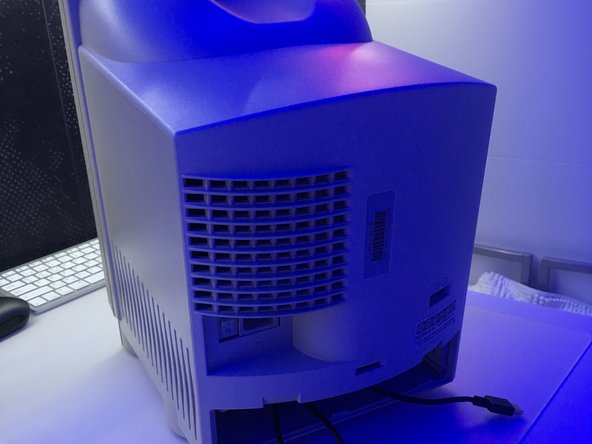
    • Closing the back case

  9. Deze stap is niet vertaald. Help het te vertalen

    : stap 9, afbeelding 1 van 1
    • Sliding in and connecting the MacMini 2014

  10. Deze stap is niet vertaald. Help het te vertalen

    : stap 10, afbeelding 1 van 1
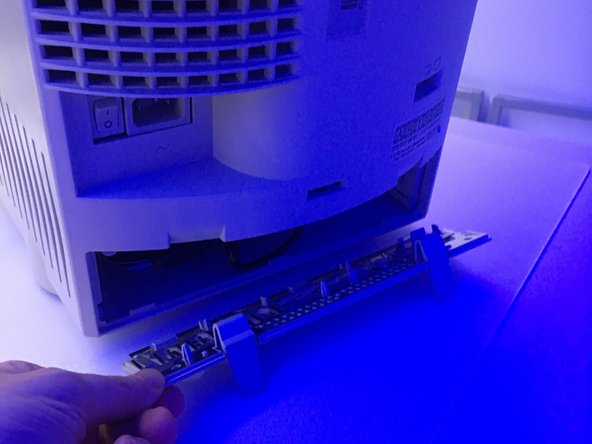
    • Closing the clip-in backplane

  11. Deze stap is niet vertaald. Help het te vertalen

    : stap 11, afbeelding 1 van 1
    • Plugging in the computer

  12. Deze stap is niet vertaald. Help het te vertalen

    : stap 12, afbeelding 1 van 1
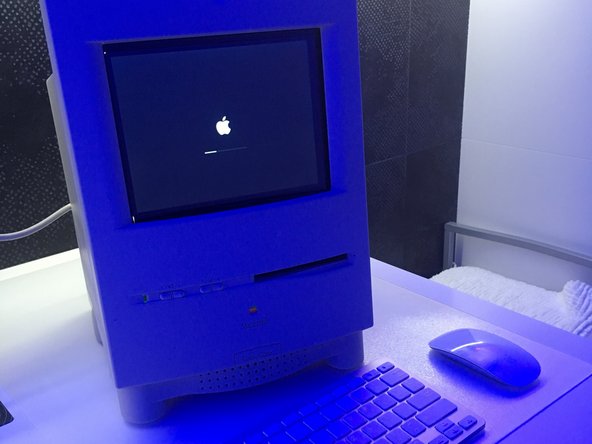
    • Starting the computer

  13. Deze stap is niet vertaald. Help het te vertalen

    : stap 13, afbeelding 1 van 1
    • Macintosh Color Classic running under MacOS Mojave

  14. Deze stap is niet vertaald. Help het te vertalen

    : stap 14, afbeelding 1 van 3 : stap 14, afbeelding 2 van 3 : stap 14, afbeelding 3 van 3
    • Insert wisdom here.

Roberto

Lid sinds: 06/08/17

245 Reputatie

1 Handleiding geschreven

12 opmerkingen

Wow, such a clean built. Thanks for sharing!

Luke - Antwoord

La pantalla es lo que mas temor da retirar si es igual a las de la emac y imacs, me gustaría haberlo hecho con la que me dañaron en un taller, no la guarde y tire la basura, en fin jamas se sabe lo que la tecnología nueva nos permite hacer con las viejas carcazas, debe ser grato ver la cara de la gente que te ve trabajar en ella con teclado y ratón inalámbricos.

javiersconde - Antwoord

Do you have a more detailed breakdown, including exact parts used. I have one of these Macs and it has died. The sentimental value is huge so doing to it what you did to yours is an awesome idea. Thanks

Nathan Fletcher - Antwoord

Sorry, I haven’t more details of the breakdown. The most difficult part was to clean up the power supply board and to saw parts of the plastic chassis to fit the MacMini inside. The parts I kept from the original machine are the chassis, the power supply board and the framework that sustained the original screen.

Roberto -

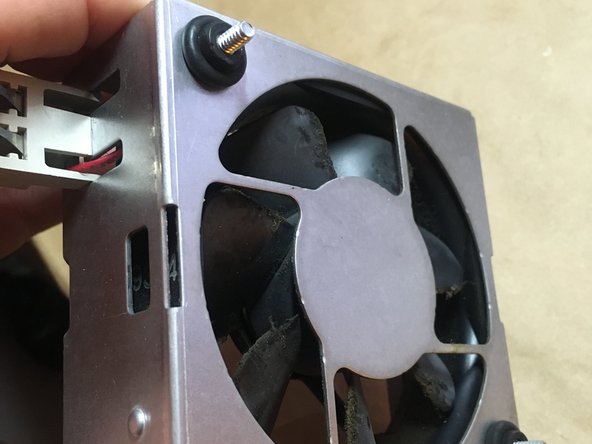
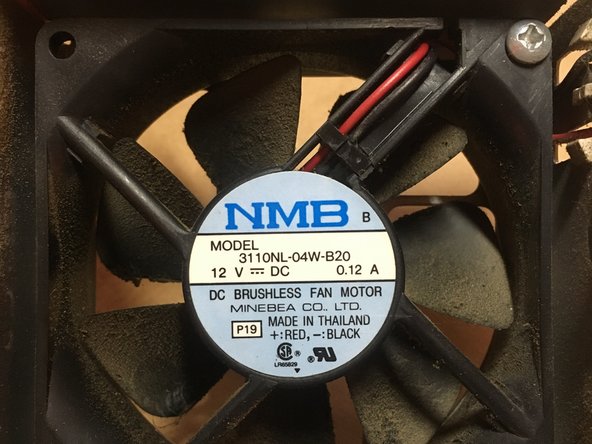
Roberto, what size is the fan? 60x25mm? And can you remove the stock fan from that metal housing so as to replace it with a quieter modern version? Thanks.

James Wages - Antwoord

Voeg opmerking toe

Weergavestatistieken:

Afgelopen 24 uren: 0

Afgelopen 7 dagen: 5

Afgelopen 30 dagen: 18

Altijd: 4,180