Inleiding
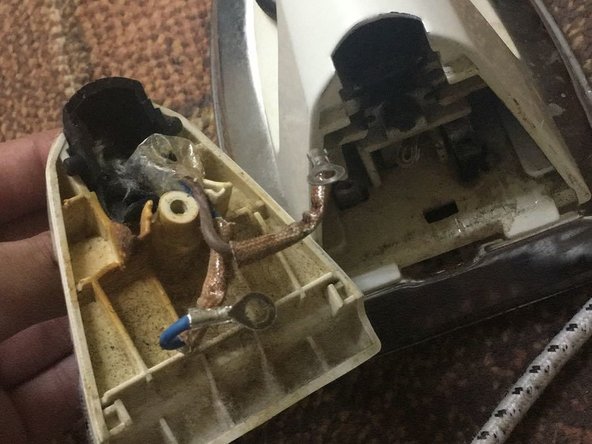
This guide will provide the process of heating elements of clothe iron. The heating elements of a clothe iron can stop working as a result of breaking or burning out in the process of ironing clothes. When a heating element is not working, the iron won't heat up. Unfortunately, one cannot repair most of these elements but there is usually the option of replacing them.
Wat je nodig hebt
-
-
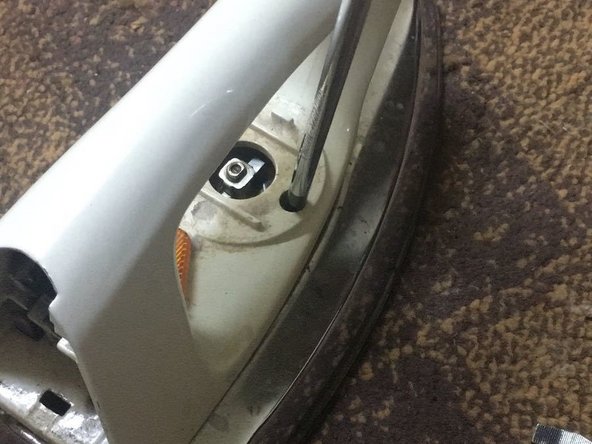
Plug in the iron box and electric cord and bottom surface if the iron heats up or not.
-
-


To reassemble your device, follow these instructions in reverse order
To reassemble your device, follow these instructions in reverse order
Annuleren: ik heb deze handleiding niet afgemaakt.
4 andere personen hebben deze handleiding voltooid.
Team

Eastern Washington University, Team S2-G2, Crane Summer 2018 Lid van Eastern Washington University, Team S2-G2, Crane Summer 2018
EWU-CRANE-SU18S2G2
2 Leden
2 handleidingen geschreven
2 opmerkingen
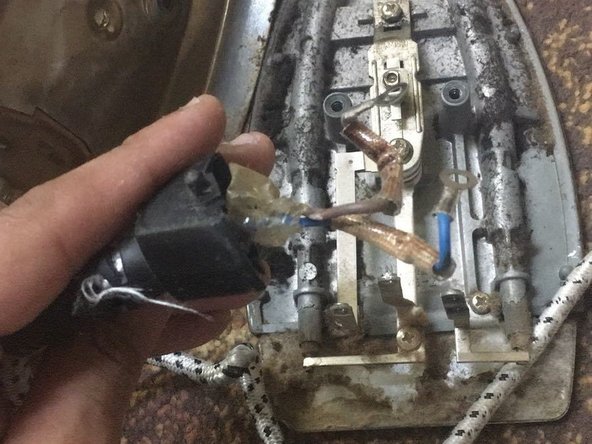
The backwards "RU" on the old thermostat means it is a UL tested device ('recognized'). You should replace it with a UL tested device.