Deze versie kan foutieve bewerkingen bevatten. Schakel over naar de recentste gecontroleerde momentopname.
Wat je nodig hebt
-
Deze stap is niet vertaald. Help het te vertalen
-
Remove the 6 screws, which are 5mm long, using a PH1 screwdriver.
-
-
Deze stap is niet vertaald. Help het te vertalen
-
Use plastic spudger to separate backplate from the front-plate. Place the flat end of the spudger in the seam between the front and back, near one end of the calculator. Then slide the spudger towards the calculator's center. The two sides will pop free from each other as you go through it with the spudger.
-
-
Deze stap is niet vertaald. Help het te vertalen
-
Using the pointed end of the nylon spudger, carefully pry an edge of the battery, and lift the battery from its socket.
-
-
-
Deze stap is niet vertaald. Help het te vertalen
-
Using the plastic spudger, carefully pry the battery terminals from the front plate. If the plastic spudger is too weak for prying out the terminals, use the small metal spudger.By Carefully bending and/or prying the little teeth on the terminals upwards you can easily remove them.
-
-
Deze stap is niet vertaald. Help het te vertalen
-
Using the small metal spudger. Carefully pry around the edge of the solar panel until it becomes loose. Then simply pull it from its socket using your hands.
-
-
Deze stap is niet vertaald. Help het te vertalen
-
Using a PH0 phillips screwdriver, unscrew the four, 4mm, pan head screws from the motherboard.
-
-
Deze stap is niet vertaald. Help het te vertalen
-
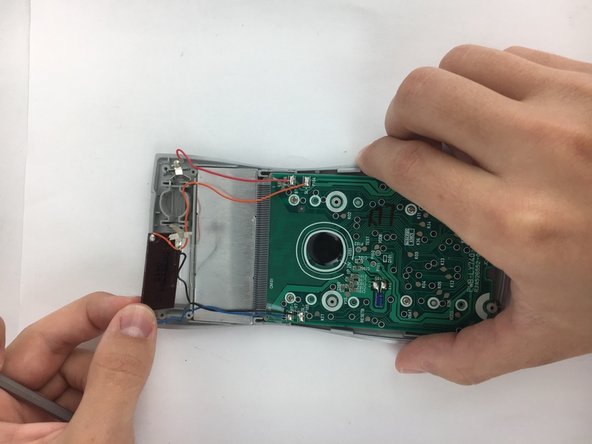
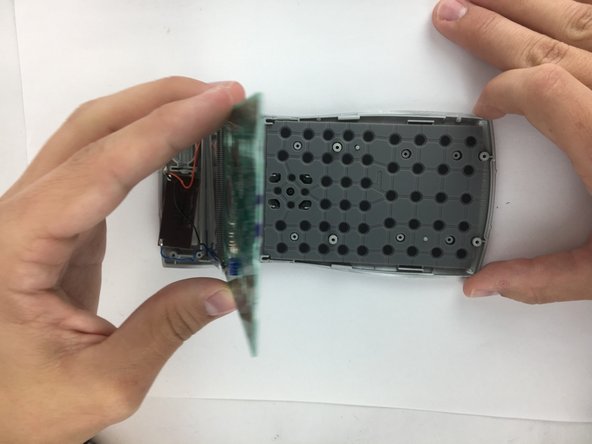
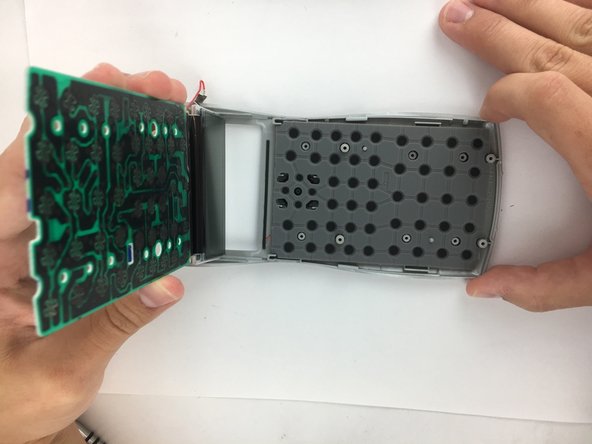
Carefully lift the motherboard, screen, solar panel, and battery terminal combination from the front plate. Start from the motherboard and lift at an angle toward the solar panel.
-
-
Deze stap is niet vertaald. Help het te vertalen
-
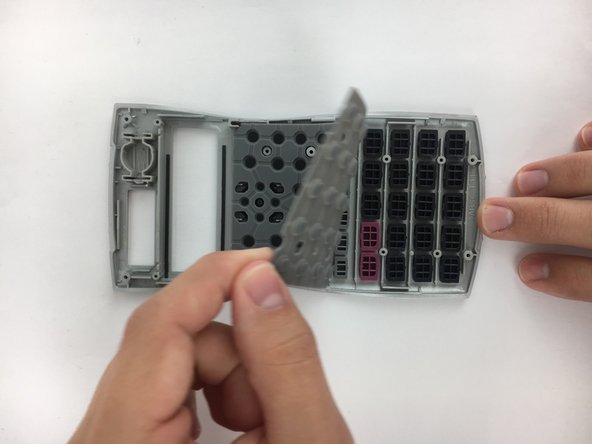
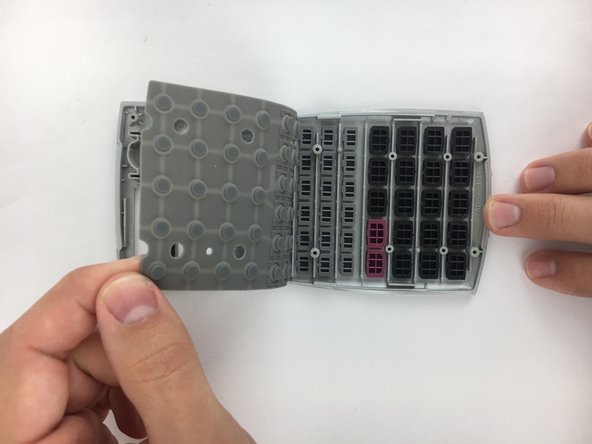
Starting from one corner of the keyboard mat, slowly peel the mat from the front plate and individual keys.
-


Team

USF Tampa, Team 2-2, Nance Fall 2016 Lid van USF Tampa, Team 2-2, Nance Fall 2016
USFT-NANCE-F16S2G2
4 Leden
15 handleidingen geschreven