Ga door naar hoofdinhoud

Casio Exilim EX-Z850 lens assembly replacement

Wat je nodig hebt

  1. Casio Exilim EX-Z850 lens assembly replacement, Zoom Lens: stap 1, afbeelding 1 van 1
    • Remove the four screws on the side with the screwdriver.

  2. Casio Exilim EX-Z850 lens assembly replacement: stap 2, afbeelding 1 van 1
    • Remove the four screws from the bottom of the camera.

    • Bottom screws are longer than the top ones, so keep that in mind for easy reassembly

  3. Casio Exilim EX-Z850 lens assembly replacement: stap 3, afbeelding 1 van 1
    • With the screwdriver, remove the four screws on the side of the speaker.

  4. Casio Exilim EX-Z850 lens assembly replacement: stap 4, afbeelding 1 van 1
    • Once all screws have been removed, gently pry open the bottom casing.

    • With tweezers, carefully remove ribbon from LCD screen.

    • Set the bottom casing aside.

  5. Casio Exilim EX-Z850 lens assembly replacement: stap 5, afbeelding 1 van 2 Casio Exilim EX-Z850 lens assembly replacement: stap 5, afbeelding 2 van 2
    • Remove ribbon from the rear casing.

    • Set aside the rear casing.

  6. Casio Exilim EX-Z850 lens assembly replacement: stap 6, afbeelding 1 van 2 Casio Exilim EX-Z850 lens assembly replacement: stap 6, afbeelding 2 van 2
    • Use tweezers or prongs to pry the LCD screen off from the opening.

    • Note: the bottom of the LCD screen is attached to the frame by a few pieces of black tape.

  7. Casio Exilim EX-Z850 lens assembly replacement: stap 7, afbeelding 1 van 2 Casio Exilim EX-Z850 lens assembly replacement: stap 7, afbeelding 2 van 2
    • Lift up the LCD screen, and slowly move it to the other side.

  8. Casio Exilim EX-Z850 lens assembly replacement: stap 8, afbeelding 1 van 2 Casio Exilim EX-Z850 lens assembly replacement: stap 8, afbeelding 2 van 2
    • With tweezers, pry off the LCD casing which is taped on to the frame.

  9. Casio Exilim EX-Z850 lens assembly replacement: stap 9, afbeelding 1 van 3 Casio Exilim EX-Z850 lens assembly replacement: stap 9, afbeelding 2 van 3 Casio Exilim EX-Z850 lens assembly replacement: stap 9, afbeelding 3 van 3
    • With tweezers, flip open the connector holding the ribbon.

    • Pull out the LCD screen with the ribbon from the camera.

  10. Casio Exilim EX-Z850 lens assembly replacement: stap 10, afbeelding 1 van 2 Casio Exilim EX-Z850 lens assembly replacement: stap 10, afbeelding 2 van 2
    • Pull apart the front casing, and set it to the side.

  11. Casio Exilim EX-Z850 lens assembly replacement: stap 11, afbeelding 1 van 2 Casio Exilim EX-Z850 lens assembly replacement: stap 11, afbeelding 2 van 2
    • Remove two screws on the side where the battery is located.

    • Remove the lanyard loop after the screws come off.

    • Slowly pull the side casing so it becomes dislocated from the top of the camera frame.

  12. Casio Exilim EX-Z850 lens assembly replacement: stap 12, afbeelding 1 van 2 Casio Exilim EX-Z850 lens assembly replacement: stap 12, afbeelding 2 van 2
    • On the front of the camera near the flash flip the connector holding the ribbon.

    • Carefully remove the ribbon from the connector.

  13. Casio Exilim EX-Z850 lens assembly replacement: stap 13, afbeelding 1 van 3 Casio Exilim EX-Z850 lens assembly replacement: stap 13, afbeelding 2 van 3 Casio Exilim EX-Z850 lens assembly replacement: stap 13, afbeelding 3 van 3
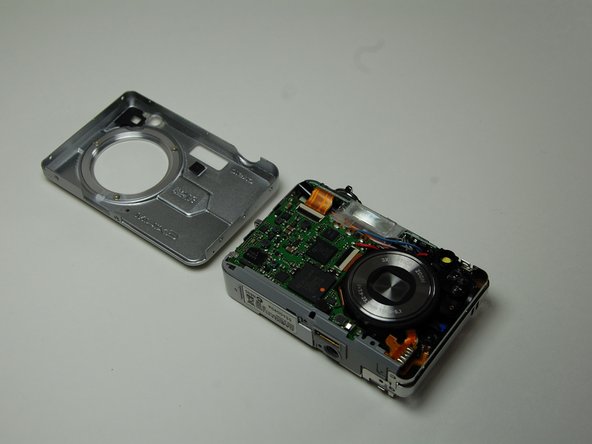
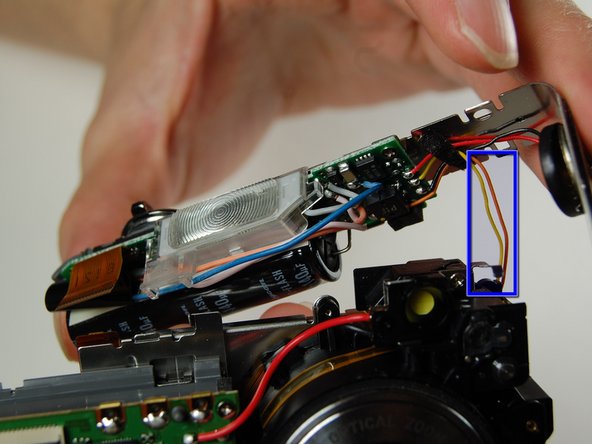
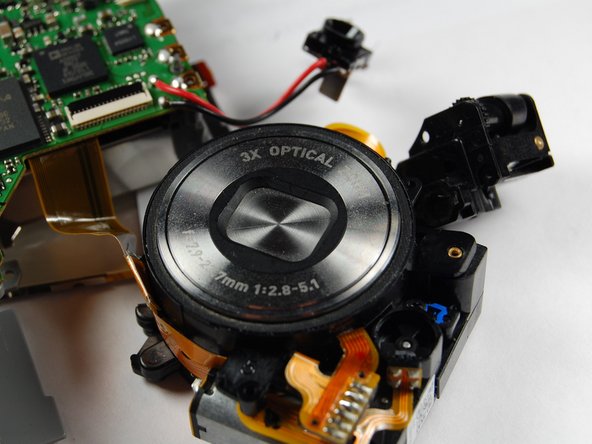
    • Carefully remove the L shaped frame from the camera.

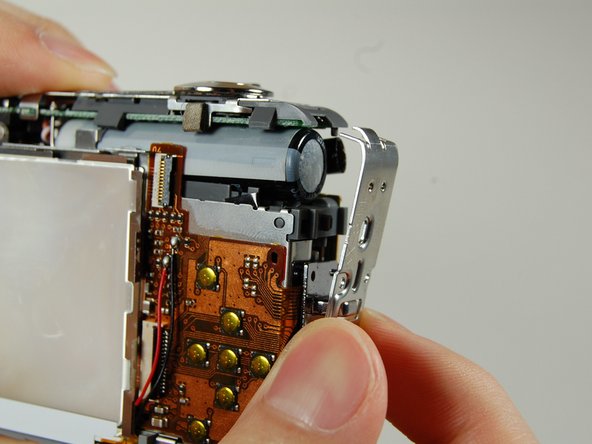
    • At the bottom of the camera the L shaped frame is being held in by two plastic bumps and a metal tab. Pop the frame off the bumps and tabs.

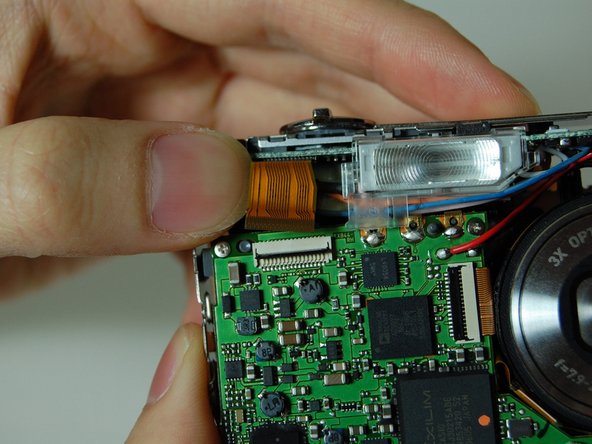
    • There is a yellow and orange wire soldered onto the camera. Be careful not to pull them off.

  14. Casio Exilim EX-Z850 lens assembly replacement: stap 14, afbeelding 1 van 2 Casio Exilim EX-Z850 lens assembly replacement: stap 14, afbeelding 2 van 2
    • On the logic board next to the lens is a connector with a ribbon.

    • Flip the connector and remove the ribbon with the tweezers.

  15. Casio Exilim EX-Z850 lens assembly replacement: stap 15, afbeelding 1 van 2 Casio Exilim EX-Z850 lens assembly replacement: stap 15, afbeelding 2 van 2
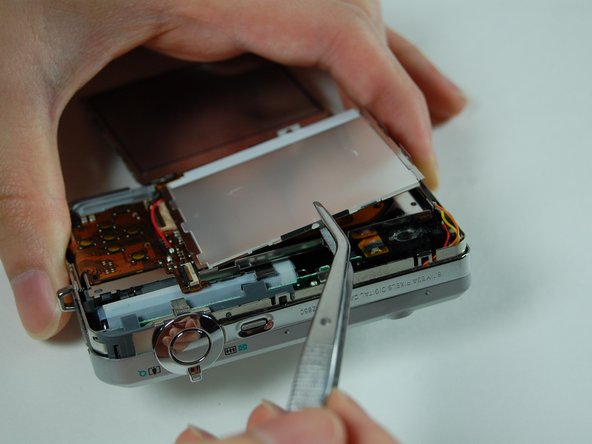
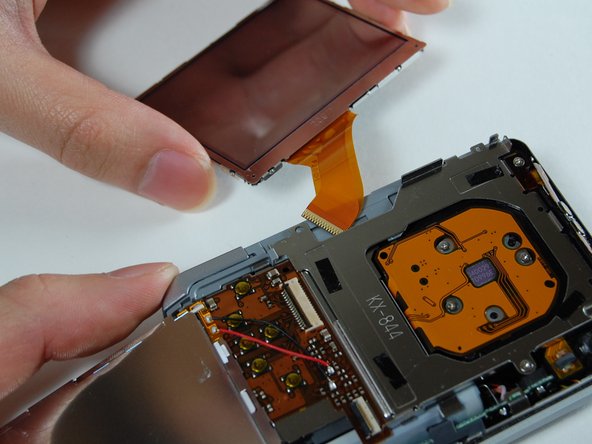
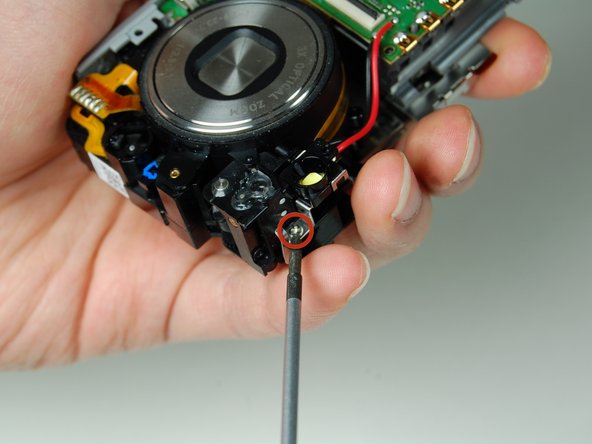
    • Remove the frame on the back side of the camera where the LCD screen was.

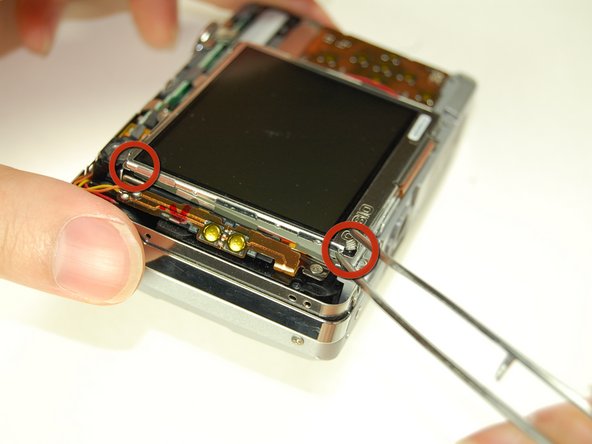
    • With the screwdriver, remove the two screws connecting the frame with the camera

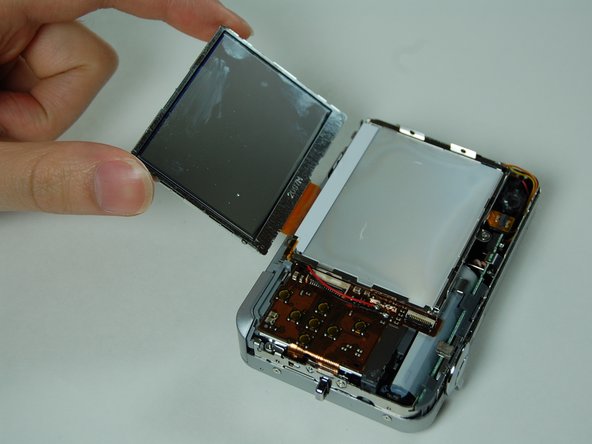
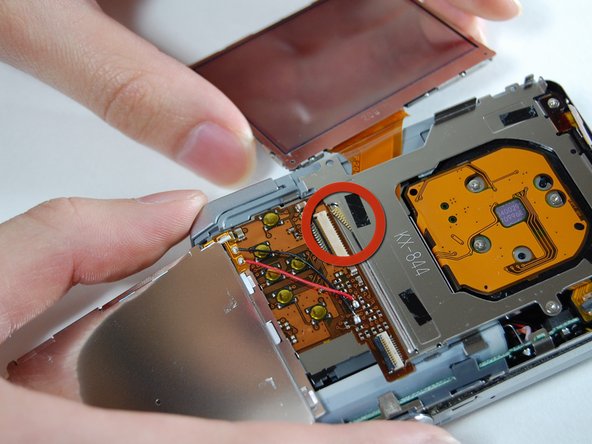
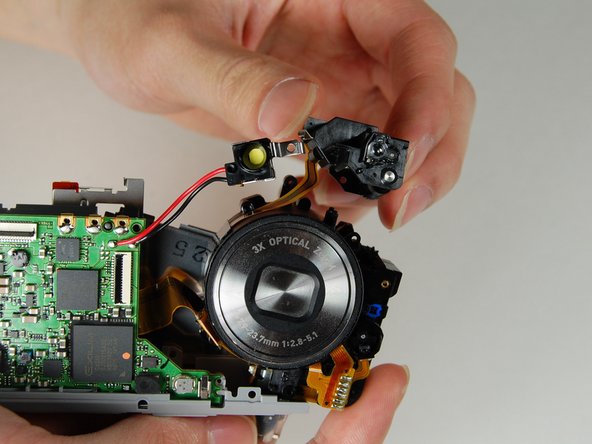
    • Slowly pry off the frame from the camera

    • After removing the frame a plastic piece with two yellow button connections should fall off.

    • Note: This plastic piece is soldered to two wires a yellow and orange one.

  16. Casio Exilim EX-Z850 lens assembly replacement: stap 16, afbeelding 1 van 1
    • On the back of the camera where the LCD screen was, remove the 3 screws located behind the lens.

  17. Casio Exilim EX-Z850 lens assembly replacement: stap 17, afbeelding 1 van 1
    • Remove the large orange ribbon previously held in by screws from the camera and set it asside.

  18. Casio Exilim EX-Z850 lens assembly replacement: stap 18, afbeelding 1 van 1
    • On the backside of the camera where the indicator lamp is located, remove the two screws with a screwdriver

  19. Casio Exilim EX-Z850 lens assembly replacement: stap 19, afbeelding 1 van 3 Casio Exilim EX-Z850 lens assembly replacement: stap 19, afbeelding 2 van 3 Casio Exilim EX-Z850 lens assembly replacement: stap 19, afbeelding 3 van 3
    • On the side of the indicator lamp remove a screw.

    • On the front side of the indicator lamp remove the a screw.

    • This should remove the indicator lamp from the lens.

  20. Casio Exilim EX-Z850 lens assembly replacement: stap 20, afbeelding 1 van 2 Casio Exilim EX-Z850 lens assembly replacement: stap 20, afbeelding 2 van 2
    • The lens is now detached from the camera except for the ribbon soldered onto the logic board.

Conclusie

To put the Casio Exilim EX-Z850 camera back together, reserve the instructions to follow them in a backward manner.

2 andere personen hebben deze handleiding voltooid.

Ray

Lid sinds: 01/25/11

219 Reputatie

1 Handleiding geschreven

Team

Cal Poly, Team 4-38, Regan Winter 2011 Lid van Cal Poly, Team 4-38, Regan Winter 2011

CPSU-REGAN-W11S4G38

4 Leden

13 handleidingen geschreven

0 opmerkingen

Voeg opmerking toe

Weergavestatistieken:

Afgelopen 24 uren: 1

Afgelopen 7 dagen: 1

Afgelopen 30 dagen: 2

Altijd: 8,383