Deze versie kan foutieve bewerkingen bevatten. Schakel over naar de recentste gecontroleerde momentopname.
Wat je nodig hebt
-
Deze stap is niet vertaald. Help het te vertalen
-
Remove the four 8mm Phillips #1 screws, located in each corner of the device.
-
-
Deze stap is niet vertaald. Help het te vertalen
-
Grasp one half of the device's shell in each hand, and pull them apart. They are connected, so don't separate them completely.
-
-
-
Deze stap is niet vertaald. Help het te vertalen
-
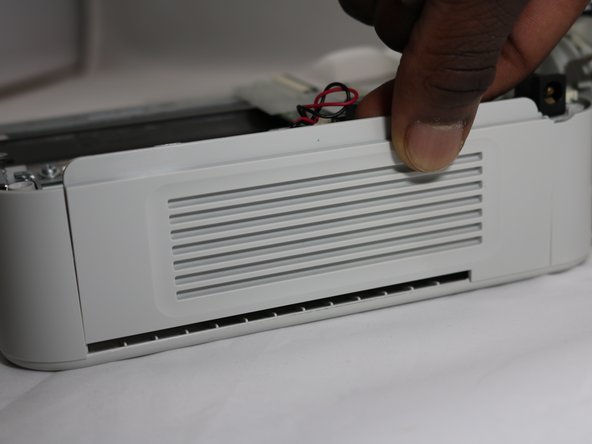
Lift the side panel off to expose the inside of the printer.
-
-
Deze stap is niet vertaald. Help het te vertalen
-
Remove the four 8mm Phillips #00 screws that hold the upper circuit board to the shell.
-
-
Deze stap is niet vertaald. Help het te vertalen
-
Remove two 8mm Phillips #00 screws from the yellow board.
-
-
Deze stap is niet vertaald. Help het te vertalen
-
Remove the two 8mm Phillips #00 screws from the screen.
-
Lift off the circuit board, yellow board, and screen.
-
-
Deze stap is niet vertaald. Help het te vertalen
-
To separate the screen from the circuit board, grasp the data ribbon cable near the base of the black connector on the circuit board and pull parallel to the surface of the board, toward the screen.
-


Team

Eastern Washington University, Team S1-G1, Carnegie Fall 2018 Lid van Eastern Washington University, Team S1-G1, Carnegie Fall 2018
EWU-CARNEGIE-F18S1G1
4 Leden
10 handleidingen geschreven