Deze versie kan foutieve bewerkingen bevatten. Schakel over naar de recentste gecontroleerde momentopname.
Wat je nodig hebt
-
Deze stap is niet vertaald. Help het te vertalen
-
Remove the four 8mm Phillips #1 screws from the bottom of the printer.
-
-
Deze stap is niet vertaald. Help het te vertalen
-
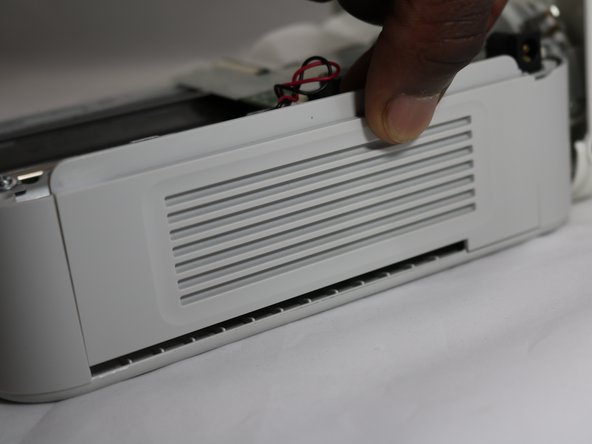
Gently lift the top half of the printer off its base
-
-
-
Deze stap is niet vertaald. Help het te vertalen
-
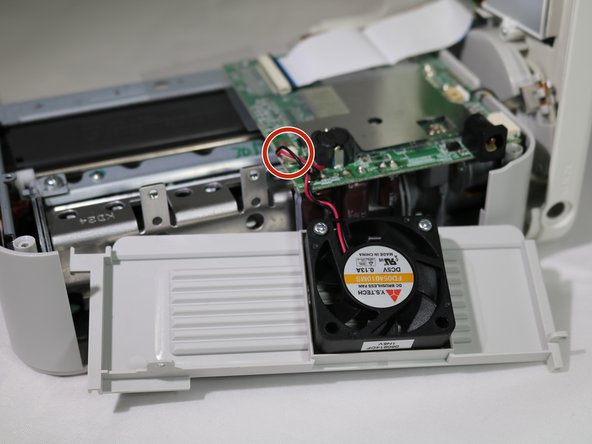
Unplug the fan from the circuit board by gently pulling on the wire connector at the base of the port.
-
-
Deze stap is niet vertaald. Help het te vertalen
-
Unscrew the two 8mm Phillips #1 screws from the fan.
-
Remove the fan from the panel.
-


Team

Eastern Washington University, Team S1-G1, Carnegie Fall 2018 Lid van Eastern Washington University, Team S1-G1, Carnegie Fall 2018
EWU-CARNEGIE-F18S1G1
4 Leden
10 handleidingen geschreven