Deze handleiding heeft recentere wijzigingen. Schakel over naar de nieuwste niet-geverifieerde versie.
Inleiding
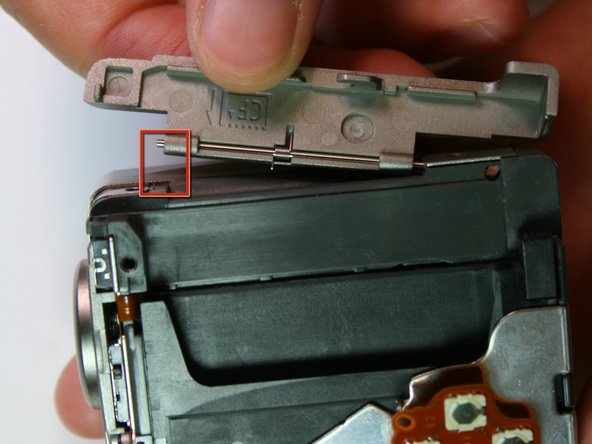
The motherboard connects all parts of the camera together. This guide will show you how to disassemble the Canon Powershot S200 in order to reach the motherboard.
Wat je nodig hebt


Bijna klaar!
To reassemble your device, follow these instructions in reverse order.
Conclusie
To reassemble your device, follow these instructions in reverse order.
Team

Cal Poly, Team 20-70, Walters Spring 2011 Lid van Cal Poly, Team 20-70, Walters Spring 2011
CPSU-WALTERS-S11S20G70
5 Leden
4 handleidingen geschreven