Deze versie kan foutieve bewerkingen bevatten. Schakel over naar de recentste gecontroleerde momentopname.
Wat je nodig hebt
-
Deze stap is niet vertaald. Help het te vertalen
-
Orient the camera so that the back button panel and viewfinder are facing you.
-
Push the "Battery Release" button to the side and hold.
-
-
Deze stap is niet vertaald. Help het te vertalen
-
While holding the battery release button to the side, slide the battery towards you, past the release button.
-
-
Deze stap is niet vertaald. Help het te vertalen
-
Orient the camera with the hand strap facing you.
-
Remove the two 4mm #00 Philips screws.
-
-
Deze stap is niet vertaald. Help het te vertalen
-
Orient the camera so that the viewfinder is on your left and the lens is on your right.
-
Remove the 4mm #00 Phillips screw.
-
-
Deze stap is niet vertaald. Help het te vertalen
-
Reorient the camera with the back button pad and viewfinder towards you.
-
Remove the three 4mm #00 Phillips screws shown on the rear face of camcorder.
-
-
Deze stap is niet vertaald. Help het te vertalen
-
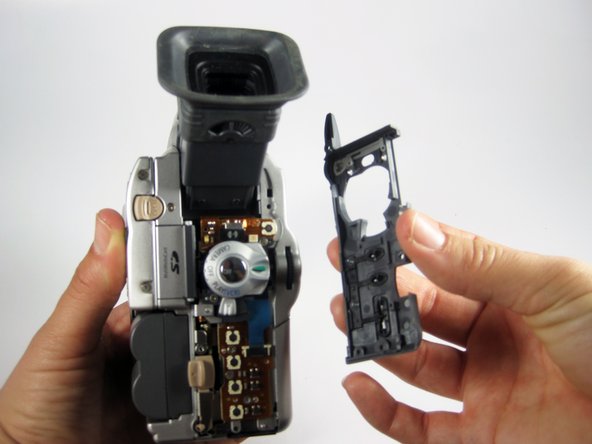
Remove the plastic cover from the rear of the camcorder by gently pulling it towards you while holding the camera as shown.
-
-
Deze stap is niet vertaald. Help het te vertalen
-
Remove the 4mm #00 Phillips screw located to the right of the LCD release switch.
-
-
Deze stap is niet vertaald. Help het te vertalen
-
Open the LCD by using the release switch.
-
Reorient the camera with the playback button pad and edge of LCD screen facing you.
-
Remove the 4mm #00 Phillips screw shown.
-
-
-
Deze stap is niet vertaald. Help het te vertalen
-
Reorient the camera with the top facing you. The side with the LCD screen should be on the right and the other side panel should be on the right.
-
Open the pop up flash on the top of the camcorder.
-
Remove the 4mm #00 Phillips screw shown.
-
-
Deze stap is niet vertaald. Help het te vertalen
-
Reorient the camera with the bottom facing you, LCD screen on the right, side panel on the left.
-
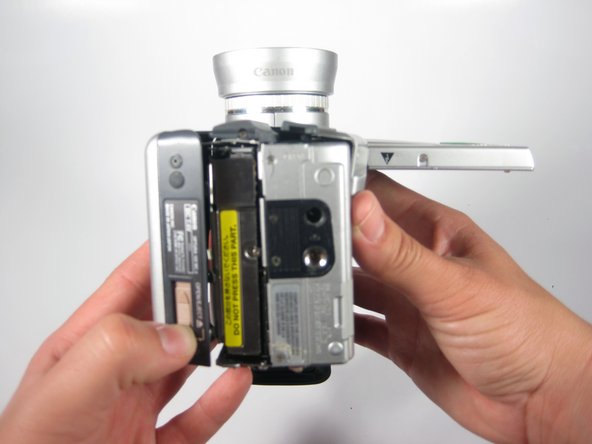
Open the tape deck by sliding the switch and moving the deck cover to the left as shown.
-
-
Deze stap is niet vertaald. Help het te vertalen
-
Reorient camera with lens facing you.
-
Remove the #00 Philips 4mm screw shown on the hinge of the tape deck cover.
-
-
Deze stap is niet vertaald. Help het te vertalen
-
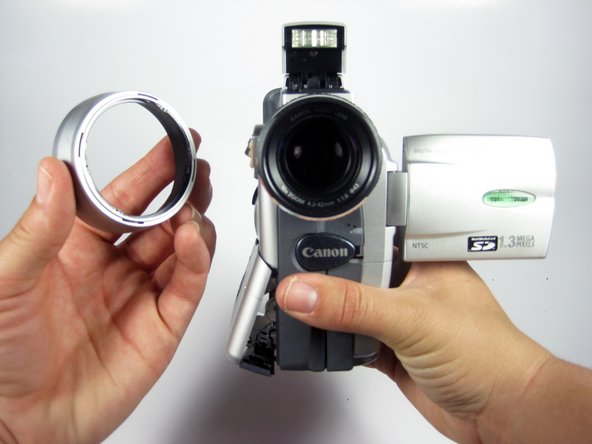
To remove the camcorder lens hood, twist the hood to counterclockwise and it will come loose, then pull towards you.
-
-
Deze stap is niet vertaald. Help het te vertalen
-
Close the tape deck by gently pushing it toward the body of the camera.
-
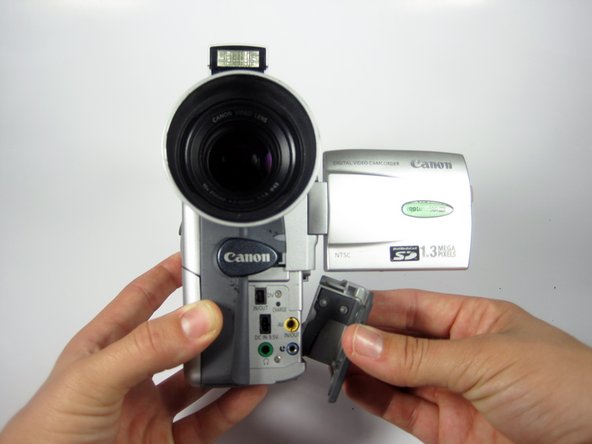
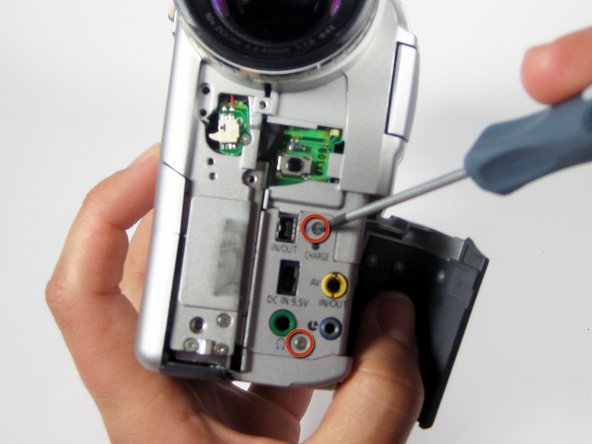
Slide and remove the plastic cover on the bottom right, exposing the interface shown.
-
-
Deze stap is niet vertaald. Help het te vertalen
-
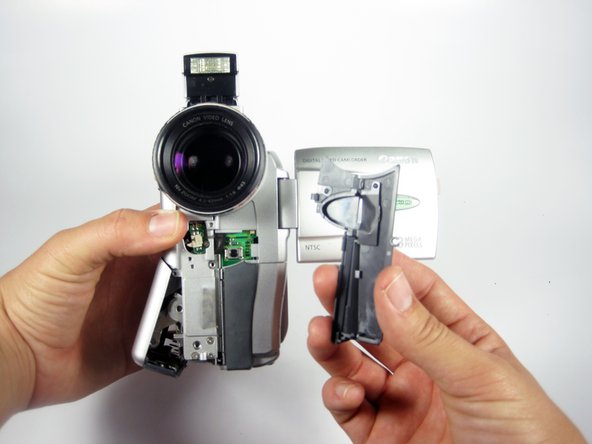
Gently pull the front plastic cover towards you to remove.
-
-
Deze stap is niet vertaald. Help het te vertalen
-
Reorient the camera so you are looking at the side of the camera with the viewfinder on the left and lens on the right.
-
Holding the camera as shown,remove the 4mm #00 Phillips screw.
-
-
Deze stap is niet vertaald. Help het te vertalen
-
Reorient the camera with the lens facing you.
-
Gently pull the side panel of the camera to the right to remove.
-
-
Deze stap is niet vertaald. Help het te vertalen
-
Remove the #00 Philips 3mm screw as shown holding the small circuit board on the side panel.
-
-
Deze stap is niet vertaald. Help het te vertalen
-
Remove the circuit board you just unscrewed. It is the black rectangle that says "CAUTION" on it.
-
-
Deze stap is niet vertaald. Help het te vertalen
-
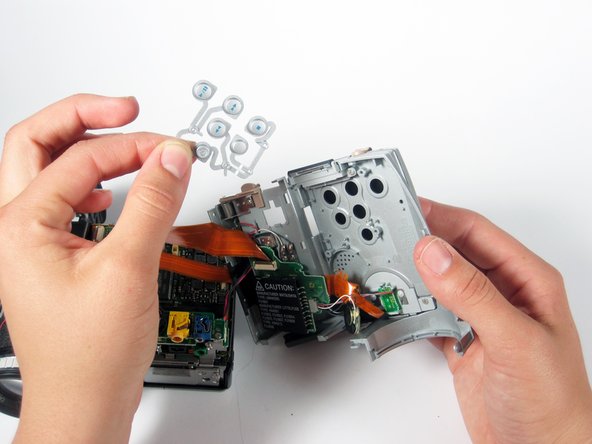
Remove the metal piece partly covering the Button Pad
-


