Inleiding
Replacing the motherboard is a last resort for correcting water damage to the camera. This guide will help you remove it step-by-step.
Note: it's not necessary to remove the top cover to replace the motherboard, but you may find yourself having an easier time connecting the ribbon cables back onto the motherboard if you do remove the top cover first.
Wat je nodig hebt
-
-
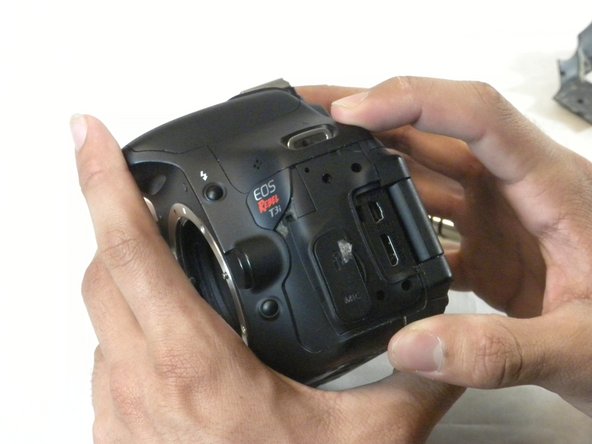
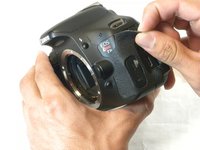
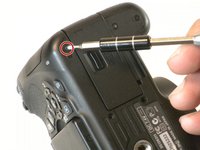
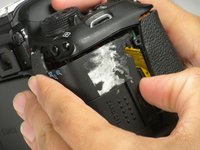
Peel away the rubber grip on the left side of the camera with your fingers.
-
-
-
-
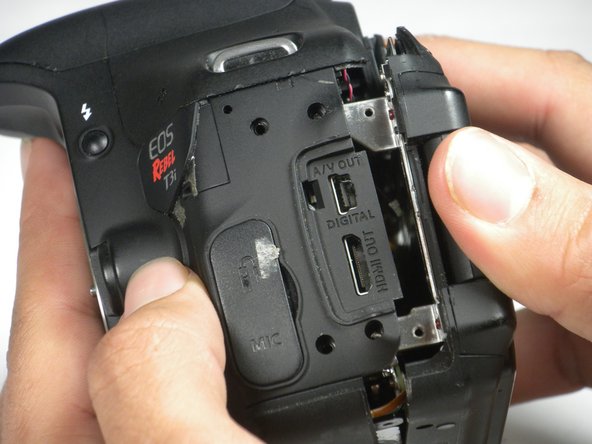
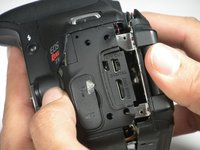
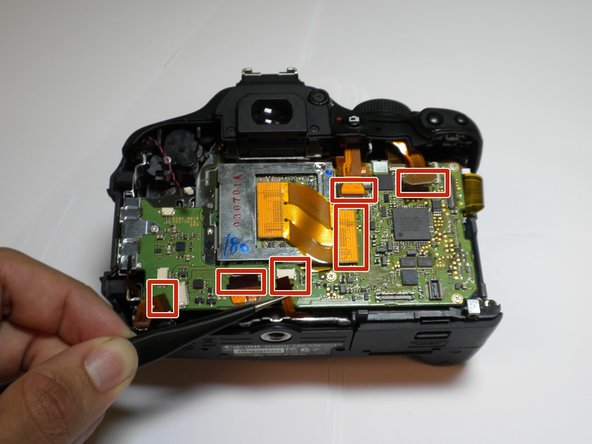
With tweezers, pinch the ends of the remaining orange ribbon cables, and gently pull these ends off of the motherboard.
-
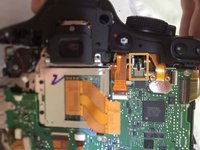
Take note of this black cable and where it connects to the motherboard. This is a fiber optic cable which is used for the camera flash. It will need to be reconnected after replacing the motherboard.
-


To reassemble your device, follow these instructions in reverse order.
To reassemble your device, follow these instructions in reverse order.
Annuleren: ik heb deze handleiding niet afgemaakt.
20 andere personen hebben deze handleiding voltooid.
Team

USF Tampa, Team 5-2, Blackwell Fall 2015 Lid van USF Tampa, Team 5-2, Blackwell Fall 2015
USFT-BLACKWELL-F15S5G2
4 Leden
10 handleidingen geschreven
9 opmerkingen
There was one huge step left out. On the T3i there is a fiber optic cable connection on the underside, top right hand side of the motherboard. If you don't reconnect this before reassembly your camera won't work. It is difficult to make sure both this cable and the adjacent white round-wire cable are connected before putting the motherboard back in place.
How do you connect it?
I'm pretty sure the fiber optical cable is used for the flash. I believe the camera would still work without it connected, but the flash just wouldn't be functional so it still definitely needs to be connected. Also in reply to @octp16dkuy9dbsl, to connect it you just can use a pair of tweezers to push the cable down into the hole in the connector.
Zephosk -
I've edited the guide so it now points out that cable and mentions that it needs to get reconnected. Also I've found removing the top cover of the camera makes reconnecting those cables way easier and in my opinion is worth the extra time to remove the top cover to make reconnecting them easier.
Zephosk -