Inleiding
Let op: verwijder altijd eerst de stekker uit het stopcontact voordat je gaat demonteren.
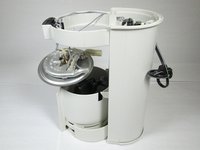
Het verwijderen van het verwarmingselement kan nodig zijn als het koffiezetapparaat de koffie niet warm houdt.
Wat je nodig hebt
-
-
Verwijder de koffiekan/pot.
-
Draai de Braun Aromaster KF 440 ondersteboven zodat de onderkant/grondplaat zichtbaar is.
-
-
-
Zoek de moer in het midden van de basis en draai deze los met een steek- of ringsleutel.
-
-
-
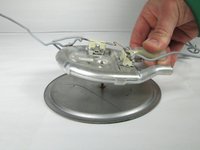
Til het plaat voorzichtig weg van de onderkant van het koffiezetapparaat en verwijder het.
-
-
-
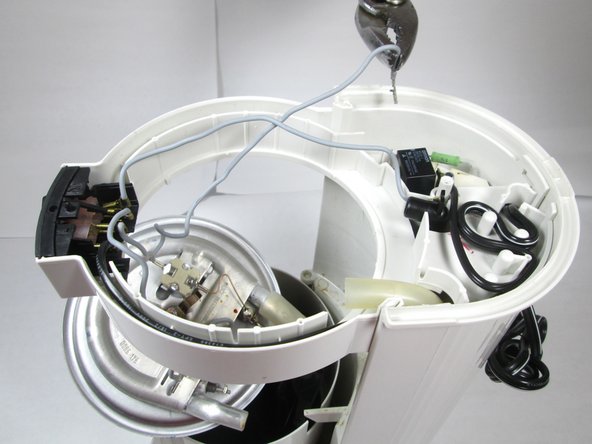
Duw met het grotere plastic openingsgereedschap de slang voorzichtig van de eenrichtingsklep. (Als de slang hardnekkig is en niet loskomt, laat je de metalen spudger rond de binnenkant van de slang lopen om deze los te maken).
-
-
-
-
Duw met het grotere plastic openingsgereedschap de slang voorzichtig van de tweede eenrichtingsklep. (Als de slang hardnekkig is en niet loskomt, laat u de metalen spudger rond de binnenkant van de slang draaien om deze los te maken).
-
-
-
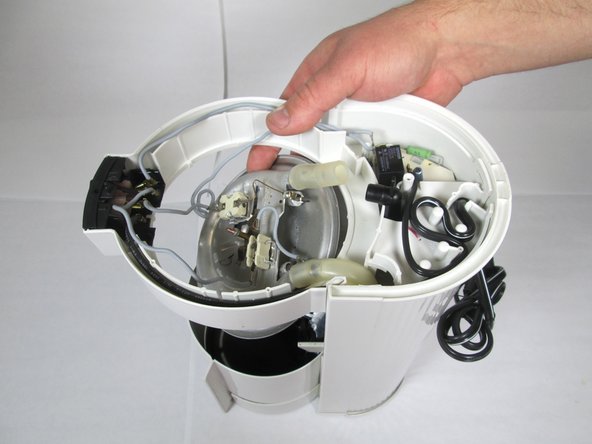
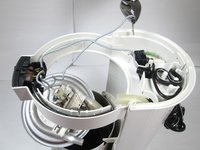
Kijk aan de onderkant van het koffiezetapparaat en zoek de twee grijze draden die aan de printplaat vastzitten.
-
-
-
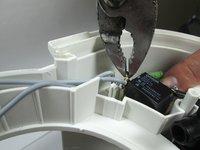
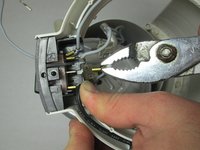
Verwijder elke draad door hem vast te pakken met een tang op de kabelschoen en dan voorzichtig recht omhoog te trekken.
-
-
-
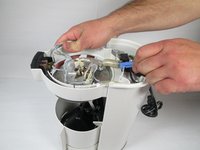
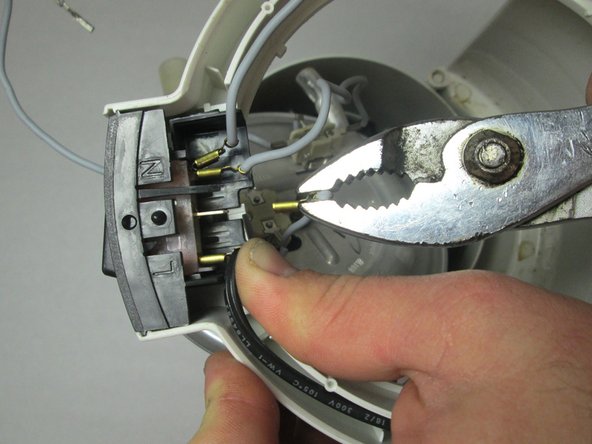
Zoek de tweede set draden die zijn aangesloten op de aan/uit-schakelaar.
-
-
-
Er zijn 4 draden te verwijderen.
-
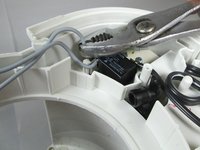
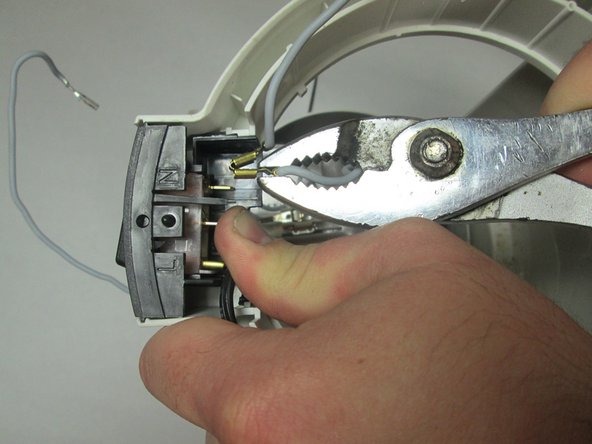
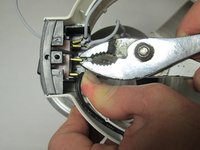
Verwijder elke draad door deze voorzichtig vast te pakken (bij de kabelschoen) met een tang en dan recht naar achteren te trekken.
-
Nogmaals, als je moeite hebt met het verwijderen van de draden, ga dan terug naar de tip in stap 4.
-
-
-
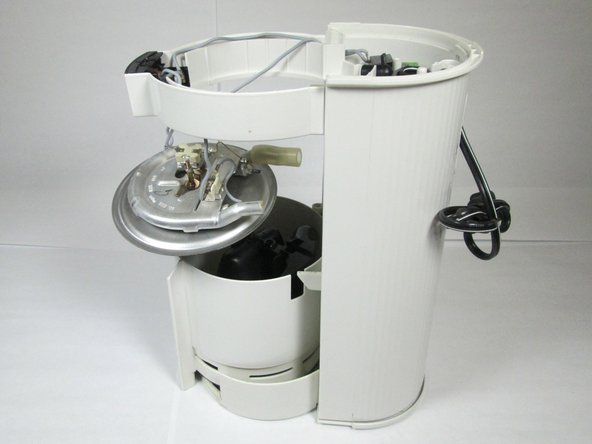
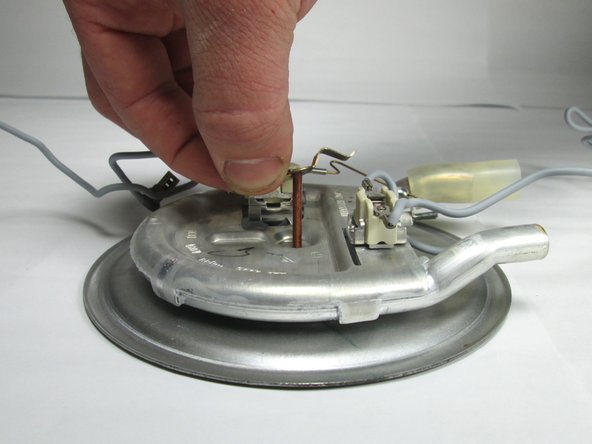
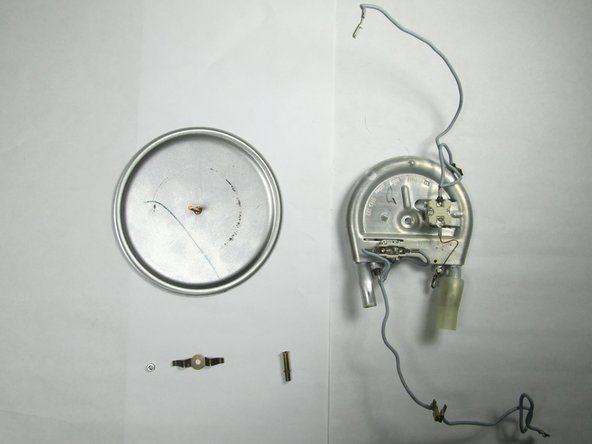
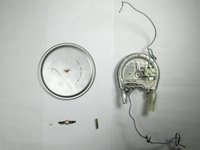
Als alles is losgemaakt, moet het verwarmingselement er zo uit kunnen.
-
-
-
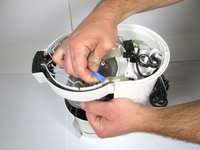
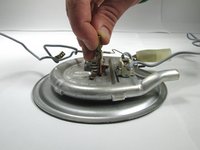
Verwijder de bout door hem er gewoon met de hand af te draaien, of door opnieuw een sleutel te gebruiken als dat nodig is.
-
Verwijder de metalen afstandhouder. (Opmerking: Zorg ervoor dat je weet in welke richting het loskwam, want dat maakt uit wanneer je het weer in elkaar gaat zetten)
-
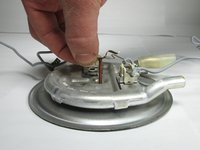
Verwijder de vleugelmoer.
-
-
-
Trek het verwarmingselement van de verwarmingsplaat.
-


Voer de stappen in omgekeerde volgorde uit om het apparaat weer in elkaar te zetten.
Voer de stappen in omgekeerde volgorde uit om het apparaat weer in elkaar te zetten.
Annuleren: ik heb deze handleiding niet afgemaakt.
Één andere persoon heeft deze handleiding voltooid.
Met dank aan deze vertalers:
100%
Martin helpt ons de wereld te herstellen! Wil je bijdragen?
Begin met vertalen ›
Team

Baylor, Team 8-12, Williams Fall 2014 Lid van Baylor, Team 8-12, Williams Fall 2014
BU-WILLIAMS-F14S8G12
3 Leden
20 handleidingen geschreven