Inleiding
My boss Chromatic Tuner TU-2 was working fine when connected to the 9V DC input, but not working on batteries. Here's how I've debugged and fixed the issue.
The guide is marked as difficult because it requires soldering, but it’s just a simple soldering job, other than that assembling and disassembling is easy and straightforward.
-
-
With the 9V DC input connected, the unit switches on correctly
-
When on batteries, the pedal will not work unless a jack is plugged into the input (for battery saving). However, in this case the unit won't work.
-
Note that instead of a 9V battery I'm using alligator clips to connect the battery connector to my DC power source at 9V, which does the same.
-
-
-
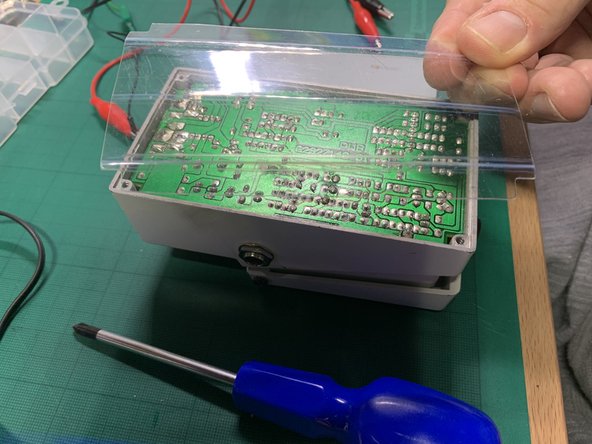
Turn the pedal upside down and remove the 4 screws in the corners with a regular Phillips screwdriver
-
-
-
Remove the plastic lid and lift the circuit board. There are no delicate connections but there are cables connecting it to the other PCB, so don't pull too hard and don't separate them completely.
-
-
-
-
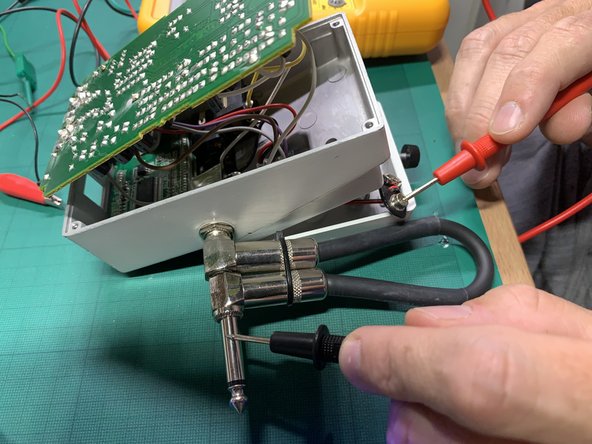
From the battery connection, test continuity with a multimeter to where the cable is soldered to the PCB, input connector, etc...
-
For me, all of these connections worked fine
-
-
-
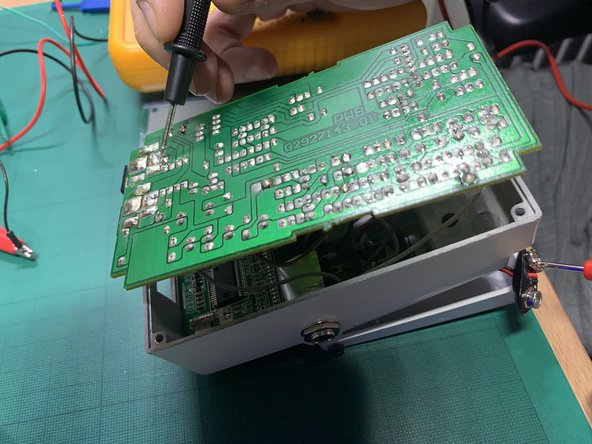
Starting where the cable is soldered to the PCB, follow the traces checking for continuity.
-
In my case I found one that was not connected, I cleaned it with a bit of isopropyl alcohol, and looked with a magnifying glass to reveal what looks like a crack on the trace.
-
-
-
Solder a thin piece of solid wire between the two contact pads that should be in touch by the trace
-
-
-
Test for continuity between the two pads that have been joined
-
Make sure no other contacts have been affected by the soldering
-
-
-
Insert a battery (I'm still using my DC power source) and check that the unit powers up
-
Don't forget to add a jack to the input or the unit won't power up on batteries
-


To reassemble your device, follow these instructions in reverse order.
To reassemble your device, follow these instructions in reverse order.
Annuleren: ik heb deze handleiding niet afgemaakt.
2 andere personen hebben deze handleiding voltooid.