Ga door naar hoofdinhoud

Blu Studio 5.5 Touchscreen Display Replacement

Wat je nodig hebt

  1. Blu Studio 5.5 Touchscreen Display Replacement, Battery: stap 1, afbeelding 1 van 3 Blu Studio 5.5 Touchscreen Display Replacement, Battery: stap 1, afbeelding 2 van 3 Blu Studio 5.5 Touchscreen Display Replacement, Battery: stap 1, afbeelding 3 van 3
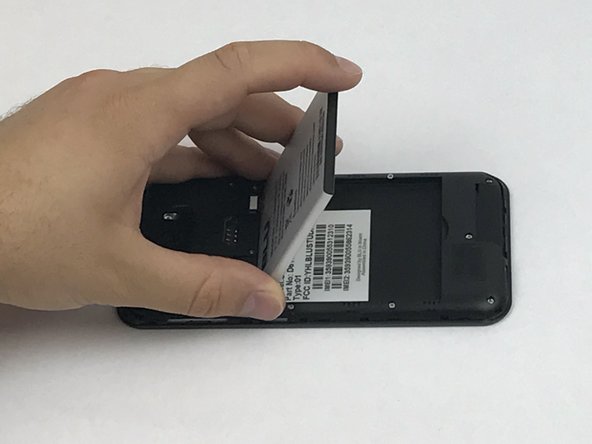
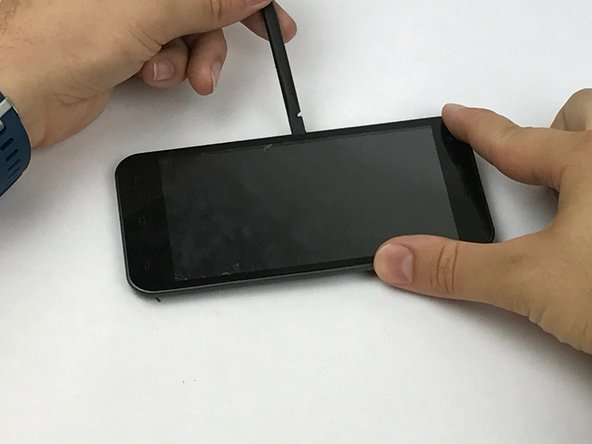
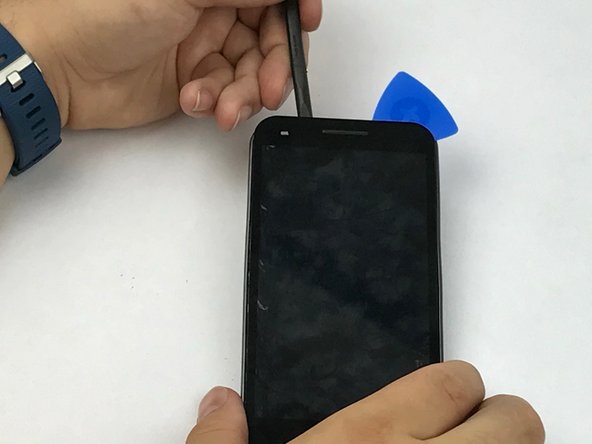
    • Locate the notch to remove the back panel at the lower left corner of the panel.

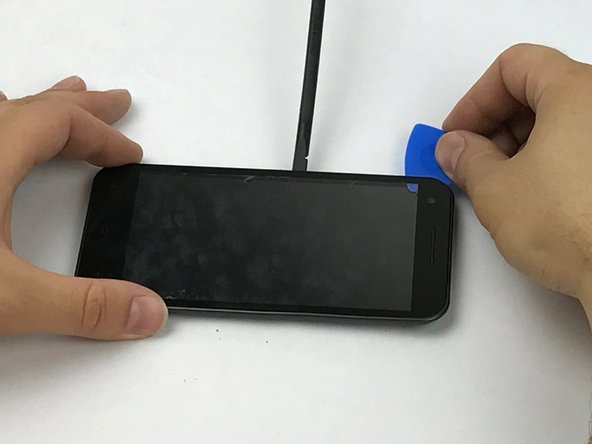
    • Insert the plastic opening tool or a fingernail into the notch.

    • Apply force upwards until back panel becomes loosened.

  2. Blu Studio 5.5 Touchscreen Display Replacement: stap 2, afbeelding 1 van 2 Blu Studio 5.5 Touchscreen Display Replacement: stap 2, afbeelding 2 van 2
    • Remove the loosened back panel and set aside.

    • Locate the notch to remove the battery.

  3. Blu Studio 5.5 Touchscreen Display Replacement: stap 3, afbeelding 1 van 3 Blu Studio 5.5 Touchscreen Display Replacement: stap 3, afbeelding 2 van 3 Blu Studio 5.5 Touchscreen Display Replacement: stap 3, afbeelding 3 van 3
    • Insert a plastic opening tool or your fingernail into the notch and apply force upwards until the battery is loosened.

    • Remove the battery and set aside.

  4. Blu Studio 5.5 Touchscreen Display Replacement, Back Panel Assembly: stap 4, afbeelding 1 van 2 Blu Studio 5.5 Touchscreen Display Replacement, Back Panel Assembly: stap 4, afbeelding 2 van 2
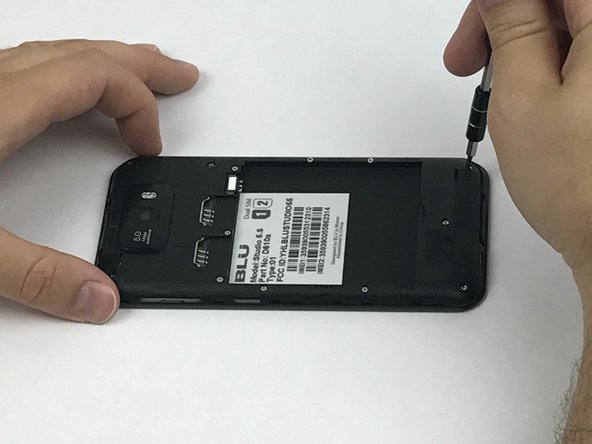
    • Locate all twelve screws along the back panel:

    • Seven 5mm screws.

    • Five 3.5mm screws.

    • Using a Phillips #000 screwdriver, remove all twelve screws.

  5. Blu Studio 5.5 Touchscreen Display Replacement: stap 5, afbeelding 1 van 3 Blu Studio 5.5 Touchscreen Display Replacement: stap 5, afbeelding 2 van 3 Blu Studio 5.5 Touchscreen Display Replacement: stap 5, afbeelding 3 van 3
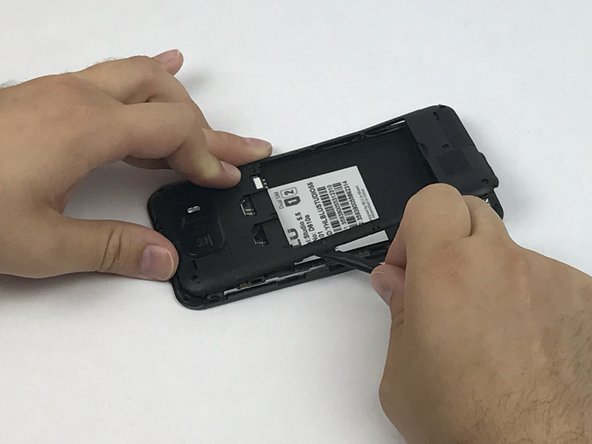
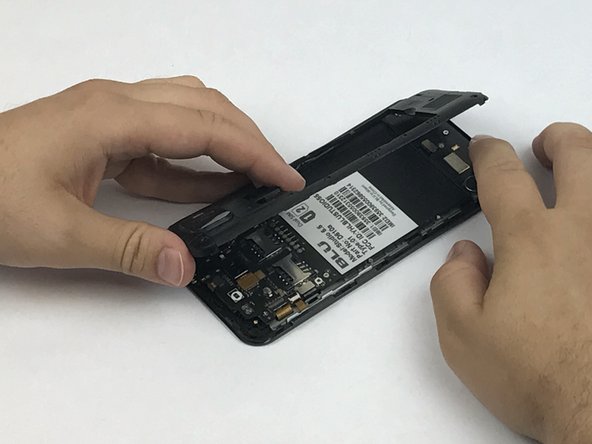
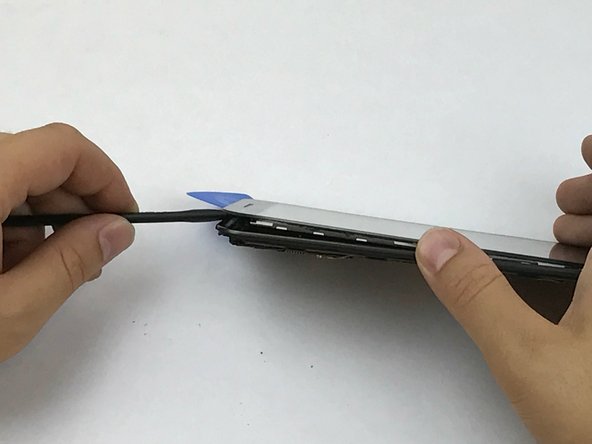
    • Now that all the screws have been removed, use a plastic opening tool to carefully pry at each of the corners until loosened.

    • Be extra careful when prying open as it may damage or snap the thin sides of the panel.

    • Place the plastic opening tool inside the loosened panel and gently push upwards and move along the phone to remove the back panel.

    • Remove the panel as if you were turning the page of a book.

  6. Blu Studio 5.5 Touchscreen Display Replacement, Touchscreen Display: stap 6, afbeelding 1 van 2 Blu Studio 5.5 Touchscreen Display Replacement, Touchscreen Display: stap 6, afbeelding 2 van 2
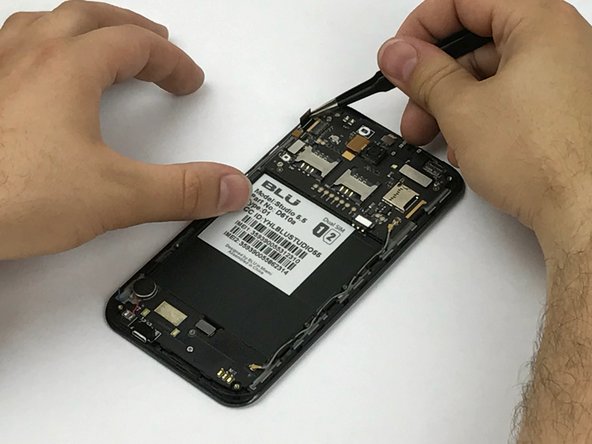
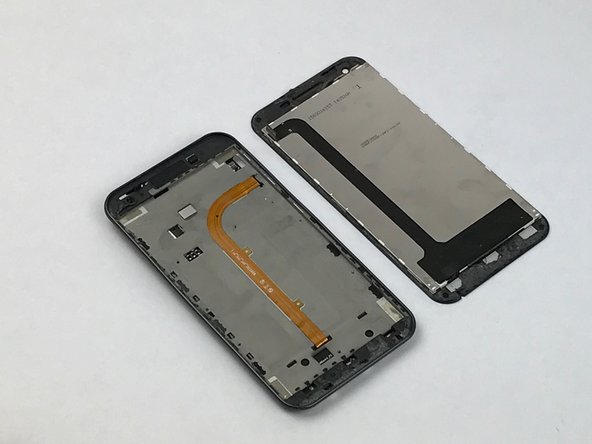
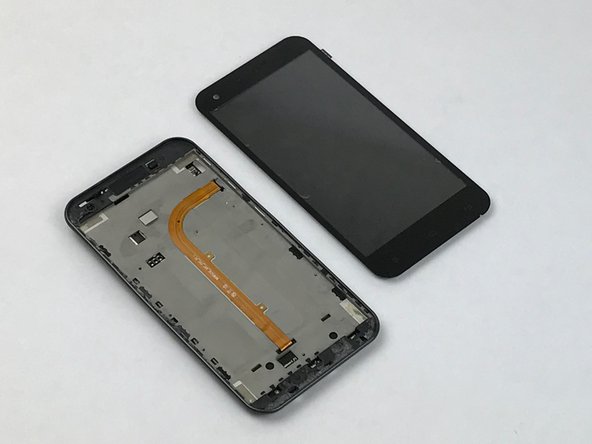
    • Locate the flex cable connector that connects the screen to the motherboard.

    • Using tweezers, gently remove the flex cable connector from the motherboard.

  7. Blu Studio 5.5 Touchscreen Display Replacement: stap 7, afbeelding 1 van 3 Blu Studio 5.5 Touchscreen Display Replacement: stap 7, afbeelding 2 van 3 Blu Studio 5.5 Touchscreen Display Replacement: stap 7, afbeelding 3 van 3
    • Using the spudger, begin to gently remove the adhesive around the screen.

    • Once all the border adhesive is removed, insert the pick between the screen and phone, Leave the spudger in to create space between the phone and screen to insert the pick.

    • If removing the adhesive is a challenge, you can use the iOpener by following the instructions to heat it up and placing it on the edges of the phone to loosen the adhesive.

  8. Blu Studio 5.5 Touchscreen Display Replacement: stap 8, afbeelding 1 van 3 Blu Studio 5.5 Touchscreen Display Replacement: stap 8, afbeelding 2 van 3 Blu Studio 5.5 Touchscreen Display Replacement: stap 8, afbeelding 3 van 3
    • Once the pic is inserted, slide it under and around the screen to remove any adhesive that may have been left under the screen.

    • Once the majority of the adhesive is removed, gently lift the screen using the opening tool or the spudger.

  9. Blu Studio 5.5 Touchscreen Display Replacement: stap 9, afbeelding 1 van 3 Blu Studio 5.5 Touchscreen Display Replacement: stap 9, afbeelding 2 van 3 Blu Studio 5.5 Touchscreen Display Replacement: stap 9, afbeelding 3 van 3
    • Once there is enough space between the phone and screen, feel free to use your hands to gently remove the screen completely.

Conclusie

To reassemble your device, follow these instructions in reverse order.

4 andere personen hebben deze handleiding voltooid.

Alec Coleman

Lid sinds: 02/28/17

313 Reputatie

3 handleidingen geschreven

Team

USF Tampa, Team S1-G6, Nance Spring 2017 Lid van USF Tampa, Team S1-G6, Nance Spring 2017

USFT-NANCE-S17S1G6

3 Leden

8 handleidingen geschreven

0 opmerkingen

Voeg opmerking toe

Weergavestatistieken:

Afgelopen 24 uren: 0

Afgelopen 7 dagen: 0

Afgelopen 30 dagen: 1

Altijd: 2,417